Introduction
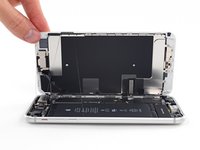
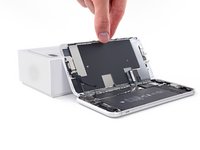
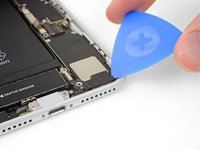
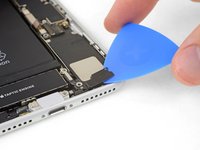
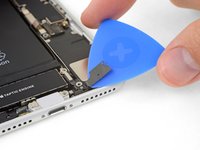
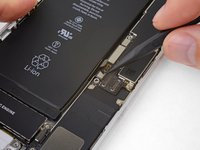
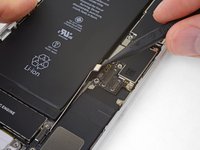
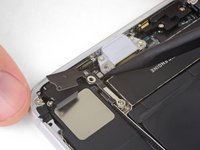
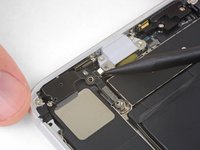
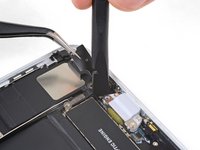
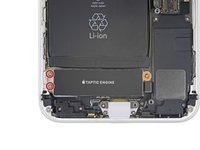
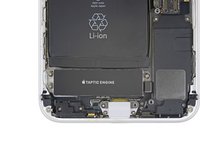
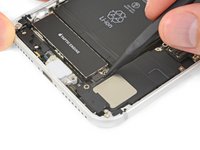
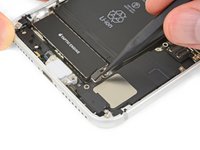
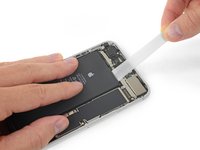
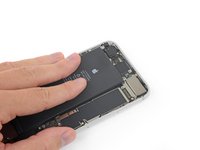
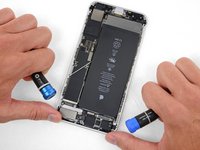
Use this guide to revive your iPhone 8 Plus with a new battery. If your battery is swollen, take appropriate precautions.
This guide instructs you to fully detach the display assembly; this is intended to prevent accidental damage to the display cables. If you feel comfortable removing the battery without putting undue strain on the display cables, you can skip the steps for detaching the display. Additionally, while it’s possible to remove the adhesive strips securing the battery as soon as you open the phone, this guide recommends first removing the Taptic Engine. Doing so reduces the risk of breaking the lower adhesive strips accidentally, either by snagging them on the Taptic Engine, or by pulling the strips at too sharp of an angle.
For optimal performance, after completing this guide, calibrate your newly installed battery: Charge it to 100% and keep charging it for at least two more hours. Then use your iPhone until it shuts off due to low battery. Finally, charge it uninterrupted to 100%.
What you need
Video Overview
-
-
Power off your iPhone before beginning disassembly.
-
Remove the two 3.5 mm pentalobe screws from the bottom edge of the iPhone.
-
-
-
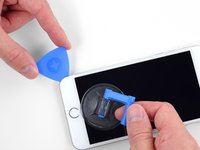
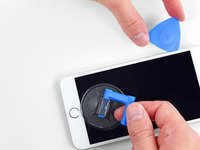
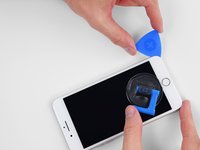
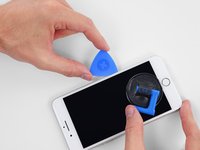
Measure 3 mm from the tip and mark the opening pick with a permanent marker.
-
-
-
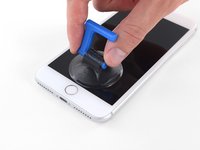
Lay overlapping strips of clear packing tape over the iPhone's screen until the whole face is covered.
-
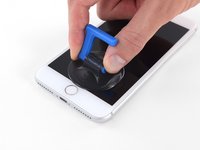
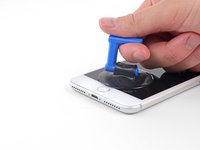
If you can't get the suction cup to stick in the next few steps, fold a strong piece of tape (such as duct tape) into a handle and lift the screen with that instead.
-
-
Tool used on this step:Clampy - Anti-Clamp$24.95
-
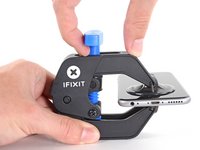
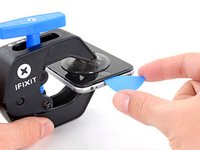
Pull the blue handle backwards to unlock the Anti-Clamp's arms.
-
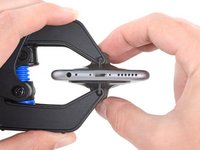
Slide the arms over either the left or right edge of your iPhone.
-
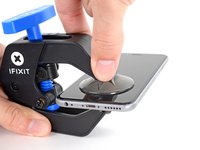
Position the suction cups near the bottom edge of the iPhone just above the home button—one on the front, and one on the back.
-
Squeeze the cups together to apply suction to the desired area.
-
-
-
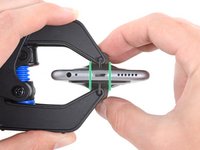
Heat an iOpener and thread it through the arms of the Anti-Clamp.
-
Fold the iOpener so it lays on the bottom edge of the iPhone.
-
Wait one minute to give the adhesive a chance to release and present an opening gap.
-
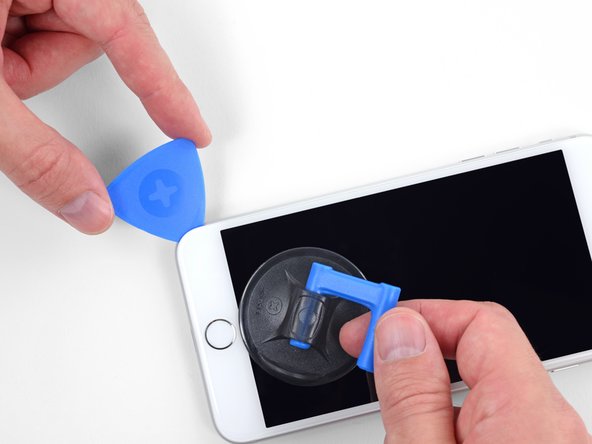
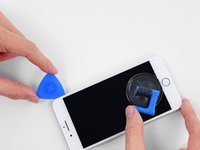
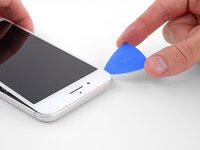
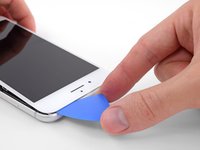
Insert an opening pick under the screen when the Anti-Clamp creates a large enough gap.
-
Skip the next three steps.
-
-
-
Use a hairdryer or prepare an iOpener and apply it to the lower edge of the iPhone for about 90 seconds in order to soften up the adhesive underneath.
-
-
-
Tool used on this step:Magnetic Project Mat$16.96
-
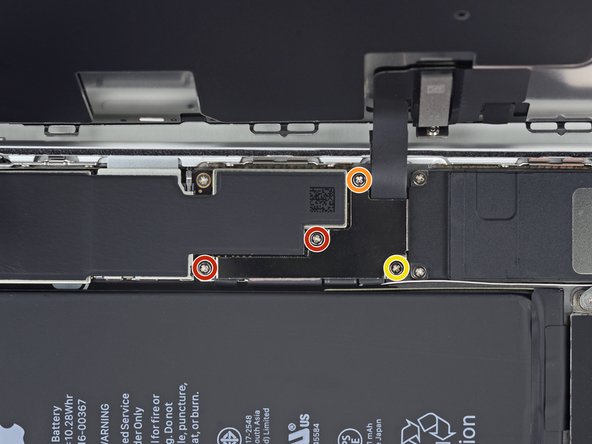
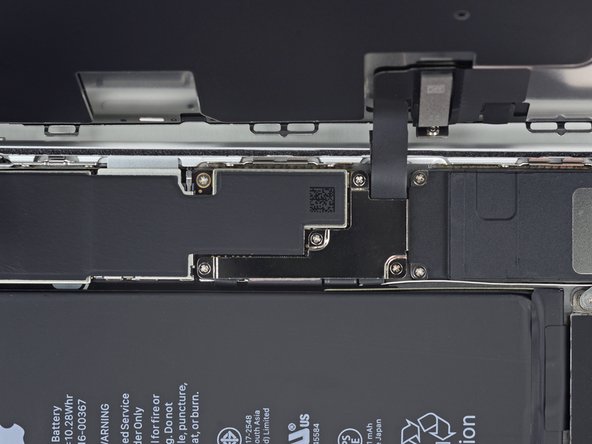
Remove four Phillips (JIS) screws securing the lower display cable bracket to the logic board, of the following lengths:
-
Two 1.3 mm screws
-
One 1.4 mm screw
-
One 2.7 mm screw
-
-
-
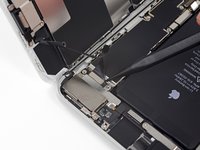
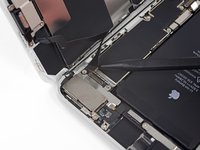
Use the tip of a spudger or a fingernail to disconnect the large lower display connector by prying it straight up from its socket.
-
-
-
Remove the three screws securing the L-shaped bracket next to the Taptic Engine:
-
One 1.3 mm Y000 screw
-
One 2.6 mm Phillips screw
-
One 3.5 mm Phillips screw
-
-
Tool used on this step:Standoff Screwdriver for iPhones$5.49
-
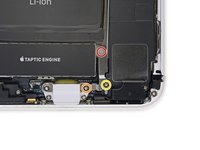
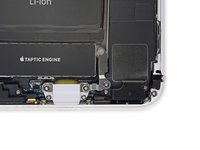
Remove the three screws securing the Taptic Engine:
-
Two 1.5 mm Phillips screws
-
One 2.4 mm standoff screw
-
-
-
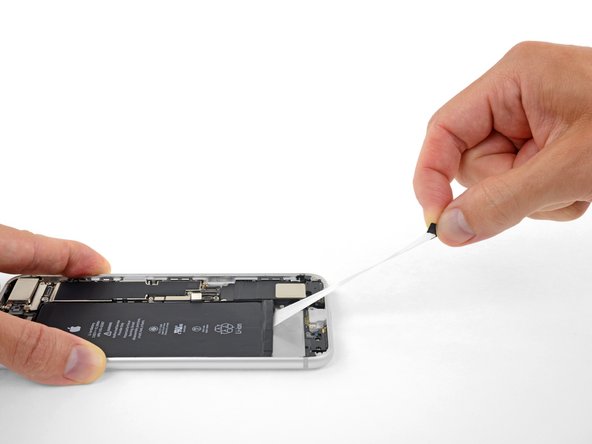
Each piece of adhesive has a black pull-tab at the end, which is lightly adhered to the front surface of the battery.
-
-
-
Slowly pull one battery adhesive tab away from the battery, towards the bottom of the iPhone.
-
Pull steadily, maintaining constant tension on the strip until it slips out from between the battery and the rear case. For best results, pull the strip at as low an angle as possible, without snagging it on any of the iPhone's other components.
-
If the battery adhesive tabs break during the removal process, use your fingers or blunt tweezers to retrieve the remaining length of adhesive, and continue pulling.
-
-
-
Remove the battery from the iPhone.
-
Adhere the battery, disconnect it, and continue reassembling your device.
-
If your new battery doesn’t have adhesive preinstalled, refer to this guide to replace the adhesive strips.
-
Perform a force restart after reassembly. This can prevent several issues and simplify troubleshooting.
-
Compare your new replacement part to the original part—you may need to transfer remaining components or remove adhesive backings from the new part before installing.
To reassemble your device, follow the above steps in reverse order.
Take your e-waste to an R2 or e-Stewards certified recycler.
Repair didn’t go as planned? Check out our Answers community for troubleshooting help.
Cancel: I did not complete this guide.
202 other people completed this guide.
41 Guide Comments
You can leave the display connected and skip steps 15-20, as long as you’re careful to support the display so as not to damage the display cables while you work.
Don’t do it,you can EASILY RIP LCD RIBBON CABLE
Are there any statistics or even educated guesses about how many people are able to successfully complete this repair? Although it is rated as “moderate” in terms of difficulty, I would rate it as more than just moderate. I tried to replace the battery on a much older iPhone and wound up with a brick. Is an 8 plus easier than an iPhone 3 or 4? Where might one find such statistics?
It takes a little time to learn how to do certain things. As always a video tutorial is better than the picture only version. But if you follow one of their teardowns maybe you can get an idea of how to do some of the more intricate things like the battery adhesive removal. I do this as a hobby and it took a while to perfect, but my first 2 repairs went well and I didn't brick my phone or my iPad so guess I was doing some of the basics right.
Don't be discouraged. Watch some YT vids. Then work up the courage to try again. Good Luck!


