Introduction
Use this guide to remove and replace the rear cameras in the iPhone XS Max. The rear camera assembly consists of two individual modules: one wide-angle camera and one telephoto camera. Both modules are replaced as a single unit.
Both iPhone XS and XS Max use the same camera; the part can be swapped freely between the two models.
Note: This guide instructs you to completely detach the display cables and remove the display assembly in order to better access the rear cameras—however, it's possible to remove and replace the rear cameras with the display cables still connected. Advanced readers may skip disconnecting the display in order to save time, as long as the display is properly supported and the display cables are not damaged.
What you need
-
-
Power off your iPhone before beginning disassembly.
-
Remove the two 6.9 mm-long pentalobe screws at the bottom edge of the iPhone.
-
Opening the iPhone's display will compromise its waterproof seals. Have replacement seals ready before you proceed past this step, or take care to avoid liquid exposure if you reassemble your iPhone without replacing the seals.
-
-
-
Measure 3 mm from the tip and mark the opening pick with a permanent marker.
-
-
-
Lay overlapping strips of clear packing tape over the iPhone's screen until the whole face is covered.
-
If you can't get the suction cup to stick in the next few steps, fold a strong piece of tape (such as duct tape) into a handle and lift the screen with that instead.
-
-
-
Pull the blue handle backwards to unlock the Anti-Clamp's arms.
-
Slide the arms over either the left or right edge of your iPhone.
-
Position the suction cups near the bottom edge of the iPhone—one on the front, and one on the back.
-
Squeeze the cups together to apply suction to the desired area.
-
-
-
Heat an iOpener and thread it through the arms of the Anti-Clamp.
-
Fold the iOpener so it lays on the bottom edge of the iPhone.
-
Wait one minute to give the adhesive a chance to release and present an opening gap.
-
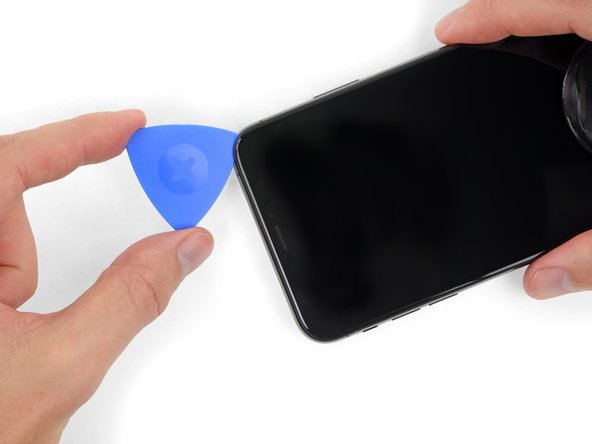
Insert an opening pick into the gap under the screen and the plastic bezel, not the screen itself.
-
Skip the next three steps.
-
-
-
Use a hairdryer or heat gun or prepare an iOpener and apply it to the lower edge of the iPhone for about a minute in order to soften up the adhesive underneath.
-
-
-
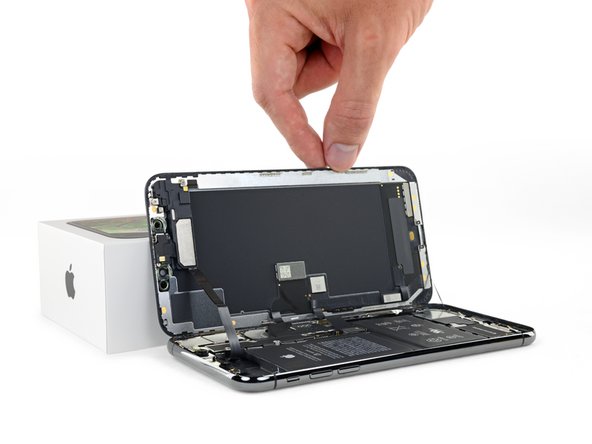
Pull up on the suction cup with firm, constant pressure to create a slight gap between the front panel and rear case.
-
Insert an opening pick into the gap under the screen and the plastic bezel, not the screen itself.
-
-
-
-
Remove four Y000 screws securing the logic board cover bracket, of the following lengths:
-
Two 1.1 mm screws
-
One 1.5 mm screw
-
One 3.7 mm screw
-
-
-
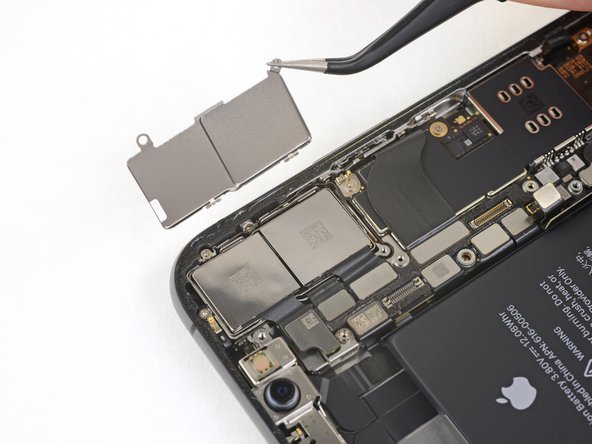
Remove the two 1.8 mm Phillips screws securing the rear camera cover.
-
Compare your new replacement part to the original part—you may need to transfer remaining components or remove adhesive backings from the new part before installing.
To reassemble your device, follow the above steps in reverse order.
Take your e-waste to an R2 or e-Stewards certified recycler.
Repair didn’t go as planned? Check out our Answers community for troubleshooting help.
Cancel: I did not complete this guide.
30 other people completed this guide.
4 Comments
Hi I was wondering if the rear facing camera class is broken is there a way to replace the glass?
I’m replacing it now by myself :) There’s nothing complicated. (except screws and reminding where they come from)
Zared -
Yes you can buy it on Amazon for around $8. It is very easy, no heat gun required
After being quoted over $500 at various repairers to replace these rear-facing cameras, I decided to purchase the part for $100 and complete the repair myself. The instructions were detailed and easy to follow, and the different screws being colour coded on the instructions really helped with reassembling. My camera now works perfectly, and I saved myself over $400 by doing the repair myself. I also replaced the adhesive water resistant seal, which was much easier than I anticipated. All in all, 10/10 repair guide, thank you so much!


