
iPad Pro 12.9" 6th Gen Screen Replacement

Last updated on Jul 10, 2026
Views: 1.2K
View statistics:
- Past 24 Hours:
- 9
- Past 7 Days:
- 78
- Past 30 Days:
- 395
- All Time:
- 1,233
Comments: 3
2 comments on steps, 1 guide comment.
Go to guide commentsCompleted: 0 1
No one has marked this guide "completed." Will you be the first?
1 person has marked this guide "completed." It's you — great job!
Favorites: 0 1
No one has favorited (and subscribed to) this guide. Will you be the first?
1 person has favorited (and subscribed to) this guide — and that's you!
Featured Guide
This guide has been found to be exceptionally cool by the iFixit staff.
Introduction
Go to step 1 ↓Use this guide to replace the screen in your iPad Pro 12.9" 6th Gen.
The screen consists of the display and the top sensor assembly. If you don't transfer the top sensor assembly, you will lose Face ID and True Tone.
LTE and mmWave iPads: This guide is written with a previous iPad Pro model. Your device may look a little different, but the procedure is identical.
Wi-Fi only iPads: Use this guide as a general reference, but you may need to perform extra disassembly not covered in this guide.
Battery note: In some photos, you'll see two card strips blocking the battery connector. That's an optional technique—it's better to fully discharge the battery instead. Ignore this visual discrepancy as you work through the guide.
This guide is written with an A2379 model iPad Pro.
What you need
Tools
-
-
-
-
-
Spudger4.9
-
-
-
-
-


-
-
-
Unplug any cables and fully shut down your iPad.
 Ask FixBot
-
-
-
-
-
Apply a heated iOpener to the right edge of the screen for two minutes.
-
-
Tool used on this step:Clampy - Anti-Clamp$24.95
-
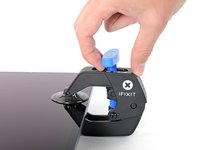
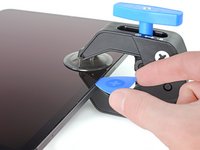
Pull the blue handle backwards to unlock the Anti-Clamp's arms.
-
Place an object under your iPad so it rests level between the suction cups.
-
Position the suction cups near the middle of the right edge—one on the top, and one on the bottom.
-
Hold the bottom of the Anti-Clamp steady and firmly press down on the top cup to apply suction.
-
-
-
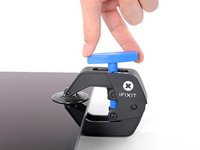
Pull the blue handle forward to lock the arms.
-
Turn the handle clockwise 360 degrees or until the cups start to stretch.
-
Make sure the suction cups remain aligned with each other. If they begin to slip out of alignment, loosen the suction cups slightly and realign the arms.
-
-
-
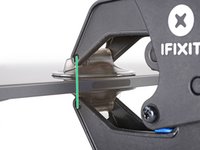
Wait one minute to give the adhesive a chance to release and present an opening gap.
-
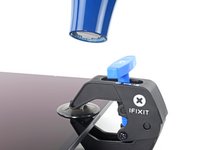
If your screen isn't getting hot enough, you can use a hair dryer to heat along the right edge of the iPad.
-
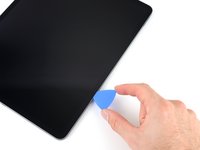
Insert an opening pick under the screen when the Anti-Clamp creates a large enough gap.
-
Skip the next step.
-
-
-
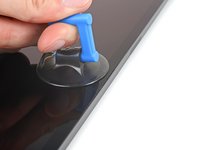
Apply a suction handle to the screen as close to the center of the right edge as possible.
-
Pull up on the suction handle with a strong, steady force to create a small gap between the frame and screen.
-
Insert an opening pick into the gap.
-
-
-
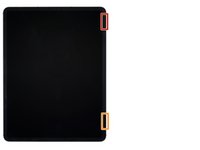
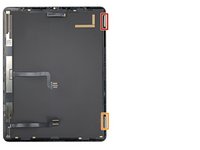
The first magnet begins 1.9 cm from the top of the iPad.
-
The second magnet begins 2.9 cm from the bottom of the iPad.
-
-
-
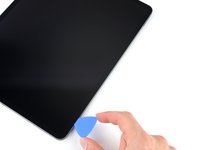
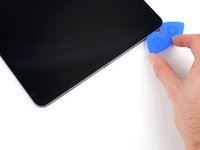
Slide your opening pick along the right edge of the screen to separate the adhesive.
-
Leave the pick inserted in the bottom right corner before continuing.
-
-
-
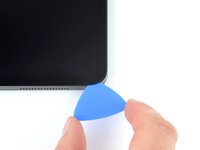
Slide your opening pick around the bottom right corner of the screen to separate the adhesive.
-
Leave your pick in the bottom right corner to prevent the adhesive from resealing.
-
-
-
Apply a heated iOpener to the bottom edge of the screen for two minutes.
-
-
-
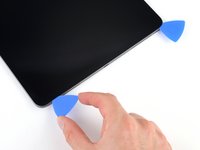
Insert a second opening pick under the bottom right corner of the screen.
-
Slide your pick to the bottom left corner to separate the bottom adhesive.
-
-
-
Rotate your opening pick around the bottom left corner of the screen.
-
Leave your pick in the bottom left corner to prevent the adhesive from resealing.
-
-
-
Apply a heated iOpener to the left edge of the screen for two minutes.
-
-
-
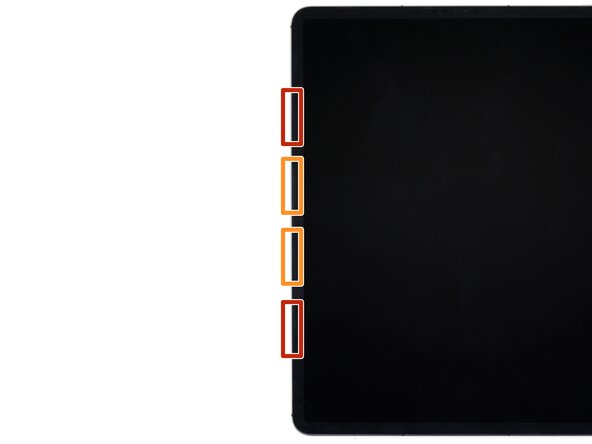
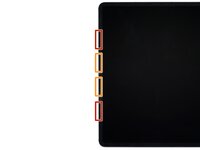
The 2.1-cm outer cutouts begin at 6.1 cm from the top and bottom of the frame.
-
The 2.8-cm inner cutouts begin at 10.1 cm from the top and bottom of the frame.
-
-
-
Insert a third opening pick under the bottom left corner of the screen.
-
Slide your pick to the top left corner to slice the left adhesive, making sure to avoid the cutouts shown in the previous step.
-
Leave the pick inserted in the top left corner before continuing.
-
-
-
Slide your opening pick around the top left corner of the screen.
-
Leave your pick in the top left corner to prevent the adhesive from resealing.
-
-
-
Apply a heated iOpener to the top edge of the screen for two minutes.
-
-
-
While the top edge adhesive softens, note the following:
-
There are 0.7-cm cutouts for the ambient light sensors starting 4.1 cm from each of the side edges. Don't insert your pick more than 1 mm here.
-
The front-facing camera and additional sensors are in the center of the top edge. Don't insert your pick here—there is less than 1 mm of adhesive and you may damage the components.
-
-
-
Slide your opening pick toward the top right edge, stopping just before the camera assembly.
-
Leave your pick inserted before continuing.
-
-
-
Insert a new opening pick on the other side of the camera assembly, about 4 cm from the previous pick.
-
Slide your pick to the top right corner to slice the remaining adhesive.
-
-
-
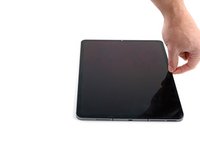
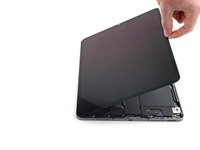
Grab two opposing corners of the screen and lift up to separate it from the frame.
-
Shift the screen towards the bottom right corner of the frame until the ribbon cable near the top edge is uncovered.
-
-
Tool used on this step:FixMat$36.95
-
Use a Phillips screwdriver to remove the two screws securing the upper cable shield:
-
One 1.8 mm-long screw
-
One 1.4 mm-long screw
-
-
Tool used on this step:Tweezers$4.99
-
Use tweezers or your fingers to grab and remove the upper cable shield.
-
-
-
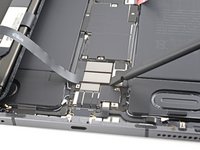
Use the tip of a spudger to pry up and disconnect the upper sensors press connector.
-
-
-
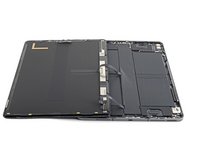
Grip the right edge of the screen and open it like a book.
-
Lay the screen down over the left edge of the iPad.
-
-
-
-
-
Peel the cover off of the logic board to remove it.
-
-
-
-
-
Use a Phillips screwdriver to remove the seven screws securing the top and bottom display brackets:
-
Four 1.1 mm-long screws
-
Two 2.0 mm-long screws
-
One 1.0 mm-long screw
-
-
Tool used on this step:Tweezers$4.99
-
Use tweezers, or your fingers, to remove the top and bottom display brackets.
-
-
-
Use a spudger to pry up and disconnect the two bottom display cable press connectors.
-
-
-
Use a spudger to pry up and disconnect the two top display cable press connectors.
-
-
-
-
-
-
Use a Phillips screwdriver to remove the two 1.2 mm-long screws securing the display cable bracket.
-
-
-
Use a spudger to pry up and disconnect the display cable press connector on the screen.
-
-
Tool used on this step:Tweezers$4.99
-
Use tweezers, or your fingers, to peel the display cable off its opposing cable.
-
Remove the display cable.
-
-
-
Your top sensor assembly is composed of four sensors:
-
Two ambient light sensors
-
One proximity sensor
-
One microphone
-
-
-
Heat an iOpener and apply it to the top of the screen for two minutes.
-
-
-
Insert one arm of your angled tweezers between the ambient light sensor and the screen.
-
Pry up to separate the sensor from the screen.
-
Repeat this procedure for the other ambient light sensor.
-
-
-
Insert one arm of your angled tweezers between the proximity sensor cable and the screen.
-
Slide the tweezers toward the screen while prying to separate the sensor from the screen.
-
-
-
Slide an opening tool under the microphone to separate its adhesive.
-
Pry up to separate the microphone from the screen.
-
-
-
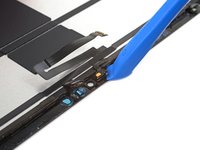
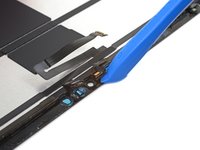
Slide an opening pick under the top sensor assembly cable to separate it from the screen.
-
-
-
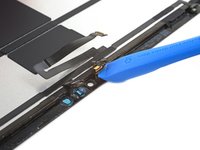
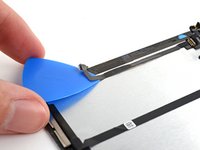
Continue sliding your opening pick along the top sensor assembly until its completely separated from the screen.
-
Remove the top sensor assembly.
-
-
Tool used on this step:Tesa 61395 Tape$8.95
-
Align the top sensor assembly on your replacement screen.
-
Use Tesa tape, or similar double-sided tape, to secure the cables to the screen.
-
Use E6000 adhesive, or similar adhesive, to secure the sensors to their cutouts on the screen.
-
-



















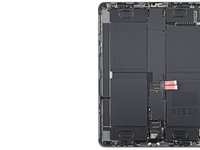


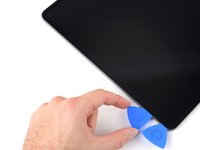
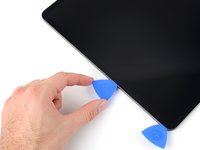
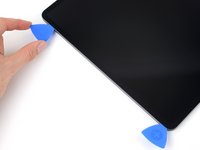


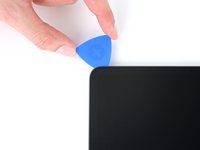


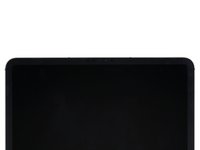
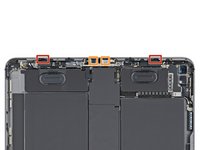
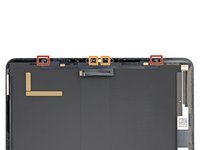


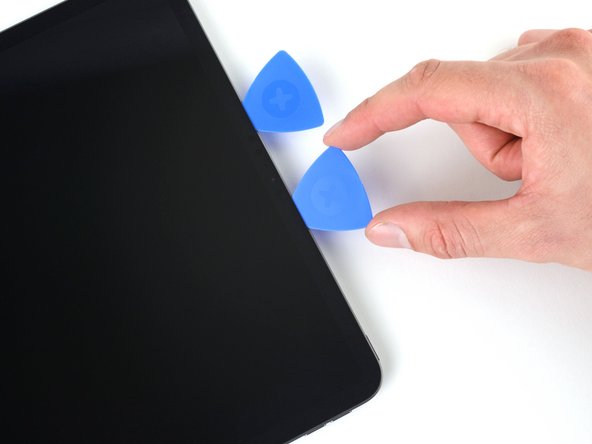









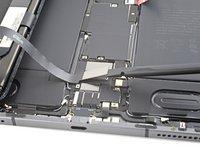
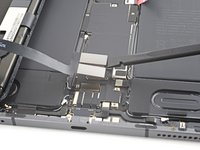


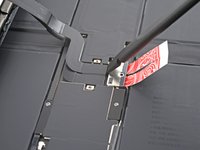
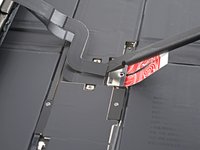
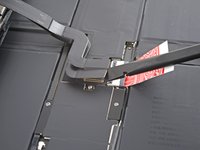


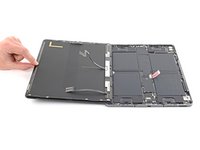
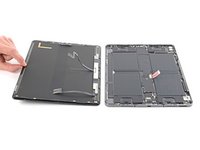
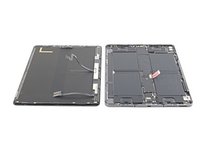


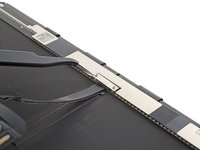
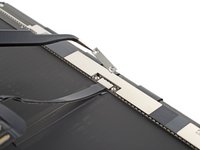


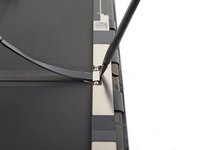
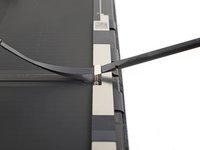


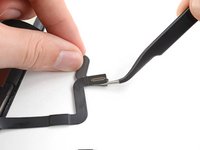
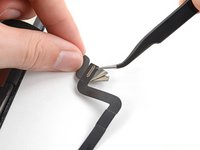
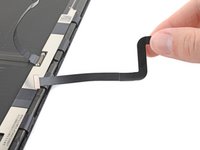


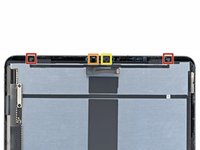
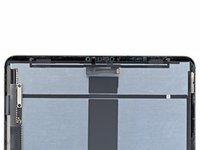


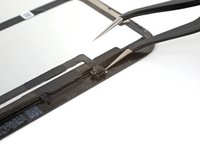
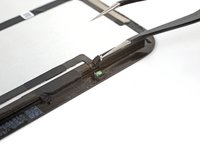


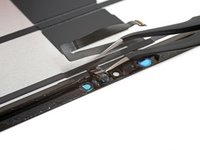
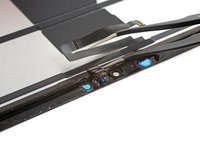
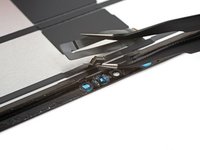


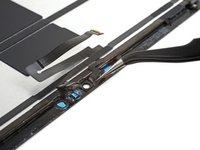
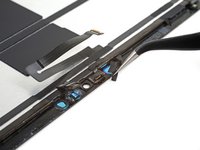




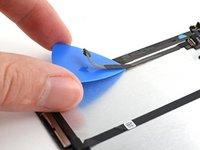
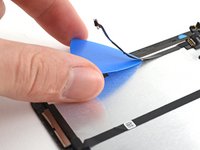


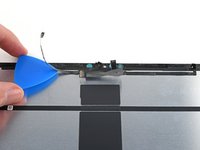
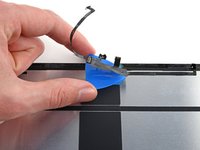
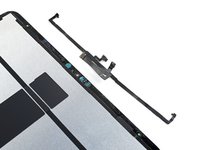


Compare your new replacement part to the original part—you may need to transfer remaining components or remove adhesive backings from the new part before you install it.
To reassemble your device, follow these instructions in reverse order.
Take your e-waste to an R2 or e-Stewards certified recycler.
Repair didn’t go as planned? Try some basic troubleshooting, or ask our Answers community for help.

