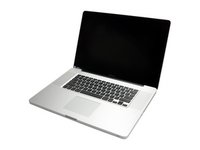
MacBook Pro 13" Unibody Early 2011
A1278 (EMC 2419 MacBookPro8,1) 2.3 GHz
A1278 (EMC 2419 MacBookPro8,1) 2.7 GHz
Holiday Deals, Built to Last - Shop Now
Plus Free Shipping on $75+ in the Contiguous USA


Condition: New
Part or Kit

OptionPart Onlyselected

OptionFix Kitnot selected
Frequently Bought Together
Sale price $4.99
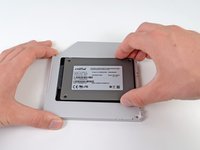
Increase the storage space in your laptop by replacing the optical drive with a second SATA hard drive or SSD.


| iFixit Part Number | IF107-080-1 |
|---|


Purchase with purpose
Repair with confidence
Fast shipping