Introduction
Use this guide to remove and replace the rear cameras in the iPhone X. The rear camera assembly consists of two individual modules: one wide-angle camera and one telephoto camera. Both modules are replaced as a single unit.
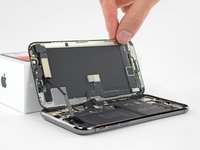
Note: This guide instructs you to completely detach the display cables and remove the display assembly in order to better access the rear cameras—however, it's possible to remove and replace the rear cameras with the display cables still connected. Advanced readers may skip disconnecting the display in order to save time, as long as the display is properly supported and the display cables are not damaged.
What you need
-
-
Power off your iPhone before beginning disassembly.
-
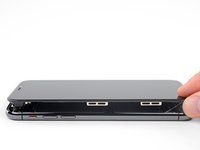
Remove the two 6.9 mm-long pentalobe screws at the bottom edge of the iPhone.
-
-
-
Measure 3 mm from the tip and mark the opening pick with a permanent marker.
-
-
-
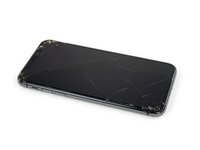
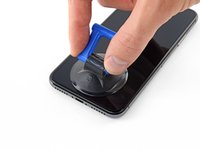
Lay overlapping strips of clear packing tape over the iPhone's screen until the whole face is covered.
-
If you can't get the suction cup to stick in the next few steps, fold a strong piece of tape (such as duct tape) into a handle and lift the screen with that instead.
-
-
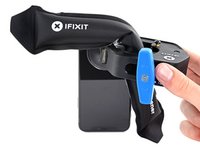
Tool used on this step:Clampy - Anti-Clamp$24.95
-
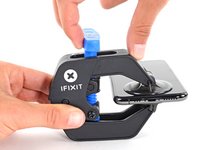
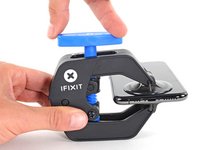
Pull the blue handle backwards to unlock the Anti-Clamp's arms.
-
Slide the arms over either the left or right edge of your iPhone.
-
Position the suction cups near the bottom edge of the iPhone—one on the front, and one on the back.
-
Squeeze the cups together to apply suction to the desired area.
-
-
-
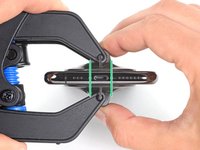
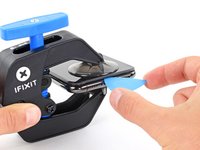
Heat an iOpener and thread it through the arms of the Anti-Clamp.
-
Fold the iOpener so it lays on the bottom edge of the iPhone.
-
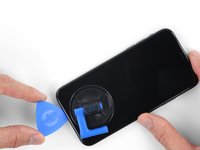
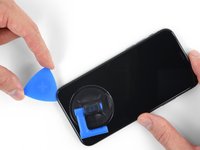
Wait one minute to give the adhesive a chance to release and present an opening gap.
-
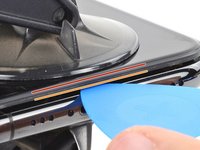
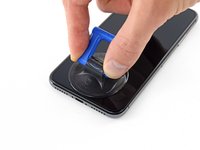
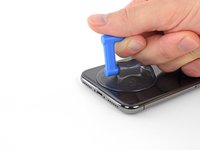
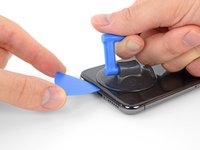
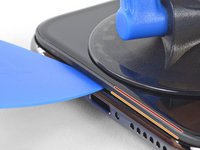
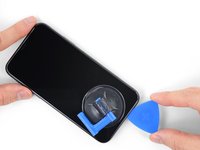
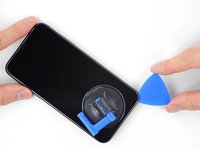
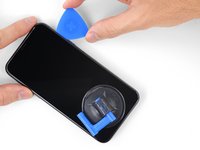
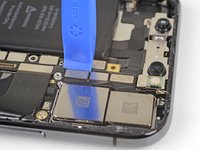
Insert an opening pick under the screen and the plastic bezel, not the screen itself.
-
Skip the next three steps.
-
-
-
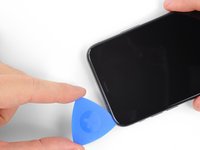
Use a hairdryer or heat gun or prepare an iOpener and apply it to the lower edge of the iPhone for about a minute in order to soften up the adhesive underneath.
-
-
-
Tool used on this step:Magnetic Project Mat$16.96
-
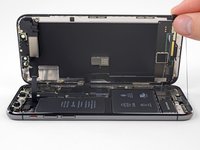
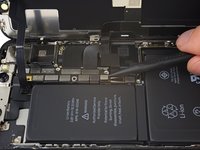
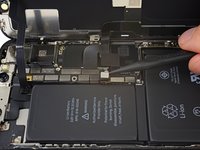
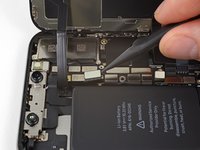
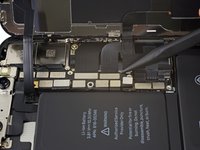
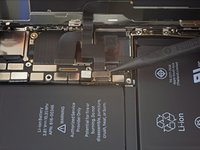
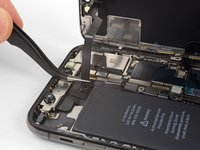
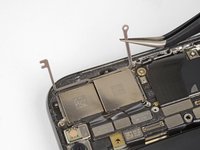
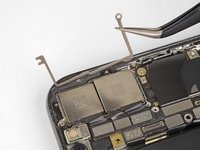
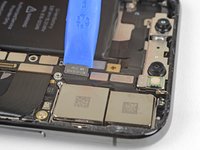
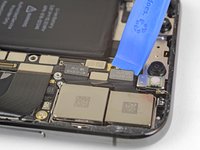
Remove five Y000 screws securing the logic board connector bracket, of the following lengths:
-
Three 1.1 mm screws
-
One 3.1 mm screw
-
One 3.7 mm screw
-
-
-
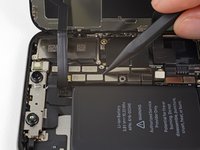
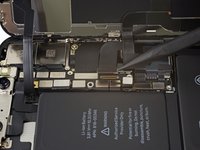
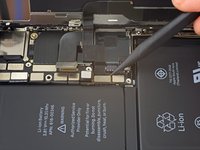
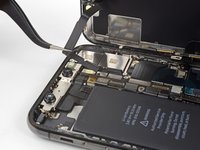
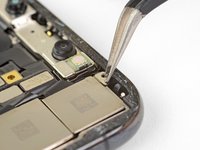
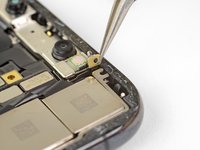
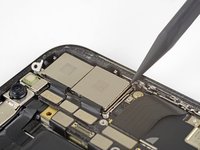
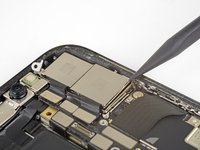
Remove two Phillips screws securing the camera bracket, of the following lengths:
-
One 2.3 mm screw
-
One 2.0 mm screw
-


Compare your new replacement part to the original part—you may need to transfer remaining components or remove adhesive backings from the new part before installing.
To reassemble your device, follow the above steps in reverse order.
Take your e-waste to an R2 or e-Stewards certified recycler.
Repair didn’t go as planned? Check out our Answers community for troubleshooting help.
Cancel: I did not complete this guide.
47 other people completed this guide.

2 Guide Comments
So in step 21 the grounding plate that sits on top of the bracket… which flex is that attached to? This X i’m working on was used for navigation on a motorcycle trip by my client and from that point on the rear came image was vibrating. I noticed this flex is torn but can’t identify the flex it came detached from. Hope someone knows so I don’t need to pull it apart to find out before gettinf the right parts in?! Many thanks in advance
It’s bluetooth antena flex