
iPhone 7 Plus Taptic Engine Replacement

Scott Havard and
Last updated on May 3, 2023
Views: 56K
View statistics:
- Past 24 Hours:
- 4
- Past 7 Days:
- 47
- Past 30 Days:
- 206
- All Time:
- 56,113
Comments: 178
175 comments on steps, 3 guide comments.
Go to guide commentsCompleted: 63 64
63 people have marked this guide "completed." Will you be next?
64 people have marked this guide "completed." Including you — great job!
Favorites: 15 16
15 people have favorited (and subscribed to) this guide. Will you be next?
16 people have favorited (and subscribed to) this guide — including you!
Introduction
Go to step 1 ↓The Taptic Engine produces your iPhone's vibration and haptic feedback functions. Use this guide to remove and/or replace the Taptic Engine in an iPhone 7 Plus.
This guide instructs you to completely detach the display assembly; this is intended to prevent damage to the display cables. If you feel comfortable removing the Taptic Engine without putting undue strain on the display cables, you can skip the steps for disconnecting the display.
What you need


-
-
-
Power off your iPhone before beginning disassembly.
-
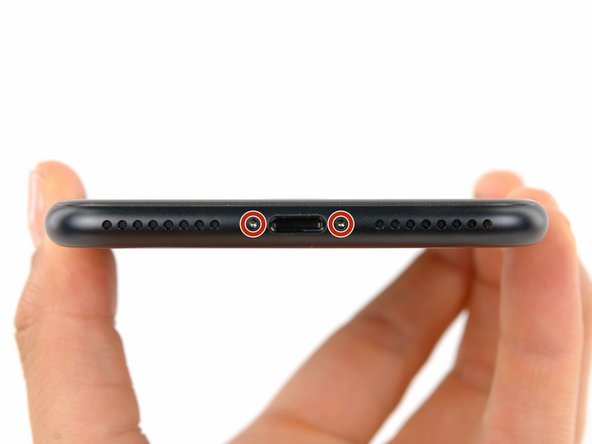
Remove the two 3.4 mm pentalobe screws at the bottom edge of the iPhone (using a P2 screw bit, if you have a set of bits).
 Ask FixBot
-
-
-
-
-
Measure 3 mm from the tip and mark the opening pick with a permanent marker.
-
-
-
-
Tool used on this step:Clampy - Anti-Clamp$24.95
-
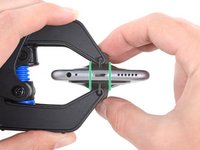
Pull the blue handle backwards to unlock the Anti-Clamp's arms.
-
Slide the arms over either the left or right edge of your iPhone.
-
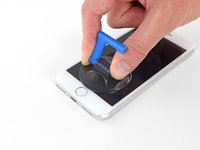
Position the suction cups near the bottom edge of the iPhone just above the home button—one on the front, and one on the back.
-
Squeeze the cups together to apply suction to the desired area.
-
-
-
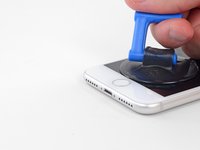
Pull the blue handle forwards to lock the arms.
-
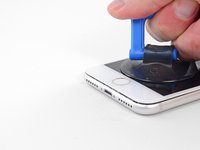
Turn the handle clockwise 360 degrees or until the cups start to stretch.
-
Make sure the suction cups remain aligned with each other. If they begin to slip out of alignment, loosen the suction cups slightly and realign the arms.
-
-
-
Heat an iOpener and thread it through the arms of the Anti-Clamp.
-
Fold the iOpener so it lays on the bottom edge of the iPhone.
-
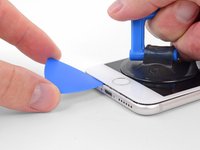
Wait one minute to give the adhesive a chance to release and present an opening gap.
-
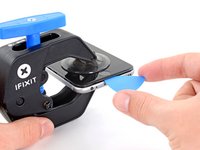
Insert an opening pick into the gap.
-
Skip the next three steps.
-
-
-
Apply a heated iOpener to the bottom edge of the screen for two minutes. This softens the adhesive securing it.
-
Alternatively, you can use a hair dryer or heat gun to heat the bottom half of the screen until it’s slightly too hot to touch
-
-
-
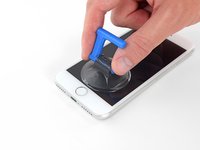
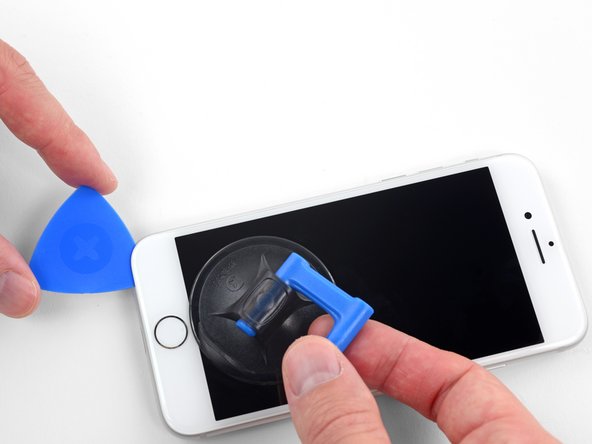
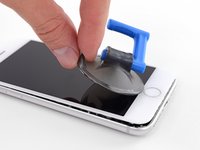
Apply a suction cup to the lower half of the front panel, just above the home button.
-
-
-
Pull up on the suction cup with firm, constant pressure to create a slight gap between the screen and the frame.
-
Insert an opening pick into the gap.
-
-
-
Slide the opening pick up the left edge of the phone starting at the lower edge and moving towards the volume control buttons and silent switch, breaking up the adhesive holding the display in place.
-
Stop near the top left corner of the display.
-
-
-
-
Re-insert your tool at the lower right corner of the iPhone, and slide it around the corner and up the right side of the phone to separate the adhesive.
-
-
-
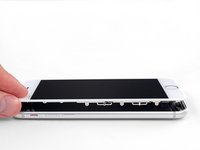
Gently pull up on the suction cup to lift up the bottom edge of the display.
-
Pull on the small nub on the suction cup to remove it from the front panel.
-
-
-
Slide an opening pick underneath the display around the top left corner and along the top edge of the phone to loosen the last of the adhesive.
-
-
-
Slide the display assembly slightly down (away from the top edge of the phone) to disengage the clips holding it to the rear case.
-
-
-
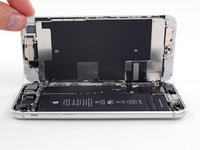
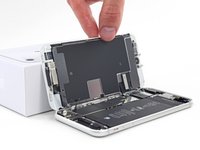
Open the iPhone by swinging the display up from the left side, like the back cover of a book.
-
Lean the display against something to keep it propped up while you're working on the phone.
-
-
-
-
-
Remove the following four tri-point Y000 screws securing the lower display cable bracket to the logic board:
-
Three 1.2 mm screws
-
One 2.6 mm screw
-
-
-
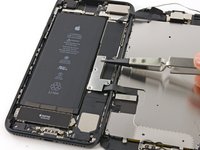
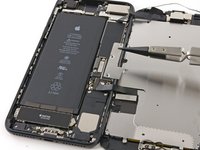
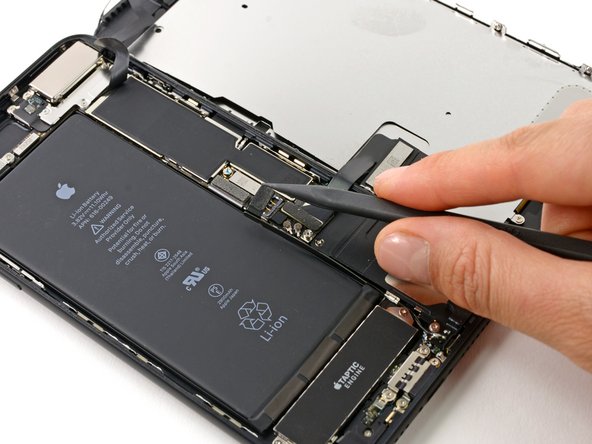
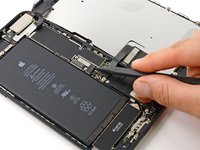
Use the point of a spudger to lift the battery connector out of its socket on the logic board.
-
-
-
-
-
Use the flat end of a spudger or a fingernail to disconnect the two lower display connectors by prying them straight up from their sockets on the logic board.
-
-
-
Remove the three tri-point Y000 screws securing the bracket over the front panel sensor assembly connector:
-
One 1.3 mm screw
-
Two 1.0 mm screws
-
Remove the bracket.
-
-
-
Disconnect the front panel sensor assembly connector from its socket on the logic board.
-
-
-
-
-
Remove the following two Phillips screws securing the barometric vent to the rear case:
-
One 2.9 mm screw
-
One 2.1 mm screw
-
-
-
Gently push the barometric vent in the direction of the Taptic Engine to separate the adhesive securing it to the bottom edge of the iPhone.
-
-
-
-
-
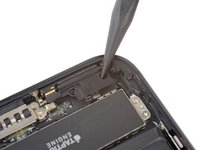
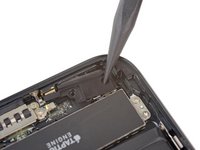
Use the flat end of a spudger to disconnect the Taptic Engine connector from its socket on the logic board.
-
-
-
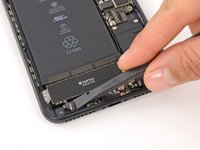
Remove the three 1.5 mm Phillips screws securing the Taptic Engine to the rear case.
-
-




































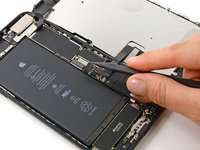
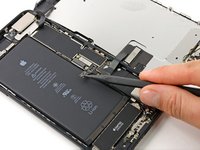


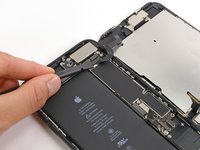
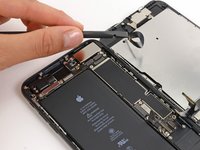




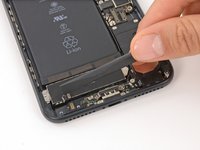


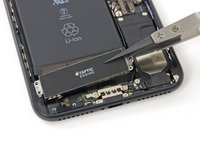
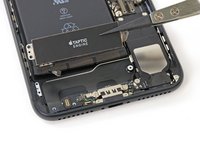
Compare your new replacement part to the original part—you may need to transfer remaining components or remove adhesive backings from the new part before installing.
To reassemble your device, follow the above steps in reverse order.
Take your e-waste to an R2 or e-Stewards certified recycler.
Repair didn’t go as planned? Try some basic troubleshooting, or search our Answers forum for help.
Cancel: I did not complete this guide.
63 other people completed this guide.

3 Guide Comments
is there a replacement taptic engine available to purchase?
Did you end up finding one anywhere?
