Introduction
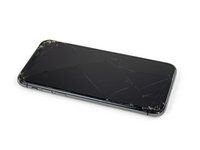
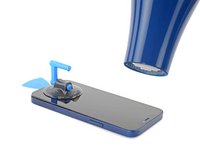
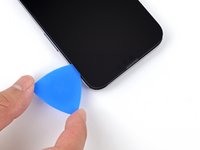
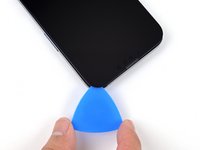
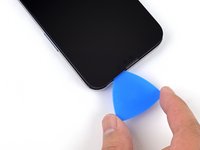
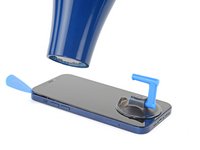
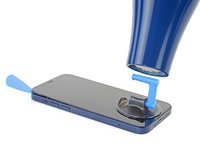
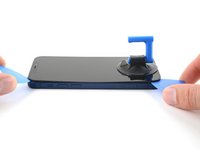
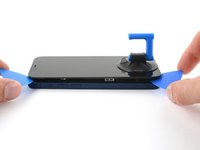
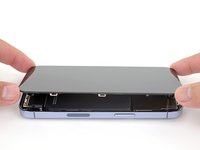
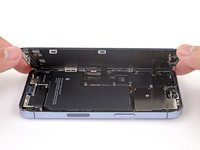
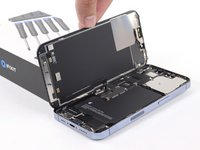
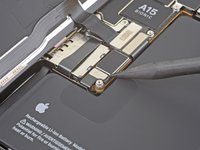
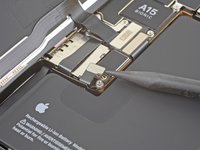
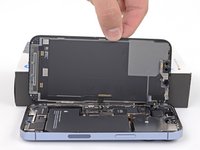
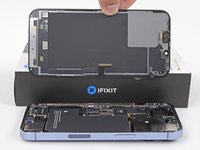
If your iPhone 13 Pro screen is cracked, not responding to touch, or not showing a picture when your phone is powered on, use this guide to restore your iPhone to working order with a new screen, a.k.a. display assembly.
Note: On iOS 17.6 and earlier, True Tone and auto brightness functionality is disabled after a screen replacement, even when using an original Apple screen. Face ID is also disabled, unless the iPhone is running iOS 15.2 or newer. On iOS 18 and newer, you can calibrate your new screen using Apple's Repair Assistant to restore True Tone functionality on genuine screens purchased from Apple.
What you need
-
-
Power off your iPhone before beginning disassembly.
-
Remove the two 6.8 mm-long pentalobe P2 screws at the bottom edge of the iPhone.
-
-
-
Measure 3 mm from the tip and mark the opening pick with a permanent marker.
-
-
-
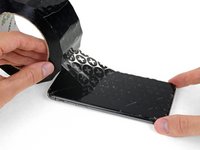
Lay overlapping strips of clear packing tape over the iPhone's screen until the whole face is covered.
-
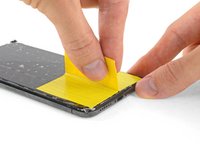
If you can't get the suction cup to stick in the next few steps, fold a strong piece of tape (such as duct tape) into a handle and lift the screen with that instead.
-
-
Tool used on this step:Clampy - Anti-Clamp$24.95
-
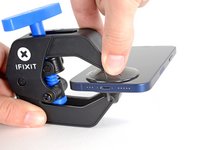
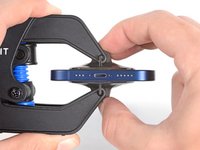
Pull the blue handle backwards to unlock the Anti-Clamp's arms.
-
Slide the arms over the left edge of your iPhone.
-
Position the suction cups near the bottom edge of the iPhone—one on the front, and one on the back.
-
Squeeze the cups together to apply suction to the desired area.
-
-
-
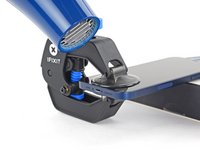
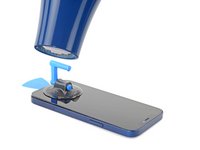
Use a hair dryer to heat along the bottom edge of the iPhone. The screen should feel slightly too hot to touch.
-
Wait one minute to give the adhesive a chance to release and present an opening gap.
-
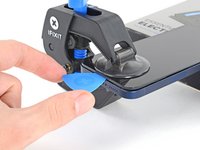
Insert an opening pick under the screen when the Anti-Clamp creates a large enough gap.
-
Skip the next three steps.
-
-
-
Use a hair dryer or a heat gun to heat the bottom edge of the iPhone for 90 seconds or until the screen is slightly too hot to touch.
-
-
-
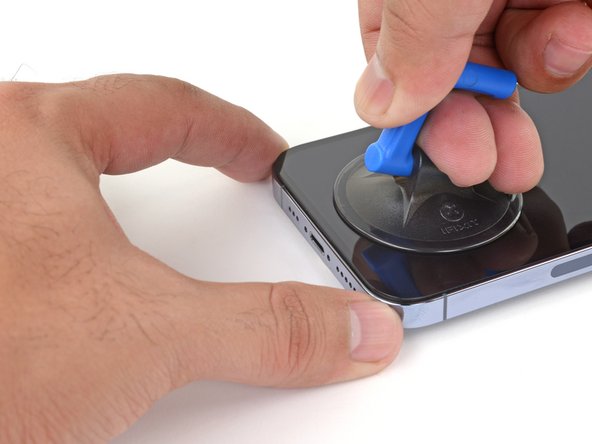
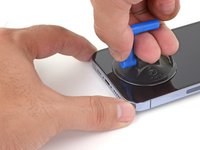
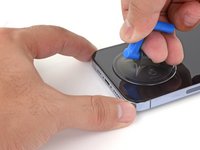
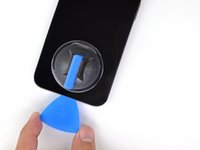
Apply a suction handle to the bottom edge of the phone, while avoiding the very edge of the glass.
-
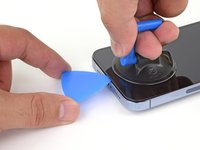
Pull up on the suction cup with firm, constant pressure to create a slight gap between the front panel and rear case.
-
Insert an opening pick into the gap.
-
-
-
Use a hair dryer to heat the right edge of the iPhone (the edge with the power button) for 90 seconds or until the screen is slightly too hot to touch.
-
-
-
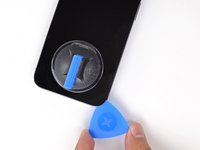
Slide the opening pick around the bottom right corner of the iPhone to separate its adhesive.
-
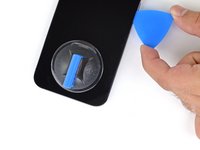
Continue sliding up the right edge of the iPhone until you reach the top right corner.
-
Leave the pick in the top right corner before continuing.
-
-
-
Use a hair dryer to heat the top edge of the iPhone for 90 seconds or until the screen is slightly too hot to touch.
-
-
-
-
Slide the opening pick around the top right corner of the iPhone to separate the top adhesive.
-
Leave the pick in the top left corner before continuing.
-
-
-
Use a hair dryer to heat the left edge of the iPhone for 90 seconds or until the screen is slightly too hot to touch.
-
-
-
Insert a second opening pick in the bottom left corner of the iPhone.
-
Twist both picks simultaneously until the left edge clips release.
-
-
-
Remove your suction handle from the screen.
-
Open your iPhone by swinging the display up from the right side, like the front cover of a book.
-
Lean the display against something to keep it propped up while you're working on the phone.
-
-
Tool used on this step:Magnetic Project Mat$19.95
-
Use a Y000 screwdriver to remove the three 1.3 mm screws securing the battery connector cover.
-
-
-
Use the pointed end a spudger or a clean fingernail to pry the battery connector up from its socket on the logic board.
-
Bend the connector slightly away from the logic board to prevent it from accidentally making contact with the socket and providing power to the phone during your repair.
-
-
-
Use the pointed end of a spudger or a clean fingernail to pry the display connector up from its socket on the logic board.
-
-
-
Use a Y000 screwdriver to remove two 1.1 mm screws from the front sensor connector cover.
-
Use a Phillips screwdriver to remove the remaining two screws from the cover:
-
One 1.5 mm screw
-
One 1.8 mm screw
-
-
-
Use a Y000 screwdriver to remove the three 1.4 mm-long screws securing the from sensor assembly bracket.
-
-
Tool used on this step:Tweezers$4.99
-
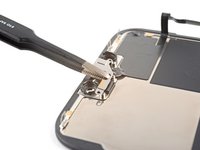
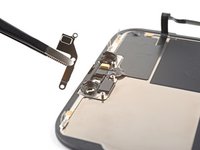
Use tweezers, or your fingers, to remove the front sensor assembly bracket.
-
-
-
Heat an iOpener and apply it to the top edge of the screen for two minutes.
-
-
-
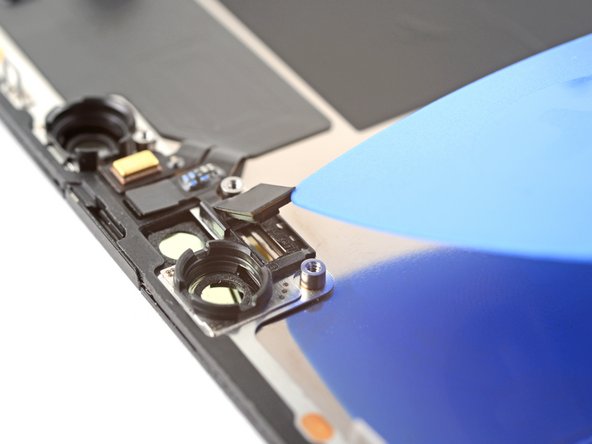
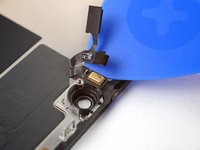
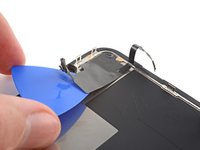
Insert an opening pick between the ambient light sensor and its recess in the screen.
-
Pry up with the pick to separate the ambient light sensor from the screen.
-
-
-
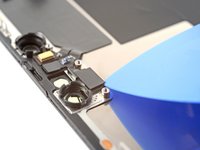
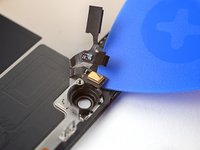
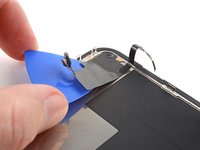
Insert an opening pick between the proximity sensor and its recess in the screen.
-
Pry up with the pick to separate the proximity sensor from the screen.
-
-
-
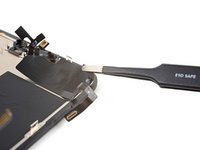
Use tweezers, or your fingers, to move the proximity sensor cable away from the screen.
-
-
-
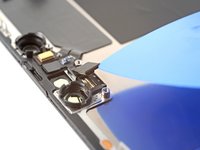
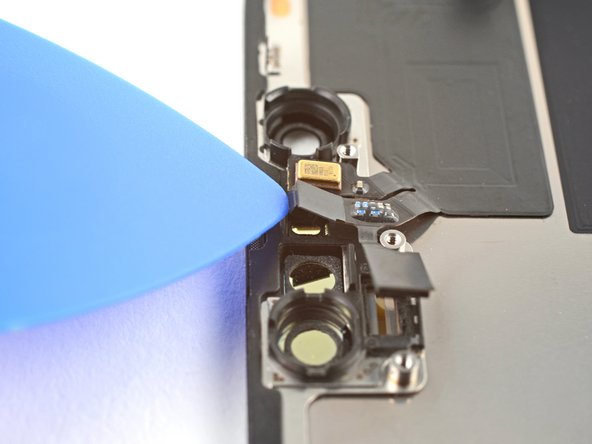
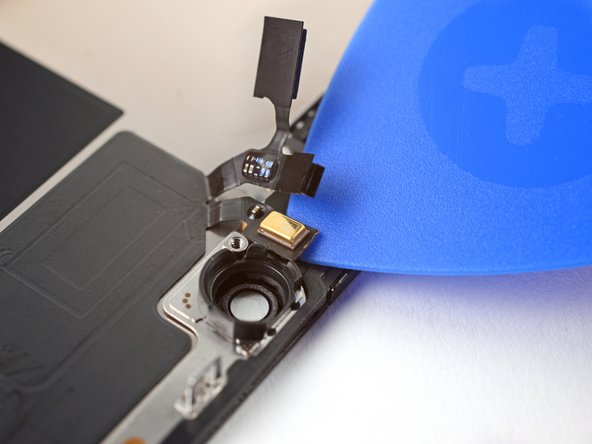
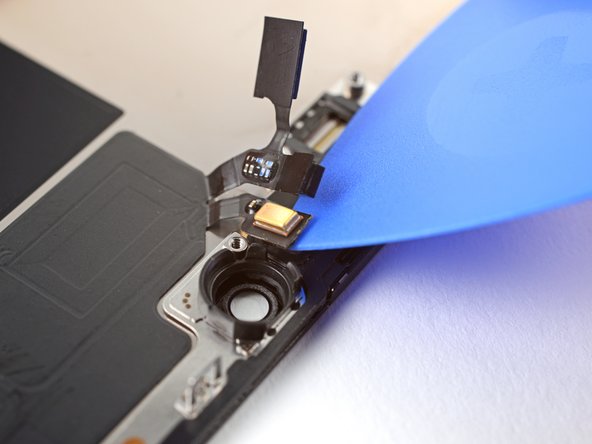
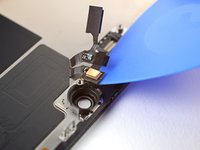
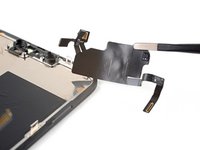
Insert an opening pick under the microphone cable, close to the microphone (the metal rectangle).
-
Slide the opening pick around the perimeter of the microphone to separate its adhesive.
-
-
-
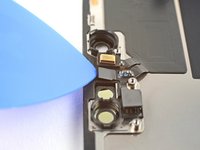
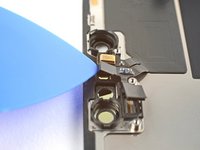
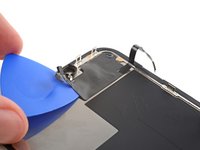
Insert an opening pick under the left side of the front sensor assembly.
-
Slide the pick under the assembly to separate it from the frame.
-
Compare your new replacement part to the original part—you may need to transfer remaining components or remove adhesive backings from the new part before installing.
To reassemble your device, follow the above steps in reverse order.
After your repair, depending on the replacement part, you may be able to calibrate it using Apple's Repair Assistant, available as of iOS 18. Update your device, navigate to Settings → General →About → Parts & Service History, tap Restart & Finish Repair, and follow the onscreen prompts.
Take your e-waste to an R2 or e-Stewards certified recycler.
Repair didn’t go as planned? Repair didn’t go as planned? Try some basic troubleshooting, or ask our iPhone 13 Pro Answers community for troubleshooting help.
Cancel: I did not complete this guide.
26 other people completed this guide.
10 Guide Comments
True Tone and auto brightness functionality is disabled after a screen replacement, even when using an original Apple screen. Face ID is also disabled, unless the iPhone is running iOS 15.2 or newer.
How True are these comments above
Unless it's done buy an authorized Apple service centre the True Tone doesn't work, I didn't realize what a hassle not having True Tone is until I didn't have it. I was charged $600 to replace my screen just to find out Apple only charges $400, I got my old screen back swapped the screens, taking the screen back to the repair place and taking my phone in to get the screen swapped properly. Was pretty !#^&@@ off when I found all this out.


