Introduction
This repair guide was authored by the iFixit staff and hasn’t been endorsed by Google. Learn more about our repair guides here.
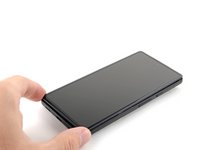
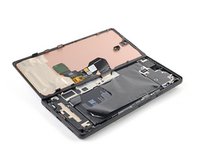
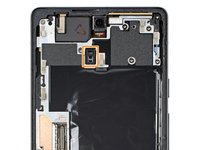
Use this guide to replace the screen for your Google Pixel 6a.
For your safety, discharge the battery below 25% before disassembling your phone. This reduces the risk of fire if the battery is accidentally damaged during the repair. If your battery is swollen, take appropriate precautions.
Your new replacement screen will come with the fingerprint reader already attached. If not, you will need to reinstall the original fingerprint reader to your new replacement screen and recalibrate the reader to maintain its functionality.
You'll need replacement adhesive in order to complete this repair.
What you need
Video Overview
-
-
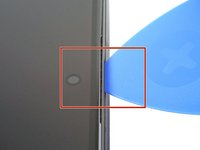
Screen seam: This seam separates the screen from the rest of the phone. Do not pry at this seam.
-
Bezel seam: This is where the plastic bezel designed to protect the screen meets the frame. It's held in place by plastic clips. This is where you should pry.
-
-
Tool used on this step:Clampy - Anti-Clamp$24.95
-
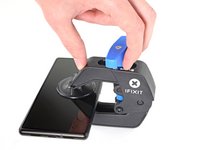
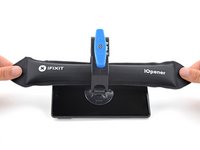
Pull the blue handle backwards to unlock the Anti-Clamp's arms.
-
Slide the arms over the right edge of your phone.
-
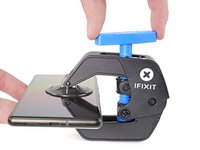
Position the suction cups near the middle of the right edge of the phone—one on the front, and one on the back.
-
Squeeze the cups together to apply suction.
-
-
-
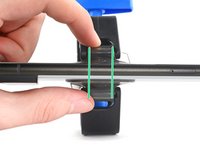
Heat an iOpener and thread it through the arms of the Anti-Clamp so it lays on the right edge of the phone.
-
Wait one minute to give the adhesive a chance to release and present an opening gap.
-
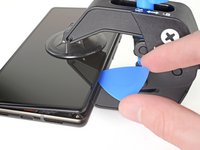
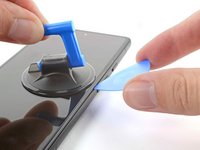
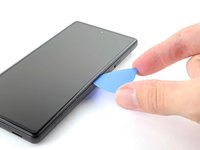
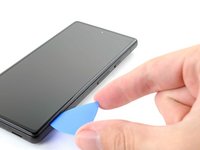
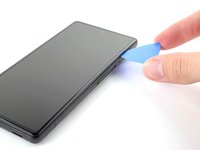
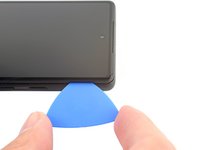
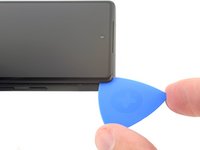
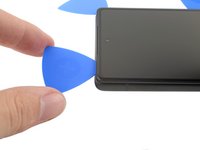
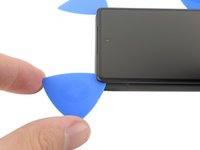
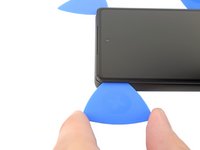
Insert an opening pick under the screen frame when the Anti-Clamp creates a large enough gap.
-
Skip the next two steps.
-
-
-
Heat an iOpener and apply it to the right edge of the screen for two minutes.
-
-
-
-
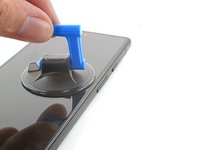
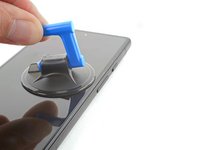
Apply a suction cup to the screen, as close to the center of the right edge as possible.
-
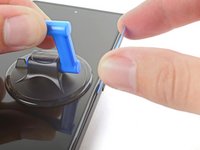
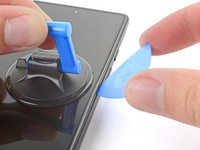
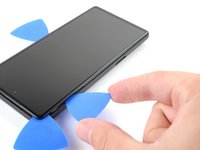
Pull up on the suction cup with strong, steady force to create a gap between the bezel and the frame.
-
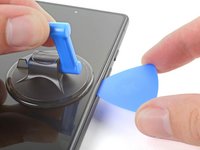
Insert an opening pick into the gap.
-
-
-
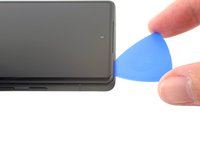
While still applying suction, pivot the pick upwards to a steep angle.
-
Carefully push the pick in while prying to reposition the opening pick into the bezel seam.
-
-
-
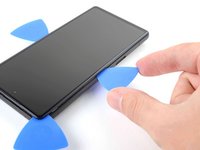
Slide the pick along the right edge to release the plastic clips securing the bezel to the frame.
-
Position the pick at the top-right edge before moving to the next step.
-
-
-
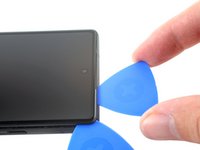
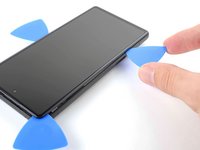
Rotate the opening pick around the top-right corner of the phone to release the clips.
-
Leave the opening pick in the top-right corner to prevent the clips from re-locking.
-
-
-
Insert a new opening pick into the gap you just created.
-
Slide the pick along the top edge to release the clips.
-
-
-
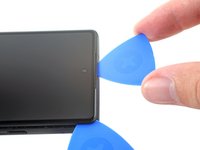
Rotate the opening pick around the top-left corner of the phone to release the clips.
-
Leave the opening pick in the top-left corner to prevent the clips from re-locking.
-
-
-
Insert a new opening pick into the gap you just created.
-
Slide the pick along the left edge to release the clips.
-
Repeat the rotating and sliding procedure for the remaining edge.
-
-
-
Lift the right edge of the screen up and towards the left side of the device, like opening a book.
-
Rest the screen upside down and parallel to the frame before continuing.
-
-
Tool used on this step:Tweezers$4.99
-
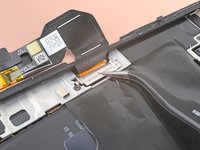
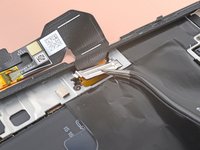
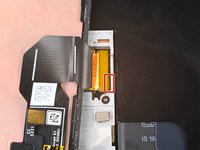
Use tweezers to bend the bottom side of the bracket upwards, releasing the metal clip.
-
Remove the display cable bracket.
-
-
-
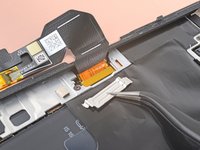
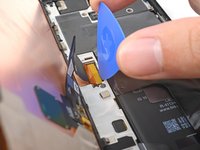
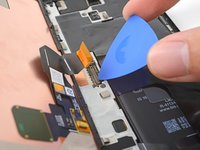
Insert the tip of an opening pick under the bottom right edge of the display cable press connector, right above the nearby screw hole.
-
Pry up and disconnect the display cable press connector.
-
-
-
When handling your screen, grip it by its edges.
-
When placing the screen on your work area, make sure nothing is touching the bottom of the screen. Consider placing it on a soft, lint-free cloth.
-
-
-
Remove the screen.
-
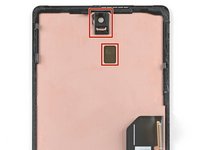
If you replaced your screen, check the front-facing camera hole and the sensor cutout on your replacement screen, and remove any remaining liners.
-
Check your phone if the proximity sensor's rubber gasket is missing—it might be stuck to the back of your old screen. Replace it if necessary.
-
This is a good point to test your phone before sealing it up. Temporarily connect your screen, power on your phone, and make sure it works as expected. Before continuing with reassembly, power off your phone.
-
Follow this guide to replace the screen adhesive.
-
If you're installing a new screen, follow this guide to calibrate the fingerprint sensor.
-
Compare your new replacement part to the original part—you may need to transfer remaining components or remove adhesive backings from the new part before you install it.
To reassemble your device, follow these instructions in reverse order.
To run a diagnostics test with the built-in Pixel Diagnostic tool, click here.
Repair didn’t go as planned? Try some basic troubleshooting, or ask our Google Pixel 6a Answers community for help.
Cancel: I did not complete this guide.
225 other people completed this guide.
99 Guide Comments
How do I glue the new screen to make it waterproof.
Just replaced the screen and it is a GREAT REPLACEMENT. Only issue is the fingerprint reader isn't working. Issue is with google NOT this replacement screen. I haven't been able to find a solution. Even when trying to install google's "Install fingerprint calibration software". I have an appointment with "Ufixit" to see if they can resolve it. Google's tech said it isn't a common issue but just wanted to share my experience.
Also...Install steps only show how to take the screen off. Steps to install would be helpful because there are some tips to aligning/applying the adhesive that would be helpful to consumers.
the new display's fringer sensor must be replaced with the same(old screen's).
Jon, the comment immediately above mine is incorrect. You do NOT need to replace the new fingerprint sensor with the old one. It's built into the screen. I don't know how you'd even do this. The iFixit page for the screen itself, as well as the instructions above, and so many commenters, all point out that the fingerprint sensor will need to be recalibrated after replacement. As others noted, make sure you've got the Pixel USB drivers installed and that Windows can see your phone. Do the screen replacement as described. Then go to the pixelrepair.withgoogle.com page, shut down the phone, reboot in fastboot mode and install the calibration software. It's all there on the Google page. Once connected, it took about 5 seconds for Google to update/calibrate my sensor. I booted the phone, logged in with a PIN and then tried several apps secured with fingerprint. They all opened like normal. I was able to fingerprint back into the phone. It works fine.


