Introduction
使用此指南来代替故障的音量控制排线,这包括上下音量的按钮,以及铃声/静音控制键。
如果您想替换物理按钮封面,我们也有指南:iPhone 6 Volume Control Buttons Replacement
What you need
-
-
将蓝色的手柄朝铰链的方向拉,以解除反向钳的分离模式。
-
将支撑臂滑过 iPhone 的左边缘或右边缘。
-
将两个吸盘放到Home键上方的屏幕——一个在前,一个在后(屏幕朝向自己的地方为前)。
-
将上方吸盘向下压以施加吸力到目标位置。
-
-
-
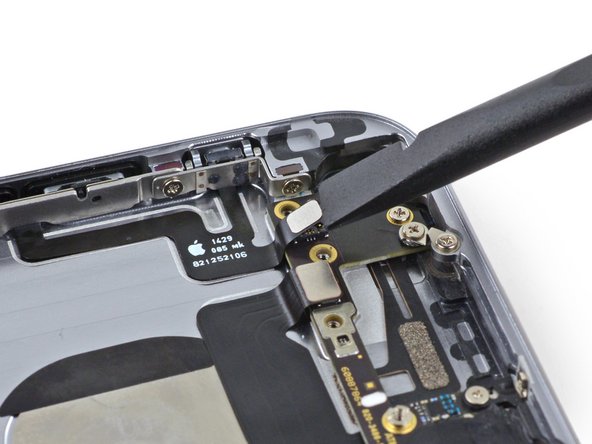
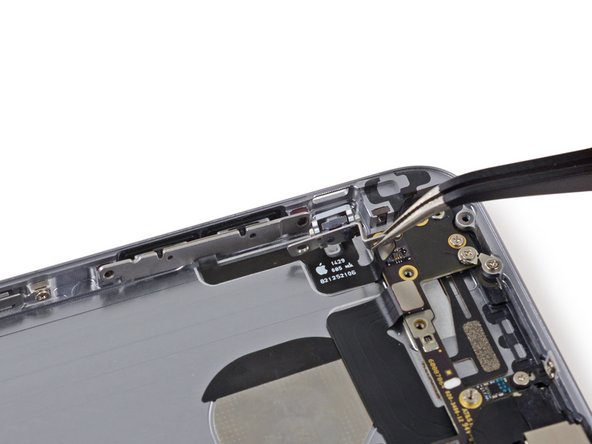
卸下电池排线固定架上的两颗十字型螺丝。
-
一个2.2毫米螺丝
-
一个3.2毫米螺丝
-
-
-
-
揭开电池底部的两个贴纸中右边那个,这是胶条的拉手。
-
或者,在您继续操作之前,您可以卸下固定振动器的两颗十字螺丝,然后将振动器取出,从而获得更多间隙以便成功拔出电池胶条。
-
-
-
如果电池仍然粘在后壳上, 请准备一个iOpener或使用吹风机直接加热电池后面的后壳。 应该加热到稍微有点热而无法舒适地触摸的程度。
-
然后,使用塑料打开工具轻轻提起电池。
-
或者在机身和电池之间插入一个塑料卡。
-
相对于牙线,一种更强的替代品是未缠绕的吉他弦,例如 12 弦组中的 0.009 E 弦。
-


将您的设备,遵循这些指示,逆序组装你的设备
将您的设备,遵循这些指示,逆序组装你的设备
Cancel: I did not complete this guide.
59 other people completed this guide.
Special thanks to these translators:
100%

Leeroy_ is helping us fix the world! Want to contribute?
Start translating ›


2 Comments
These instructions are so AWESOME to be able to reference! That last 1.8mm screw was a pain to get out of my phone. Step-by-Step, worked EXCELLENT. Thanks for posting these!
TRICKY BITS: replacing the mute switch lever onto the cable assembly is a bit…interesting. It was only when I used the Head Magnifier that I was able to see the mechanics of the switch and fit it on. There needs to be a seriously microscopic shot of that mechanical fit!
But, get the magnifier, it’s great for digging out splinters from your fingers.
SUGGESTION: Once you get the switch and the bracket situated, but before you stick the control cable to the case, make sure the switch functions. I had to loosen the three screws and place pressure on the assembly, holding the switch firmly in place, before it made a solid fit-then I tightened the three screws. Voila, the switch works!
Only then should did I bond the cable to the case
And now my phone rings again! Yay, no more missed calls!