Introduction
If your iPhone 14 Plus screen is cracked, not responding to touch, or not showing a picture when your phone is powered on, use this guide to restore your iPhone to working order with a new screen, a.k.a. display assembly.
This guide was created using the A2886 (international) model. If you're fixing a different iPhone 14 Plus model, there may be some visual discrepancies, but the procedure should be the same.
Note: On iOS 17.6 and earlier, True Tone and auto brightness functionality is disabled after a screen replacement, even when using an original Apple screen. Face ID is also disabled, unless the iPhone is running iOS 15.2 or newer. On the latest iOS version, you can calibrate your new screen using Apple's Repair Assistant to restore True Tone functionality. This may happen automatically.
You’ll need replacement adhesive to reattach the screen when reassembling the device. Your device will function normally, but will most likely lose its IP (Ingress Protection) rating.
What you need
-
-
Power off your iPhone before beginning disassembly.
-
Remove the two 6.8 mm-long pentalobe P2 screws at the bottom edge of the iPhone.
 Ask FixBot
-
-
-
Measure 3 mm from the tip and mark the opening pick with a permanent marker.
-
-
-
Lay overlapping strips of clear packing tape over the iPhone's screen until the whole face is covered.
-
If you can't get the suction cup to stick in the next few steps, fold a strong piece of tape (such as duct tape) into a handle and lift the screen with that instead.
-
-
-
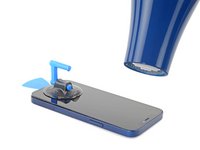
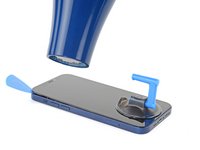
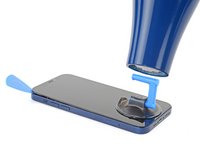
Use a hair dryer or a heat gun to heat the bottom edge of the iPhone until the screen is slightly too hot to touch.
-
-
-
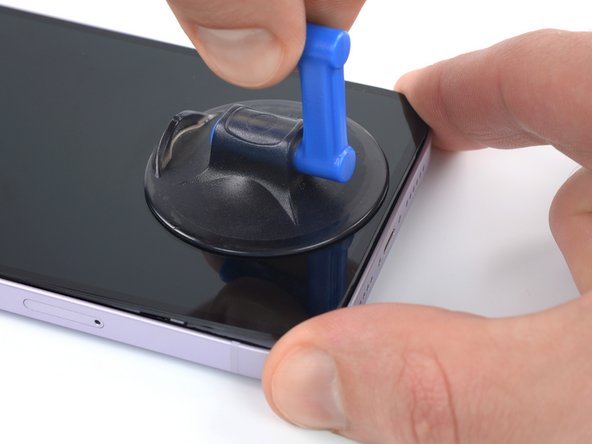
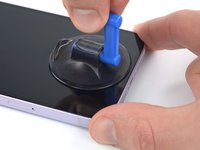
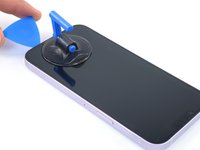
Apply a suction handle to the bottom edge of the phone, while avoiding the very edge of the glass.
-
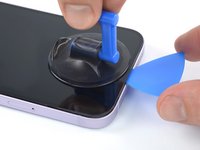
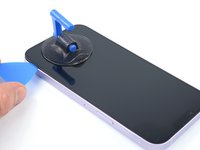
Pull up on the suction cup with firm, constant pressure to create a slight gap between the screen and the frame.
-
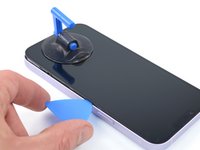
Insert an opening pick into the gap under the screen's plastic bezel.
-
-
-
Heat the right edge of the iPhone (the edge with the power button) until the screen is slightly too hot to touch.
-
-
-
Slide the opening pick around the bottom right corner of the iPhone to separate its adhesive.
-
Continue sliding up the right edge of the iPhone until you reach the top right corner.
-
Leave the pick in the top right corner before continuing.
-
-
-
Heat the top edge of the iPhone until the screen is slightly too hot to touch.
-
-
-
Slide the opening pick around the top right corner of the iPhone to separate the top adhesive.
-
Leave the pick in the top left corner before continuing.
-
-
-
Heat the left edge of the iPhone until the screen is slightly too hot to touch.
-
-
-
-
Rotate your pick around the top left corner of the screen.
-
Slide your pick to the bottom left corner of the screen to separate the adhesive.
-
-
-
Remove your suction handle from the screen.
-
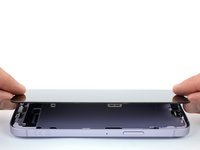
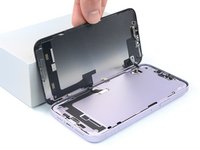
Rotate your iPhone so the right edge faces you.
-
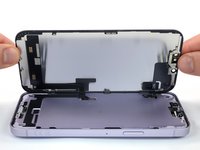
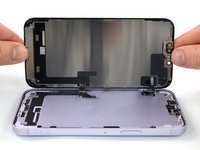
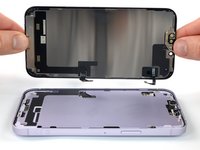
Open your iPhone by swinging the screen up from the right side, like the front cover of a book.
-
Lean the screen against something to keep it propped up while you're working on the phone.
-
-
Tool used on this step:Magnetic Project Mat$19.95
-
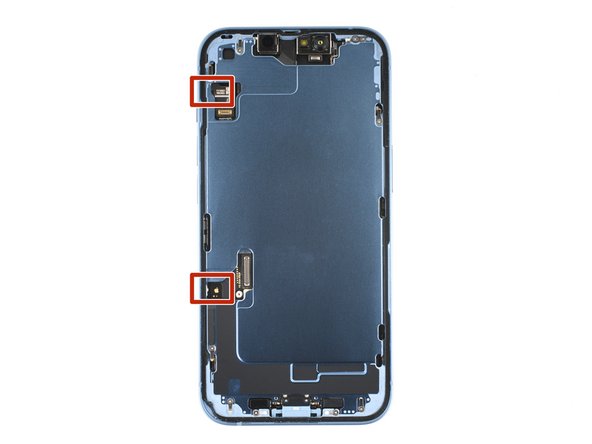
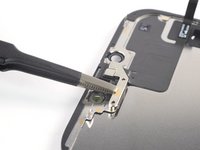
Use a Y000 screwdriver to remove the the 0.8 mm-long screw securing the display connector bracket.
-
-
Tool used on this step:Tweezers$4.99
-
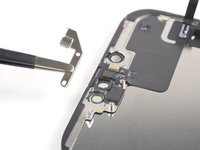
Grasp the screw hole end of the connector bracket with a pair of tweezers.
-
Lift the the bracket slightly to loosen the latch on the other edge.
-
Remove the display connector bracket.
-
-
-
Use the pointed end of a spudger to disconnect the display cable by prying the connector straight up from its socket.
-
-
-
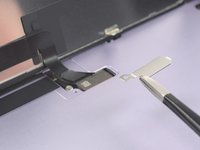
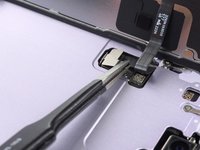
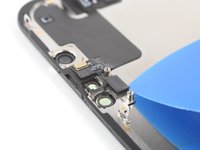
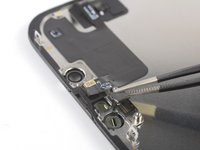
Use a Y000 screwdriver to remove the 1 mm-long screw securing the front sensor connector bracket.
-
-
-
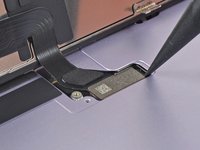
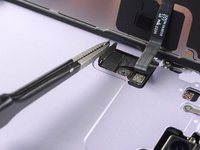
Grasp the screw hole end of the connector bracket with a pair of tweezers.
-
Lift the the bracket slightly to loosen the latch on the other edge.
-
Remove the front sensor connector bracket.
-
-
-
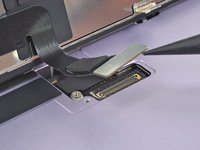
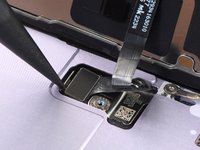
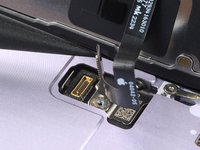
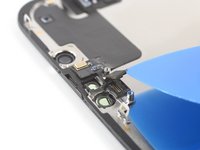
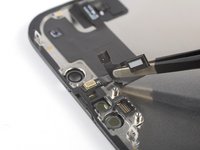
Use the pointed end of a spudger to disconnect the front sensor cable by prying the connector straight up from its socket.
-
-
-
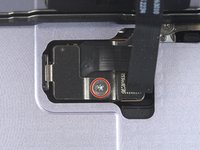
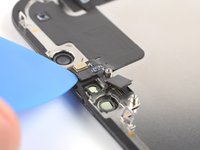
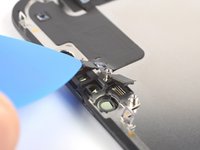
Use a Y000 screwdriver to remove the two 1.4 mm-long screws securing the sensor assembly bracket.
-
-
Tool used on this step:Tweezers$4.99
-
Use tweezers, or your fingers, to remove the front sensor assembly bracket.
-
-
-
Heat an iOpener and apply it to the top edge of the screen for two minutes.
-
-
-
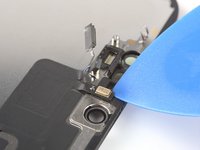
Insert an opening pick between the ambient light sensor and its recess on the screen.
-
Pry up with the pick to separate the ambient light sensor from the screen.
-
-
-
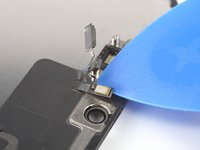
Insert an opening pick between the proximity sensor and its recess on the screen.
-
Pry up with the pick to separate the proximity sensor from the screen.
-
-
-
Use tweezers, or your fingers, to move the proximity sensor cable away from the screen.
-
-
-
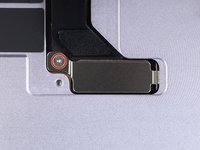
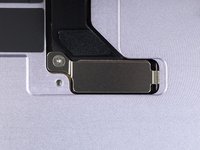
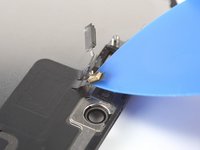
Insert an opening pick under the microphone cable, close to the microphone (the metal rectangle).
-
Slide the opening pick around the perimeter of the microphone to separate its adhesive.
-
-
-
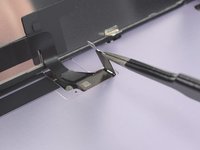
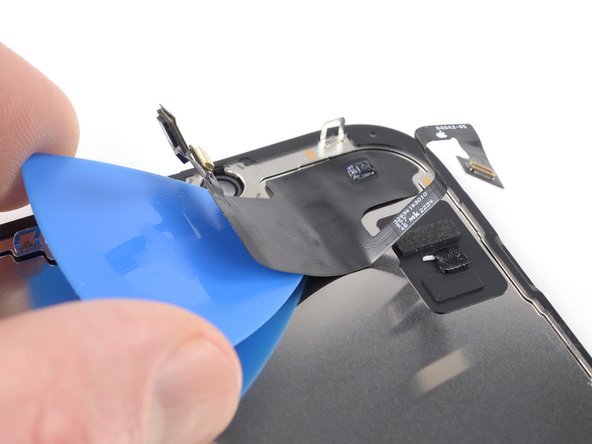
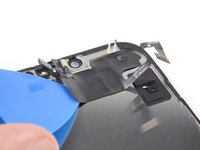
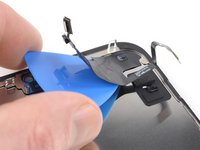
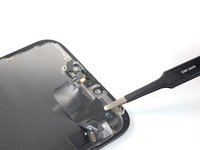
Insert an opening pick under the left side of the front sensor assembly.
-
Slide the pick under the assembly to separate it from the frame.
-
-
Tool used on this step:Tesa 61395 Tape$8.95
-
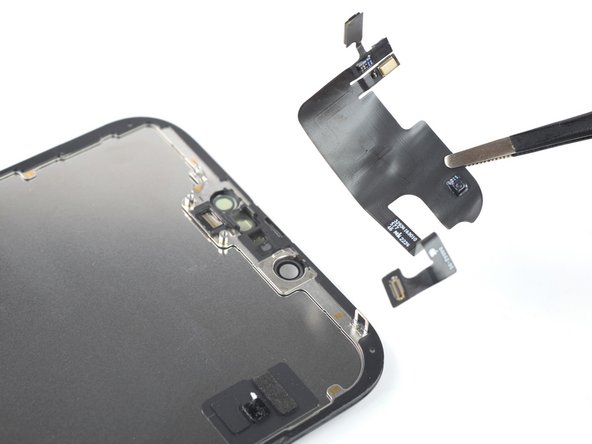
Remove the front sensor assembly.
-
Connect the sensors to their slots in the frame to help align the main section of the assembly.
-
Use Tesa tape to re-adhere any sections of the assembly that are no longer sticky.
-


If possible, turn on your device and test your repair before installing new adhesive and resealing.
To reassemble your device, follow these instructions in reverse order.
After your repair, depending on the replacement part, you may be able to calibrate it using Apple's Repair Assistant, available as of iOS 18. Update your device, navigate to Settings → General →About → Parts & Service History, tap Restart & Finish Repair, and follow the onscreen prompts.
The best way to secure the new screen is to apply a sheet of custom-cut double-sided tape to the frame and place the screen back in its original position.
Take your e-waste to an R2 or e-Stewards certified recycler.
Repair didn’t go as planned? Try some basic troubleshooting, or ask our Answers community for help.
Cancel: I did not complete this guide.
20 other people completed this guide.


2 Guide Comments
Is this safe without removing the back and unplugging the battery? Assuming the phone doesn't power on by mistake when you are handling it. Normal procedure has always been to unplug battery first but Apple clearly knows people are going to avoid removing the back if possible. No doubt connecting a new screen if the phone has powered on will damage the screen or at least the backlight in some way.
There doesn't seem to be an issue with this anymore, seems Apple figured out the shorting issue. Also, if you fail to turn off the phone before taking screen off (due to broken touch or buttons) it seems to do so itself. Just remember to restart the phone by doing hard reset with Vol up-down and power if it doesn't work right away after replacing screen.