Introduction
Use this guide to replace a cracked or broken screen on your Xiaomi Redmi Note 11 Pro.
If the frame is deformed, it's important to replace it to make sure the new screen will mount correctly and won’t suffer damage from uneven pressure.
If your battery is swollen, take appropriate precautions. Before disassembling your device, discharge the battery below 25%. This reduces the risk of a dangerous thermal event if the battery is accidentally damaged during the repair.
Note: This guide instructs you to replace only the screen while leaving the original frame and motherboard in place. However, some replacement screens come pre-installed in a new frame (a.k.a. chassis), which requires a very different procedure. Make sure you have the correct part before starting this guide.
You’ll need replacement adhesive to reattach the rear glass when reassembling the device. Your device will function normally, but will most likely lose its IP (Ingress Protection) rating.
What you need
-
-
Prepare an iOpener and apply it to the rear glass for at least two minutes to loosen the adhesive underneath.
 Ask FixBot
-
-
-
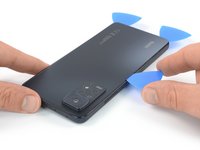
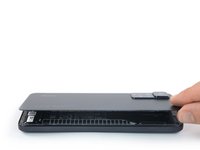
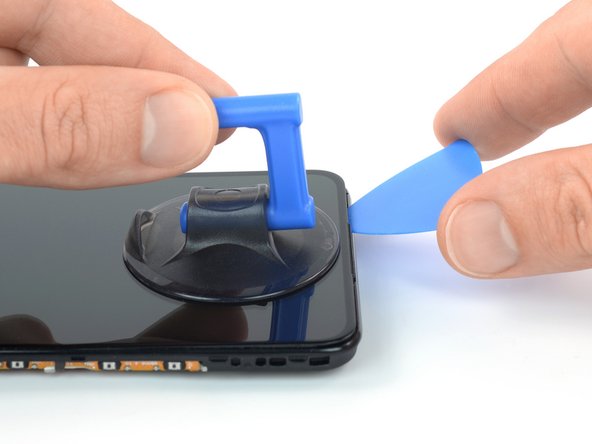
Secure a suction handle to the bottom edge of the rear glass, as close to the edge as possible.
-
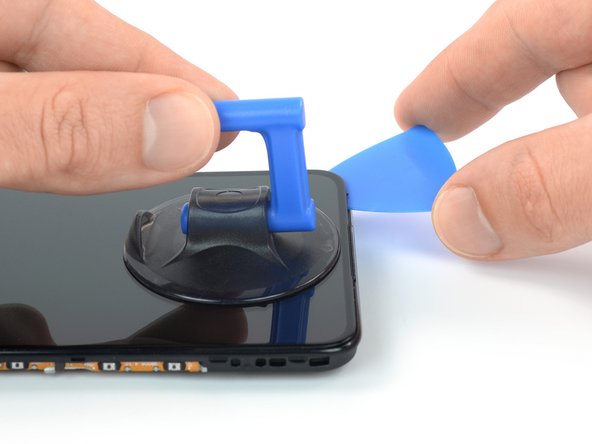
Lift the rear glass with the suction handle to create a small gap between the back cover and the frame.
-
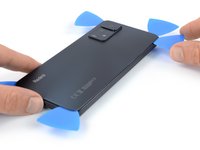
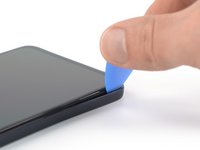
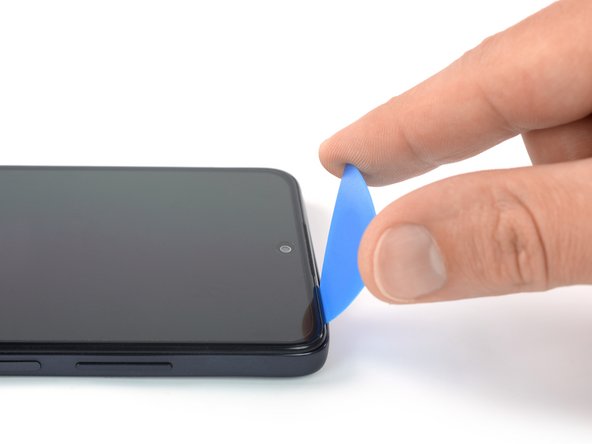
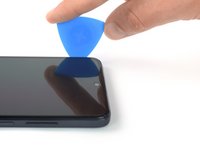
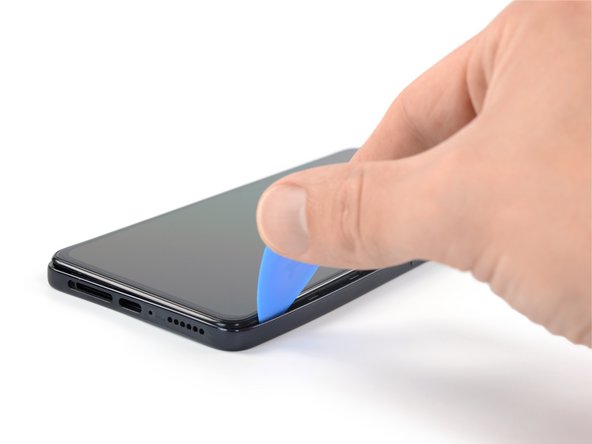
Insert an opening pick into the gap you created.
-
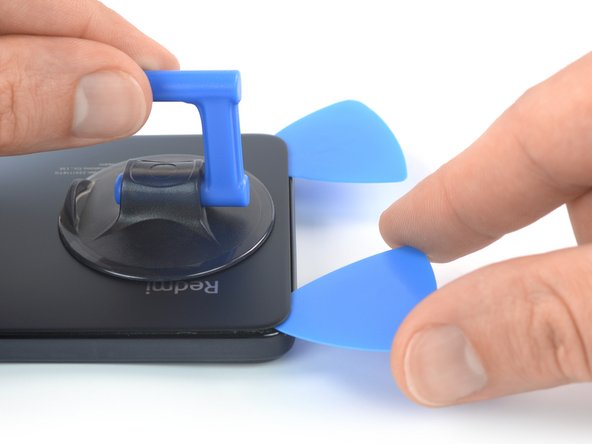
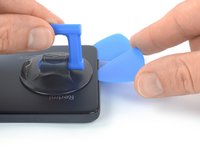
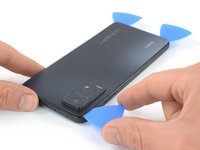
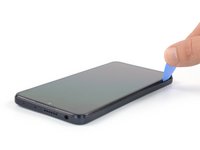
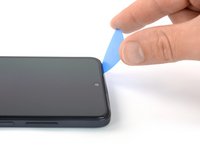
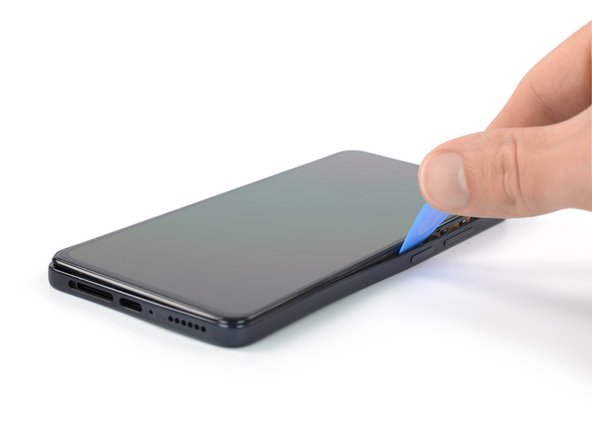
Slide the opening pick to the bottom right corner to slice the adhesive.
-
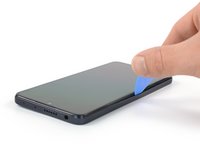
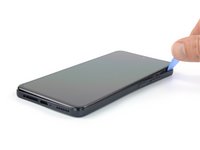
Leave the opening pick in place to prevent the adhesive from resealing.
-
-
-
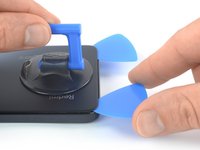
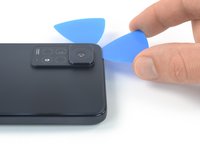
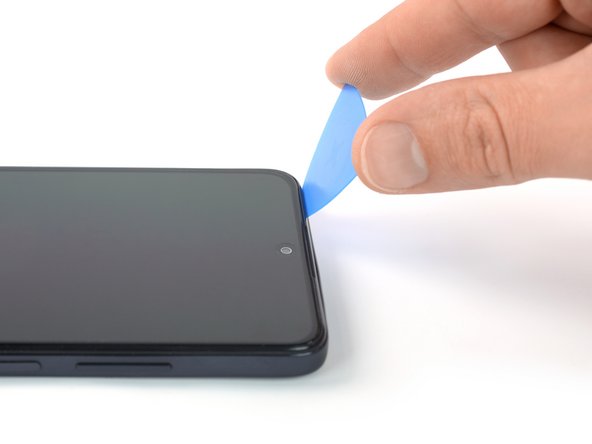
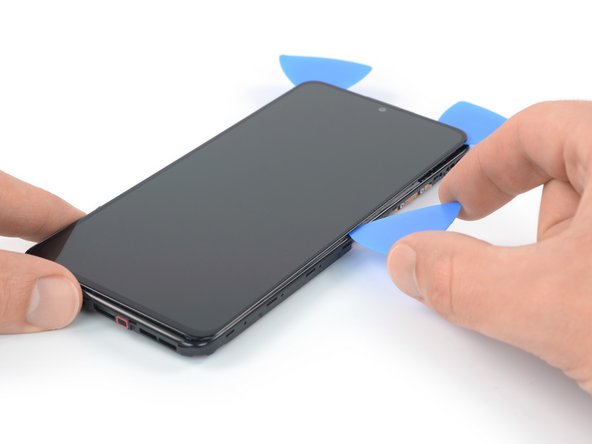
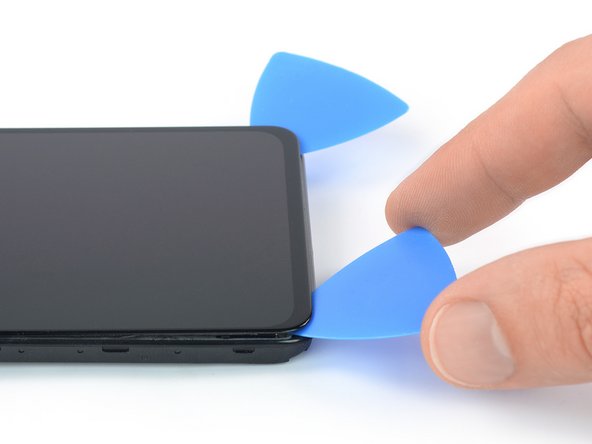
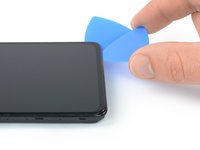
Insert a second opening pick at the bottom edge of your phone.
-
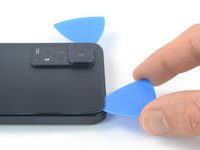
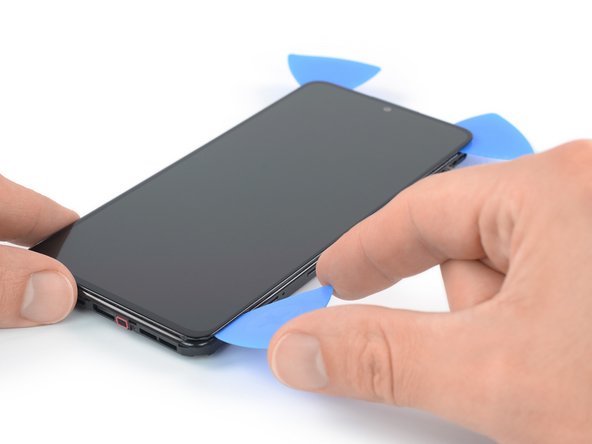
Slide the opening pick to the bottom left corner to slice the adhesive.
-
Leave the opening picks in place to prevent the adhesive from resealing.
-
-
-
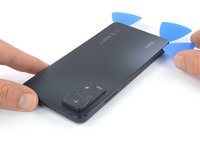
Insert a third opening pick at the bottom left corner of your phone.
-
Slide the opening pick along the left edge of your phone to slice the adhesive.
-
Leave the opening pick in the top left corner to prevent the adhesive from resealing.
-
-
-
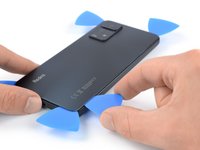
Insert a fourth opening pick underneath the top left corner of your phone.
-
Slide the opening pick along the top edge to slice the adhesive.
-
Leave the opening pick in the top right corner to prevent the adhesive from resealing.
-
-
-
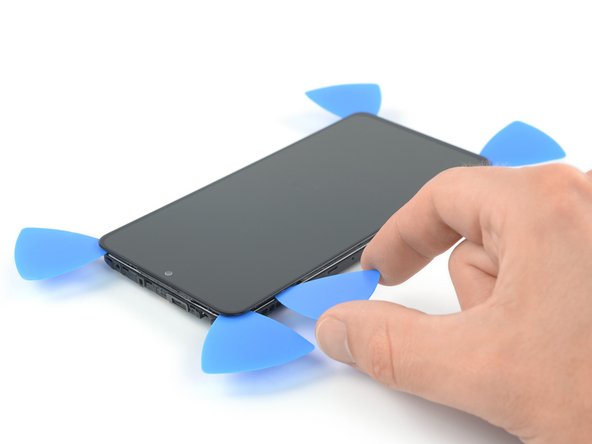
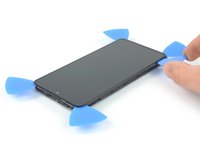
Insert a fifth opening pick underneath the top right corner.
-
Slide the opening pick along the right edge of the rear glass to slice the remaining adhesive.
-
-
-
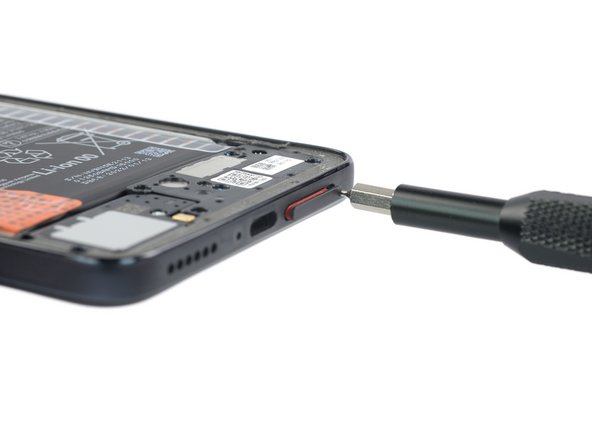
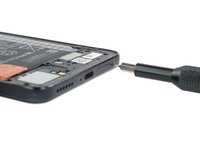
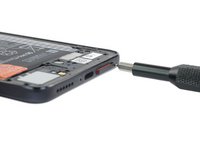
Insert a SIM card eject tool, a SIM eject bit, or a straightened paper clip into the hole on the SIM tray located at the bottom edge of the phone.
-
Press directly into the hole to eject the SIM card tray.
-
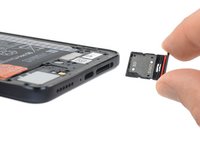
Remove the SIM card tray.
-
-
-
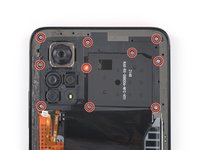
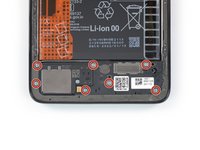
Use a Phillips screwdriver to remove the seventeen 3.6 mm-long screws securing the midframe.
-
-
-
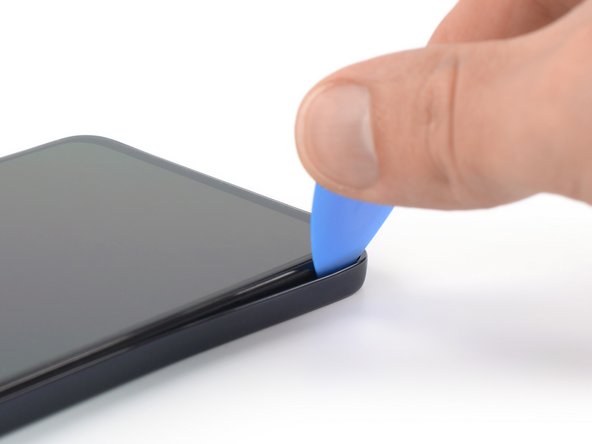
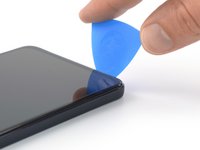
Insert an opening pick between the midframe and front panel assembly on the bottom left edge of the phone where the SIM tray slot is located.
-
-
-
Slide the opening pick around the bottom left corner of the phone to release the plastic clips.
-
-
-
-
Slide the opening pick along the left edge of the phone to release the plastic clips.
-
-
-
Slide the opening pick around the top left corner and along the top edge of the phone to release the plastic clips.
-
-
-
Slide the opening pick around the top right corner and along the right edge of the phone to release the remaining plastic clips.
-
-
-
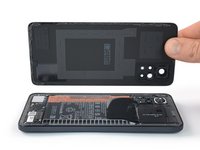
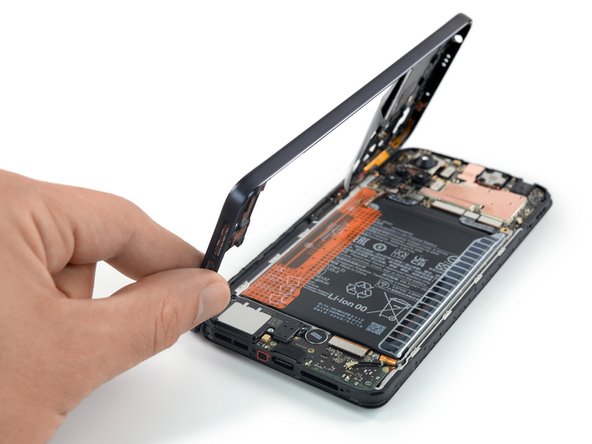
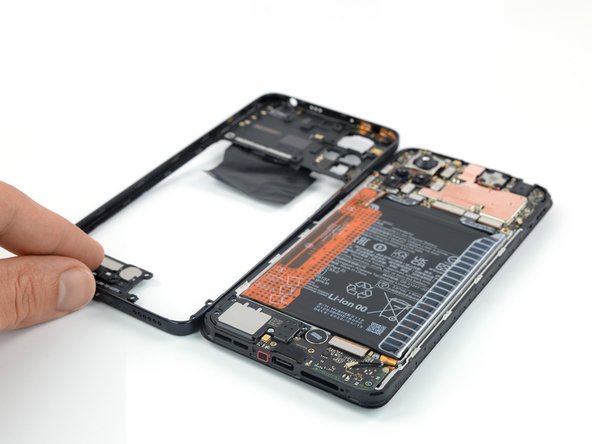
Carefully swing open the midframe to the left like you would open the front cover of a book to get free access to its cable connector.
-
Place the midframe next to the left edge of the front panel assembly.
-
-
-
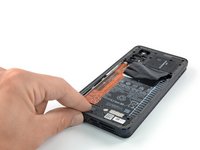
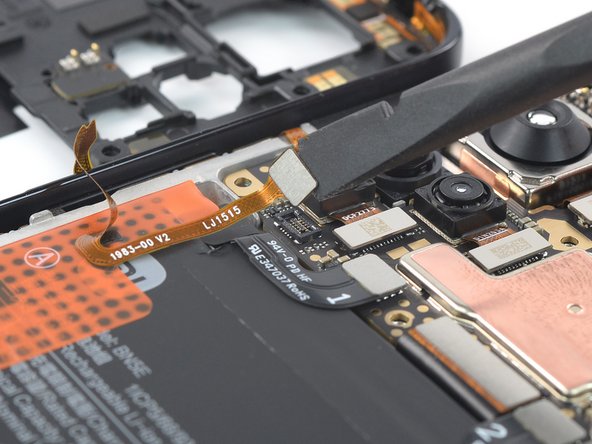
Use a spudger to disconnect the midframe cable by prying the connector straight up from its socket.
-
-
-
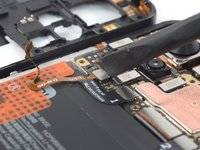
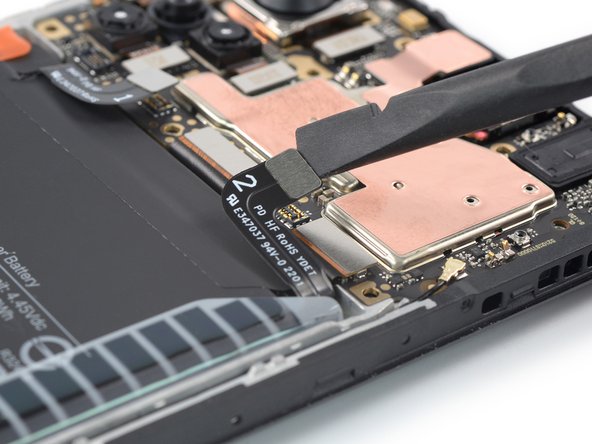
Use a spudger to disconnect the left and right battery cable by prying the connectors straight up from their socket.
-
-
-
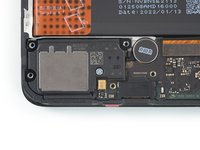
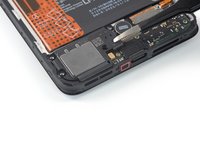
Use a Phillips screwdriver to remove the 3.6 mm-long screw securing the loudspeaker.
-
-
-
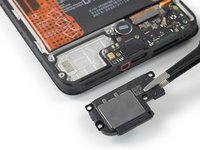
Insert an spudger underneath the right edge of the loudspeaker.
-
Use your spudger to pry up the loudspeaker.
-
-
Tool used on this step:Tweezers$4.99
-
Use your fingers or a pair of tweezers to remove the loudspeaker.
-
-
Tool used on this step:Tweezers$4.99
-
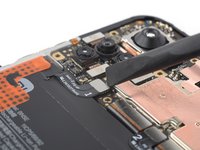
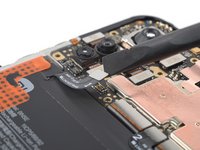
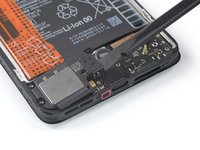
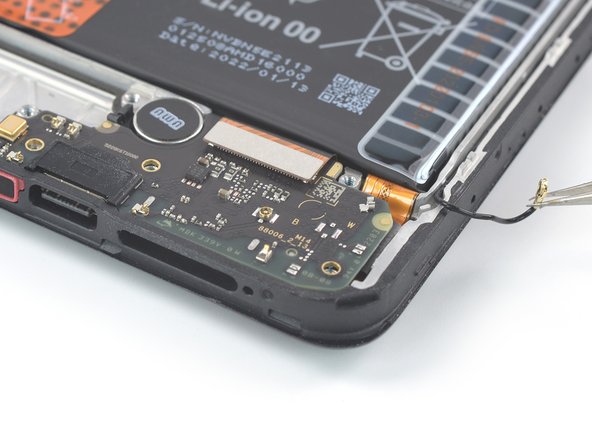
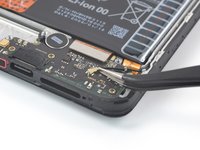
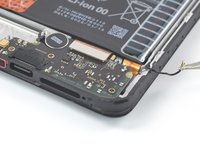
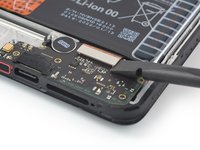
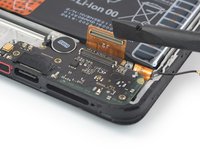
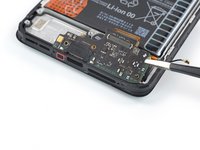
Slide a pair of tweezers under the black coaxial cable until they're snug against the metal connector.
-
Disconnect the black coaxial cable by prying it straight up from the charging board.
-
Use your tweezers to carefully loosen the cable from its routing on the charging board and bend it to the side.
-
-
-
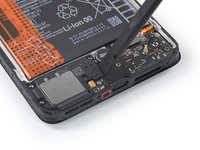
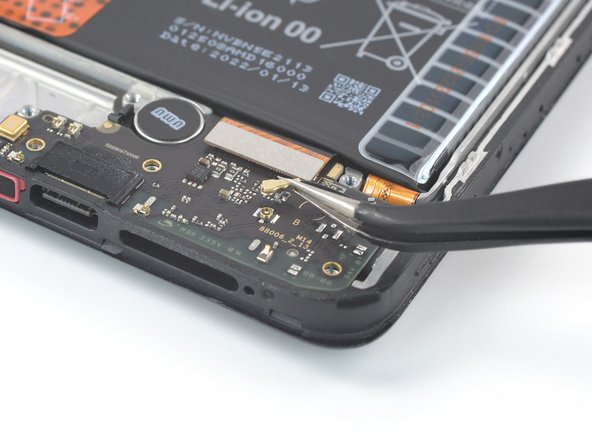
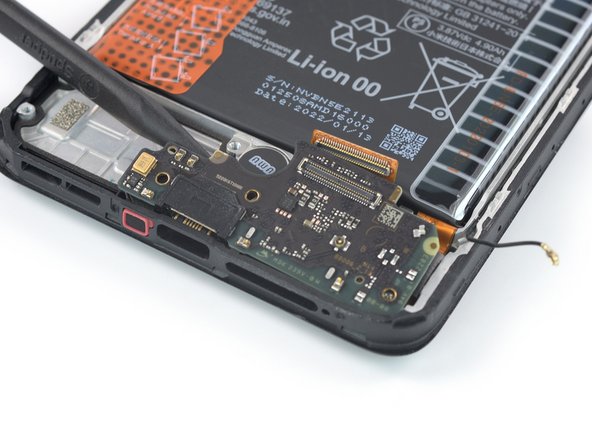
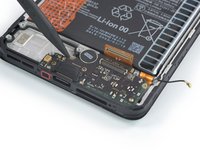
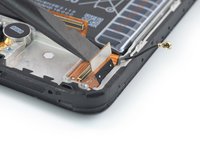
Use a spudger to disconnect the interconnect cable by prying the connector straight up from its socket.
-
-
-
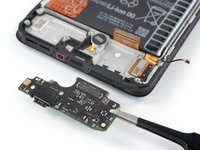
Insert the pointed end of a spudger underneath the left edge of the charging board.
-
Use your spudger to pry up the charging board.
-
-
-
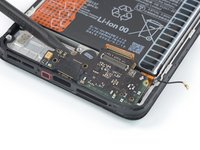
Use a pair of tweezers of your fingers to carefully remove the charging board.
-
-
-
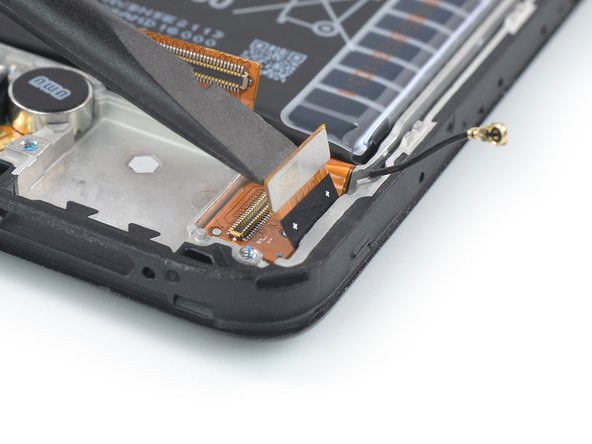
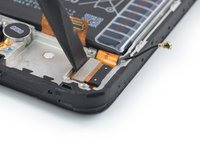
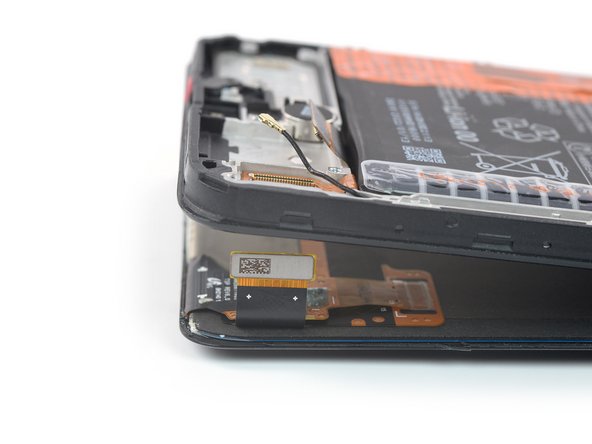
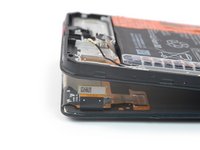
Use a spudger to disconnect the display cable by prying the connector straight up from its socket.
-
-
-
Apply a heated iOpener to the screen to loosen the adhesive underneath. Apply the iOpener for at least 5 minutes.
-
-
-
Once the screen is warm to touch, apply a suction handle to the top edge of the screen and as close to the edge as possible.
-
Lift the screen with the suction handle to create a small gap between the screen and the frame.
-
Insert an opening pick into the gap between the midframe and the screen, at the left side of the earpiece speaker cut-out.
-
Slide the opening pick to the top left corner of the screen to slice its adhesive.
-
Leave the opening pick in place to prevent the adhesive from resealing.
-
-
-
Insert a second opening pick into the gap between the midframe and the screen at the left side of the earpiece speaker cut-out.
-
Slide the opening pick to the top right corner of the screen to slice its adhesive.
-
Leave the opening pick in place to prevent the adhesive from resealing.
-
-
-
Insert a third opening pick at the top right corner of the screen.
-
Slide the opening pick along the right edge of the phone to slice the adhesive.
-
Leave the opening pick in the bottom right corner to prevent the adhesive from resealing.
-
-
-
Insert a fourth opening pick underneath the bottom right corner of the screen.
-
Slide the opening pick along the bottom edge of the screen to slice the adhesive.
-
Leave the opening pick in the bottom left corner to prevent the adhesive from resealing.
-
-
-
Insert a fifth opening pick at the bottom left corner of the screen.
-
Slide the opening pick along the left edge to slice the remaining adhesive.
-
-
-
Carefully thread the display cable through the gap in the midframe.
-
Remove the screen.
-


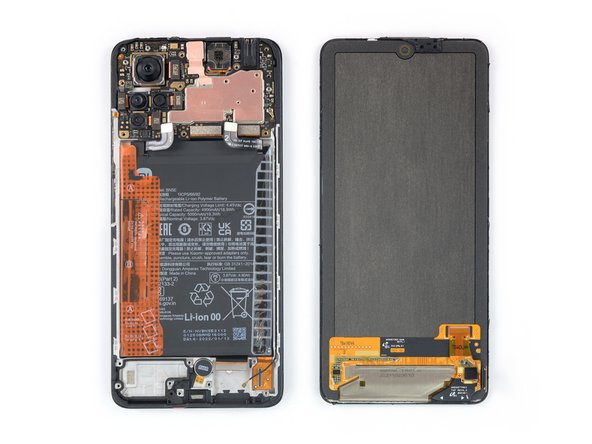


If possible, turn on your device and test your repair before installing new adhesive and resealing.
Compare your new replacement part to the original part—you may need to transfer remaining components or remove adhesive backings from the new part before installing.
To reassemble your device, follow these instructions in reverse order.
The best way to secure the new screen is to apply a sheet of custom-cut double-sided tape to the back of the screen.
Take your e-waste to an R2 or e-Stewards certified recycler.
Repair didn’t go as planned? Try some basic troubleshooting, or ask our Answers community for help.
Cancel: I did not complete this guide.
24 other people completed this guide.


8 Guide Comments
This really helped me replace a screen for the regular redmi note 11.
Habe mein Note 11s mithilfe dieser Anleitung als Referenz wieder nutzbar gemacht :)
Hat zwar nun nur noch VGA Display anstatt Amoled - aber als Fahrrad-Navigation oder Notfall-Ersatz-Gerät wird es ausreichend sein.
Ich bin zumindest froh dass es wieder nutzbar ist.
Danke für die Anleitung und Übersetzung.
PS: beim 11s ist eine Schraube weniger verbaut und das Layout der Schrauben geringfügig anders.
Zwei. Der Schrauben verstecken sich unter dem Kamerglaskörper der Separat vom Rahmen genommen werden muss (das 11s hat eine Kunststoffrückseite)
For my non-pro Note 11 I bought the replacement screen that comes with a l frame because I thought it must be easier to replace, but apparently there's no guide for that procedure. It says here that it's a very different process, so I'm hesitant to try. Any pointers you can give me to good instructions for that?
Did you find something? I just bought a replacement screen with frame for my non-pro Note 11S. Once it's here I'm just going to try using this guide, unless there's something better available somewhere? I've only skimmed the guide now, will wait for the display to arrive before taking a closer look.