TicWatchPro Battery Replacement

What you need

  1. TicWatchPro Battery Replacement, Unfasten the screws: step 1, image 1 of 1
    • Before starting repairs, take your watch off the charger and power it down.

    • Remove the four 3.9 mm-long Torx T3 screws.

    • Depending on the condition of your driver, a Torx T4 bit may fit better.

    • Don't try to detach the back cover yet. It is still connected to the watch assembly.

  2. TicWatchPro Battery Replacement, Open the watch: step 2, image 1 of 2 TicWatchPro Battery Replacement, Open the watch: step 2, image 2 of 2
    • Be careful not to strain the sensor flex cable during this procedure.

    • Carefully lift the back cover by the watch crown edge and swing it open to an upward position.

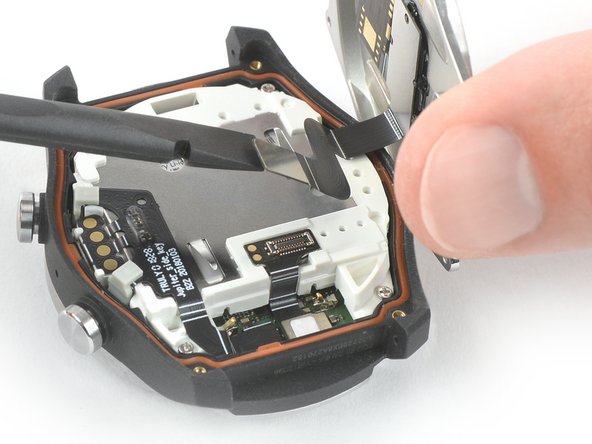
  3. TicWatchPro Battery Replacement, Disconnect the sensor cable: step 3, image 1 of 2 TicWatchPro Battery Replacement, Disconnect the sensor cable: step 3, image 2 of 2
    • Use the flat end of a spudger to pry up and disconnect the sensor flex cable.

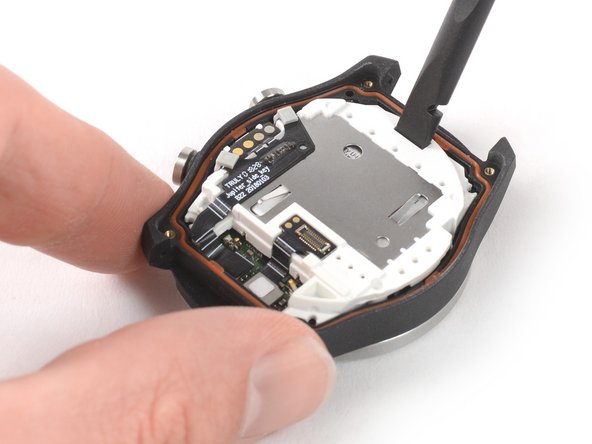
  4. TicWatchPro Battery Replacement, Remove the back cover: step 4, image 1 of 1
    • Remove the back cover.

  5. TicWatchPro Battery Replacement, Core Assembly Removal: step 5, image 1 of 1
    • Remove the three 3.7 mm-long Phillips #00 screws.

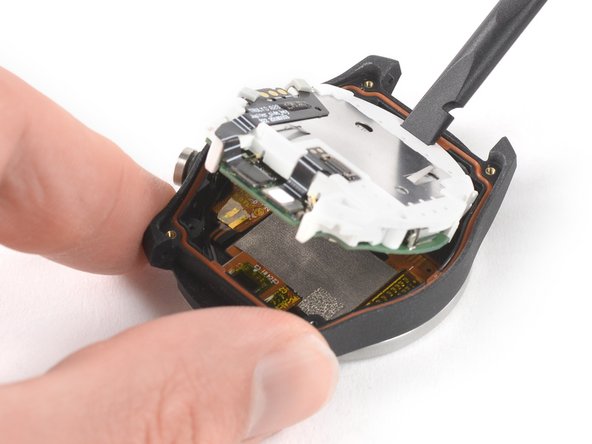
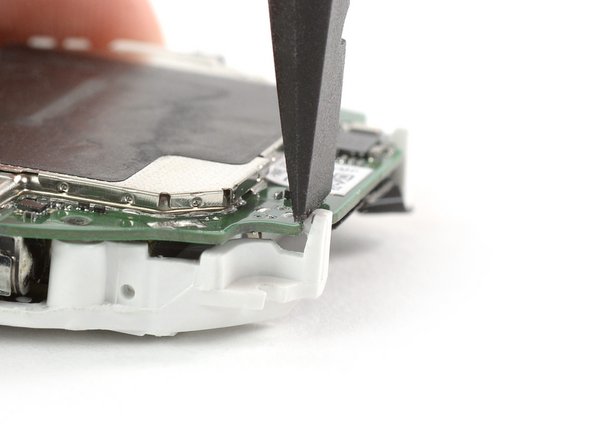
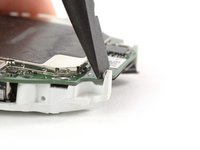
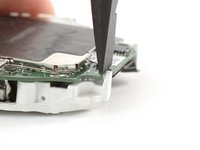
  6. TicWatchPro Battery Replacement: step 6, image 1 of 3 TicWatchPro Battery Replacement: step 6, image 2 of 3 TicWatchPro Battery Replacement: step 6, image 3 of 3
    • Insert the flat end of a spudger into the notch at the upper end of the white plastic frame.

    • Use your spudger as a lever and pry up the core assembly.

    • Don't try to remove the core assembly all the way yet—it is still connected to the watch body.

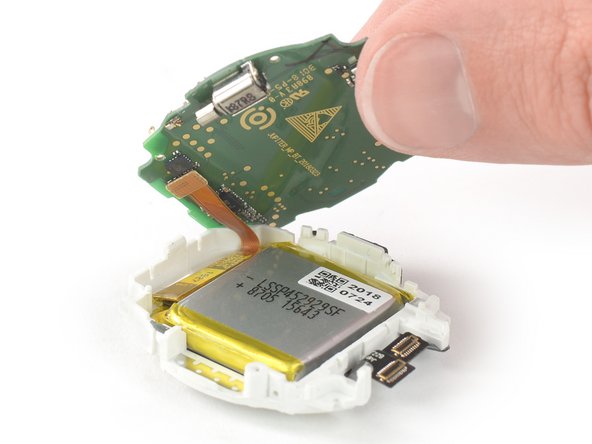
  7. TicWatchPro Battery Replacement: step 7, image 1 of 2 TicWatchPro Battery Replacement: step 7, image 2 of 2
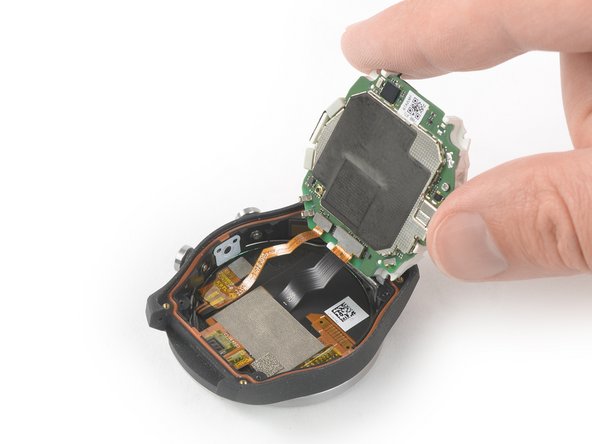
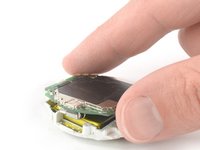
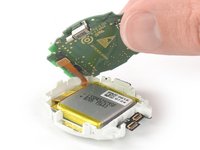
    • Carefully lift the loose edge of the core assembly up and swing it to a 100-degree angle.

    • Be careful not to strain the display and sensor flex cables during this procedure.

  8. TicWatchPro Battery Replacement: step 8, image 1 of 2 TicWatchPro Battery Replacement: step 8, image 2 of 2
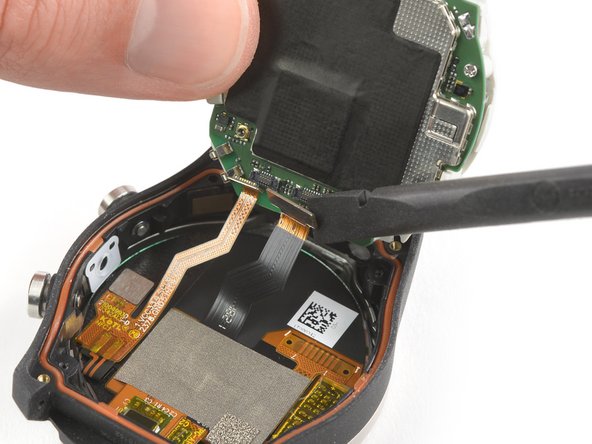
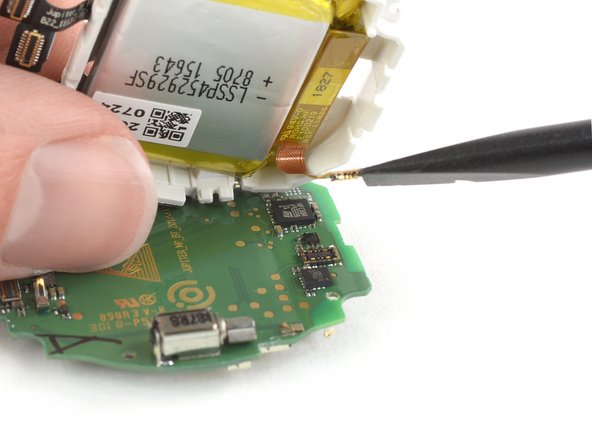
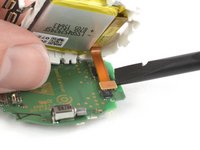
    • Use the flat end of a spudger to pry up and disconnect the sensor flex cable from the core assembly.

  9. TicWatchPro Battery Replacement: step 9, image 1 of 2 TicWatchPro Battery Replacement: step 9, image 2 of 2
    • Use the flat end of a spudger to pry up and disconnect the display flex cable from the core assembly.

  10. TicWatchPro Battery Replacement: step 10, image 1 of 1
    • Remove the core assembly.

  11. TicWatchPro Battery Replacement, Remove the motherboard screw: step 11, image 1 of 1
    • Use a Phillips driver to remove the screw securing the motherboard.

  12. TicWatchPro Battery Replacement: step 12, image 1 of 2 TicWatchPro Battery Replacement: step 12, image 2 of 2
    • The motherboard is held tightly in place by small, fragile plastic clips. Be very careful as you pry during the following procedure.

    • Use the flat end of a spudger or your fingernail to carefully bend the plastic clips around the motherboard to the side in order to free the motherboard.

    • Repeat this procedure for all plastic clips around the motherboard.

    • Note that there are also clips underneath the rubber pads covering the two side buttons.

    • Don't try to remove the motherboard all the way yet. It is still connected to the battery.

  13. TicWatchPro Battery Replacement: step 13, image 1 of 2 TicWatchPro Battery Replacement: step 13, image 2 of 2
    • Carefully lift the motherboard assembly to free it from any remaining plastic clips.

    • Don't try to remove the motherboard all the way yet. It is still connected to the battery.

  14. TicWatchPro Battery Replacement: step 14, image 1 of 2 TicWatchPro Battery Replacement: step 14, image 2 of 2
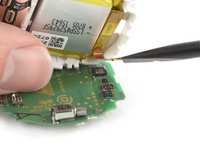
    • Use the flat end of a spudger to pry up and disconnect the battery flex cable from the motherboard.

  15. TicWatchPro Battery Replacement: step 15, image 1 of 1
    • Apply a heated iOpener to the back of the white plastic frame for at least two minutes to loosen the adhesive beneath the battery.

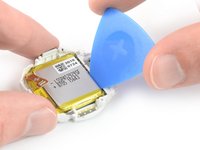
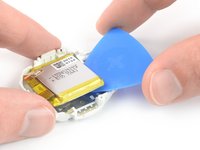
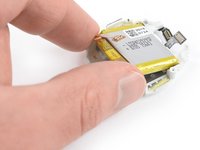
  16. TicWatchPro Battery Replacement: step 16, image 1 of 3 TicWatchPro Battery Replacement: step 16, image 2 of 3 TicWatchPro Battery Replacement: step 16, image 3 of 3
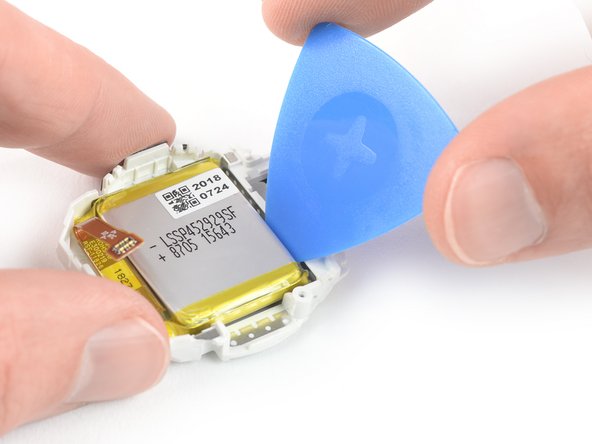
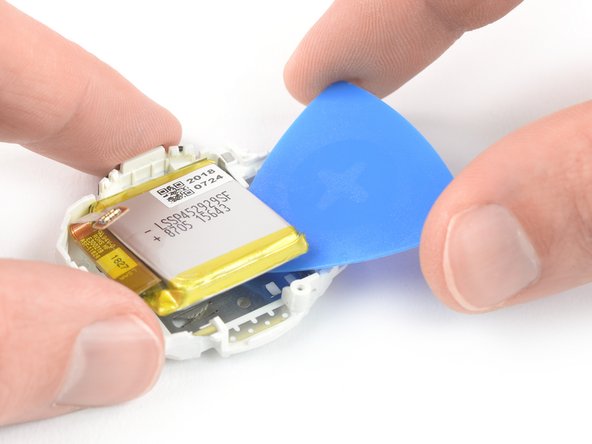
    • Insert an opening pick in the gap between the white plastic frame and the battery.

    • Use the opening pick to pry the battery up and out of its recess.

  17. TicWatchPro Battery Replacement: step 17, image 1 of 2 TicWatchPro Battery Replacement: step 17, image 2 of 2
    • Remove the battery.

    • Do not reinstall a damaged or deformed battery, as doing so is a potential safety hazard.

Conclusion

If possible, turn on your device and test your repair before installing new adhesive and resealing.

Secure the new battery with pre-cut adhesive or double-sided adhesive tape. In order to position it correctly, apply the new adhesive into the device at the places where the old adhesive was located, not directly onto the battery. Press the new battery firmly into place.

To reassemble your device, follow these instructions in reverse order. Apply new adhesive where necessary after cleaning the relevant areas with isopropyl alcohol (>90%).

For optimal performance, calibrate your newly installed battery: Charge it to 100% and keep charging it for at least 2 more hours. Then use your device until it shuts off due to low battery. Finally, charge it uninterrupted to 100%.

Take your e-waste to an R2 or e-Stewards certified recycler.

Repair didn’t go as planned? Try some basic troubleshooting, or ask our Answers community for help.

21 other people completed this guide.

Dominik Schnabelrauch

Member since: 11/23/16

204,929 Reputation

682 Guides authored

Team

iFixit Member of iFixit

Staff

136 Members

17,420 Guides authored

12 Comments

What is the battery part number that is required for replacement?

Tim Rhind - Reply

Thank you!

Saved my ticwatch! Hopefully I get a couple more years out of it!

(Part nr sp452929sf, same for 4g as none 4g watch)

Robin Åström - Reply

Where did you find this new battery?

Bert Van den Berghe -

No way to get the external screws out. Any advice?

Joan Pujolar - Reply

Use a T4 bit not a T3 as the directions say. A couple of mine were tight to get out. I put good pressure down on the screw and turned it slowly. I thought for sure I had stripped out the screw head. Using the T4 bit helped immensely.

Jim Bondly -

Add Comment

View Statistics:

Past 24 Hours: 22

Past 7 Days: 80

Past 30 Days: 348

All Time: 11,124