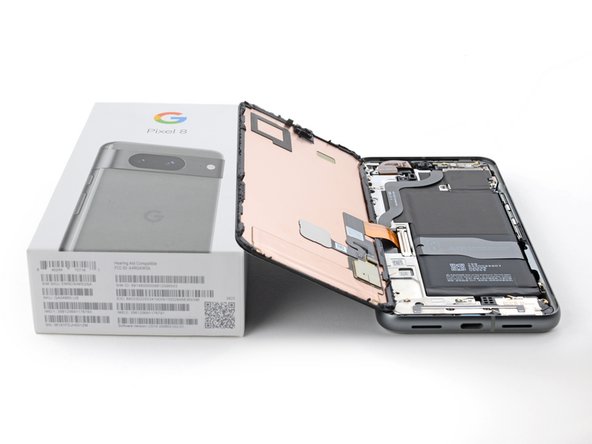
Introduction
Prereq for peeling off the 5G mmWave antenna cable and removing the graphite sheet.
What you need
-
-
Unplug all cables from your phone.
-
Completely power off your phone.
-
-
-
Measure 3 mm from the tip and mark the opening pick with a permanent marker.
-
-
-
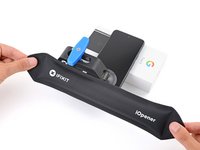
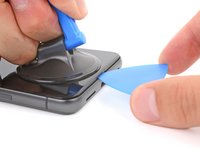
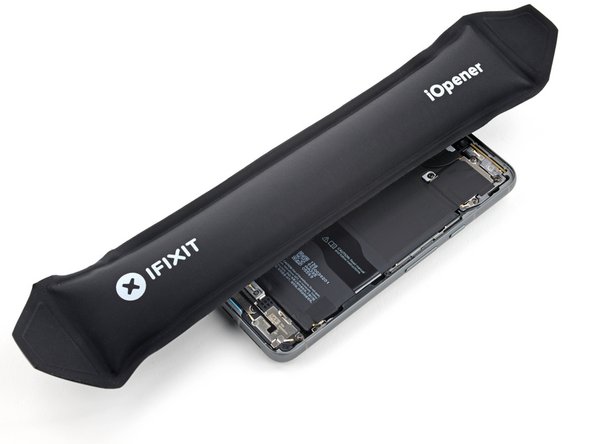
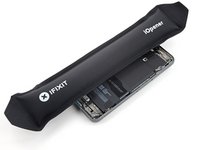
Heat an iOpener and lay it on the bottom edge of the screen for two minutes to soften the adhesive.
-
-
Tool used on this step:Clampy - Anti-Clamp$24.95
-
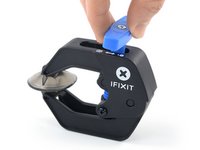
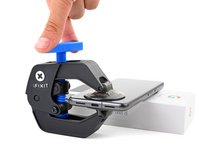
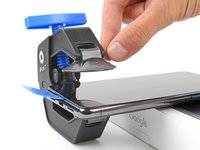
Pull the blue handle backwards to unlock the Anti-Clamp's arms.
-
Place your phone screen side up on an object so it will rest level between the Anti-Clamp's arms—the bottom edge should be hanging off.
-
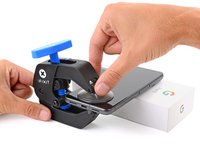
Slide the arms over the left edge of your phone, so you have access to the bottom edge.
-
Position the suction cups as close to the center of the bottom edge as possible.
-
Squeeze the cups together to create suction.
-
-
-
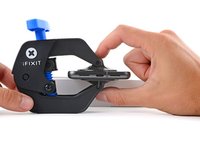
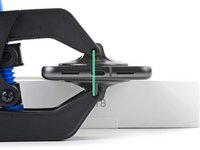
Pull the handle forward to lock the arms.
-
Turn the handle clockwise one full turn (360 degrees), or until the suction cups begin to stretch.
-
As the cups stretch, make sure they stay aligned with each other. If they keep slipping, remove the Anti-Clamp and apply tape for the cups to stick to.
-
-
-
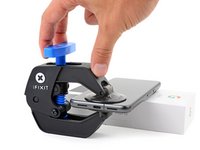
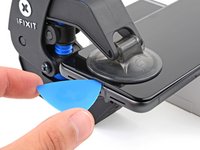
Wait one minute for a gap to form between the screen and frame.
-
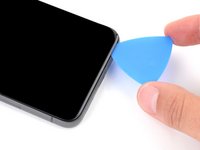
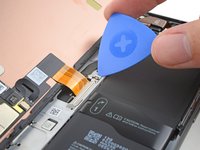
Insert an opening pick into the gap.
-
Pull the blue handle backwards to unlock the arms and remove the Anti-Clamp using the pull tabs on the suction cups.
-
Skip the next two steps.
-
-
-
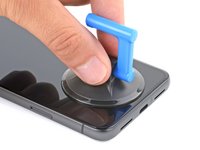
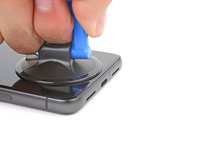
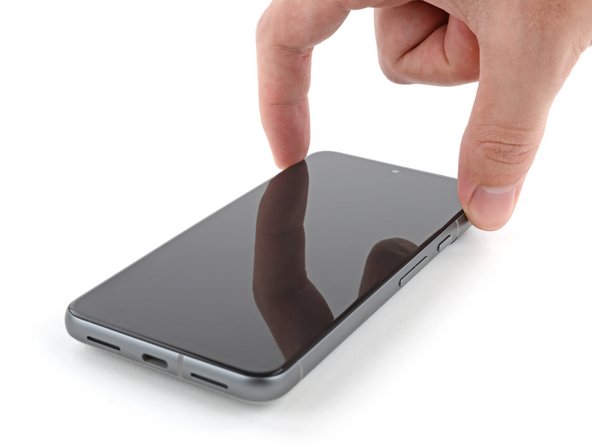
Pull up on the suction handle with strong, steady force until a gap forms between the screen and frame.
-
Insert an opening pick into the gap.
-
-
-
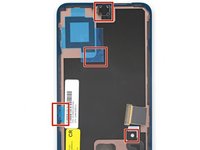
The screen cable is a little less than halfway up the left edge of the phone. Be very careful here to avoid tearing the cable.
-
There are many spring contacts around the perimeter of the phone. Be very careful in these areas to avoid bending the contacts.
-
-
-
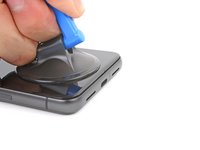
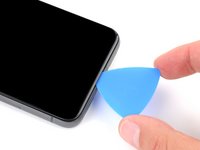
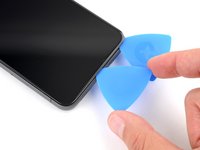
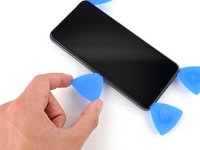
Slide the opening pick along the bottom edge to separate the adhesive securing it.
-
Leave the pick in the bottom right corner to prevent the adhesive from resealing.
-
-
-
-
Apply a heated iOpener to the right edge of the screen for two minutes.
-
-
-
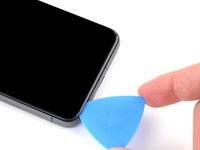
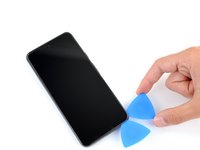
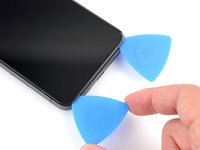
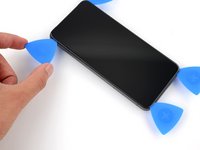
Insert a second opening pick under the bottom right corner of the screen.
-
Slide the new pick to the top right corner to separate the adhesive securing the screen's right edge.
-
Leave the pick in the top right corner to prevent the adhesive from resealing.
-
-
-
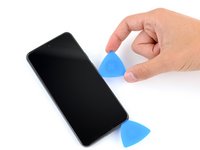
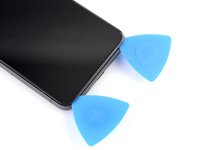
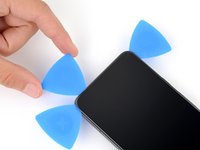
Insert a third opening pick under the bottom edge of the screen.
-
Slide the new pick to the bottom left corner.
-
Leave the pick in the bottom left corner to prevent the adhesive from resealing.
-
-
-
Apply a heated iOpener to the left edge of the screen for two minutes.
-
-
-
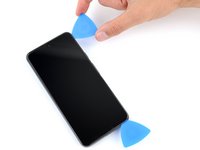
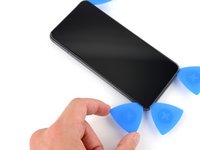
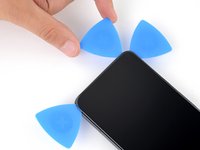
Insert a fourth opening pick under the bottom left corner of the screen.
-
Slide the new pick to the top left corner to separate the adhesive securing the screen's left edge.
-
Leave the pick in the top left corner to prevent the adhesive from resealing.
-
-
-
Apply a heated iOpener to the top edge of the screen for two minutes.
-
-
-
Insert a fifth opening pick under the top edge of the screen, near the left corner.
-
Slide the opening pick to the top right corner to separate the adhesive securing the screen's top edge.
-
-
-
Place a small box or stack of books to the left of your phone so you can prop up the screen while disconnecting its cable.
-
Swing up the right edge of the screen like the front cover of a book.
-
Prop up the screen so you can access the screen cable.
-
-
-
Use an opening pick to pry up the upper edge of the screen cable cover.
-
Remove the cover.
-
-
-
Insert the point of a spudger under the top left corner of the screen's press connector.
-
Gently pry up and disconnect the cable.
-
Remove the screen.
-
-
-
When handling your screen, grip it by its edges.
-
When placing the screen on your work area, make sure nothing is touching the bottom of the screen. Consider placing it on a soft, lint-free cloth.
-
-
-
Use the pull tabs to remove the liners covering the front camera cutout, the rear camera pad, the back of the screen, and the perimeter adhesive.
-
Reconnect the screen cable and reinstall its cover.
-
This is a good point to test your phone before sealing it up. Temporarily power on your phone and make sure it works as expected. Power it down before continuing.
-
Firmly press the screen into place on the frame. You should feel the clips "pop" into place.
-
Press firmly around the perimeter of the screen to secure it with the new adhesive.
-
Follow this guide to calibrate the fingerprint sensor.
-
-
-
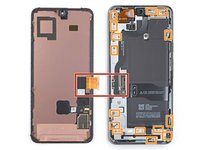
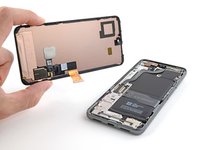
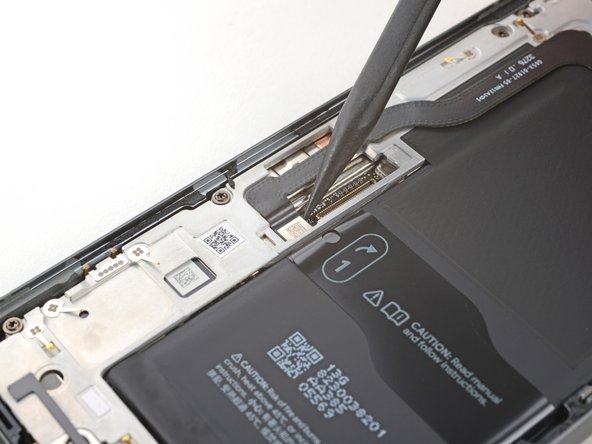
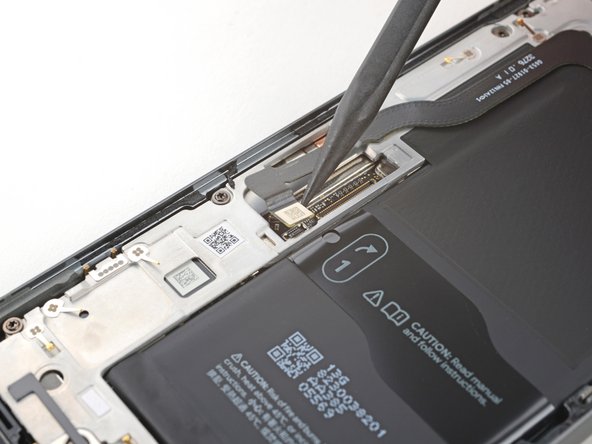
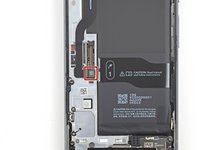
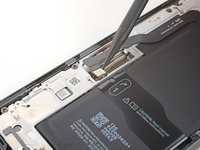
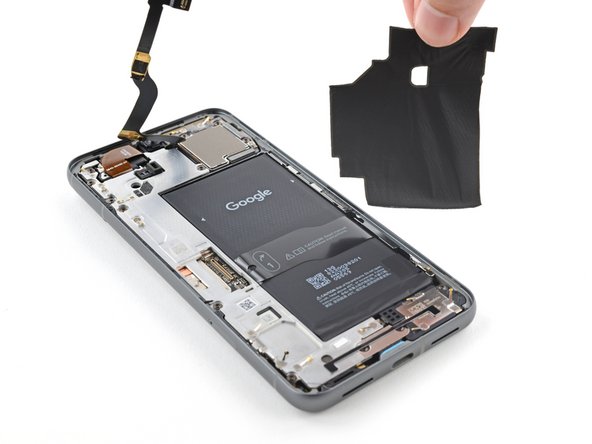
Use the point of the spudger to pry up and disconnect the 5G mmWave antenna cable from the logic board.
-
-
-
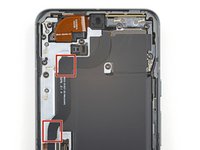
The 5G mmWave antenna cable is secured to the midframe with adhesive in two places.
-
Heat an iOpener and lay it on the left edge of the phone for two minutes to soften the cable adhesive.
-
-
-
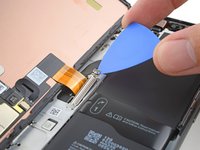
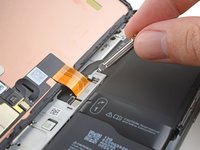
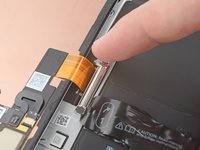
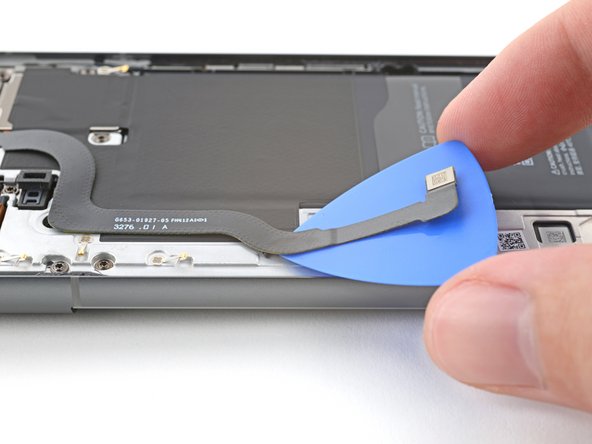
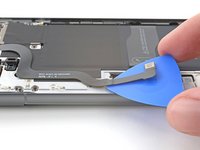
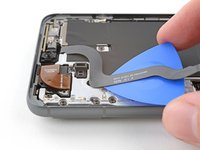
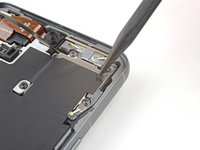
Insert an opening pick under the 5G mmWave antenna cable's bottom section of adhesive.
-
Slide the pick toward the top edge of the phone to separate the adhesive.
-
-
-
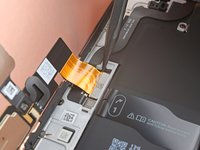
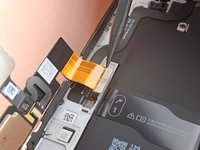
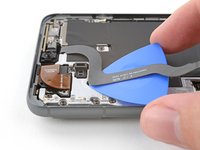
Move the 5G mmWave antenna cable over the top of the phone to keep it out of the way.
-
-
-
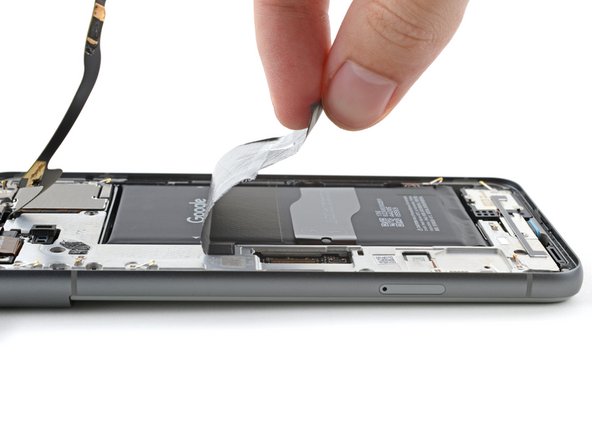
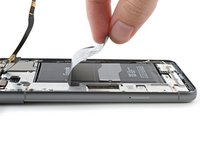
Insert the point of a spudger under the top right corner of the graphite sheet and lift until you can grip the sheet with your fingers.
-
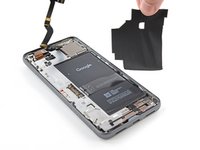
Peel up and remove the entire graphite sheet.
-


To reassemble your device, follow these instructions in reverse order.

