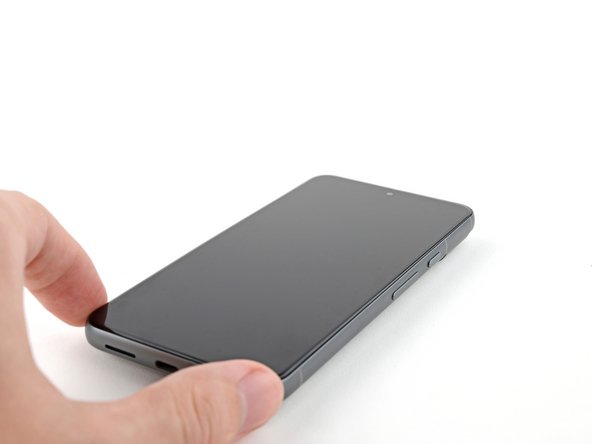
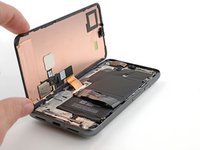
How to Apply New Screen Adhesive in Your Google Pixel 8

What you need

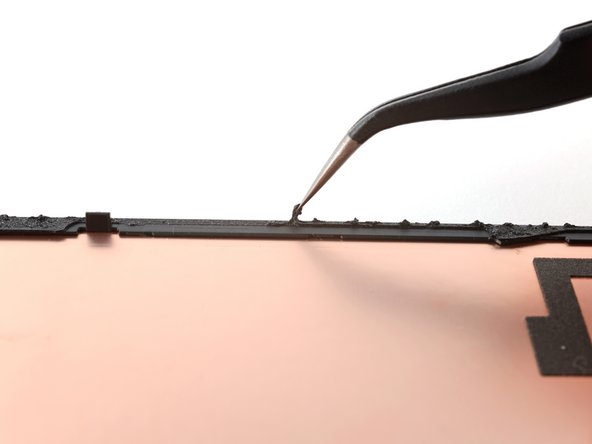
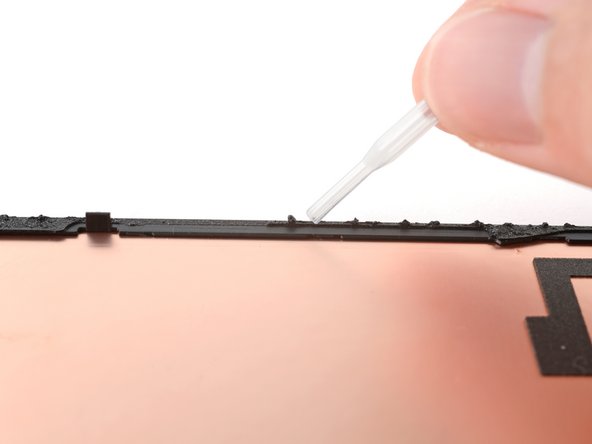
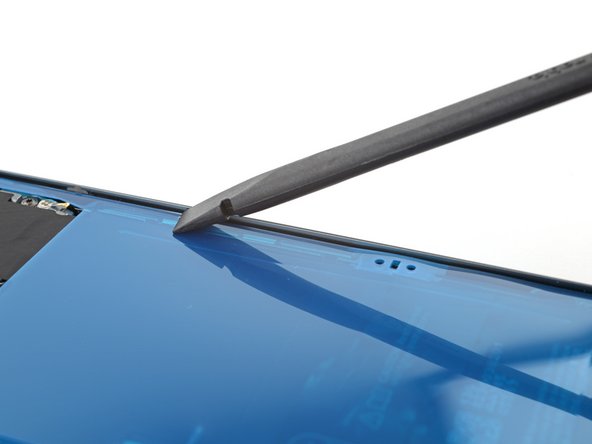
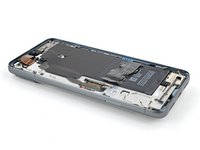
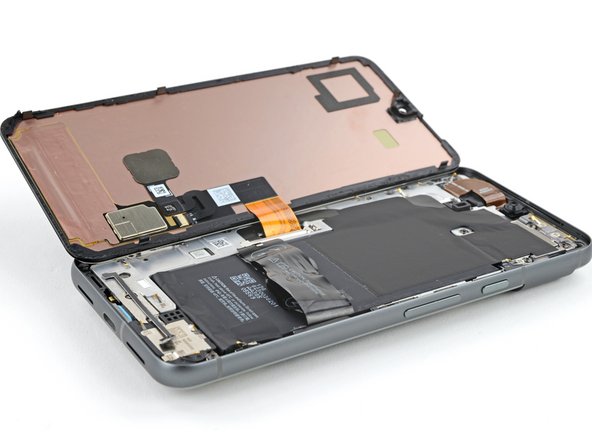
  1. How to Apply New Screen Adhesive in Your Google Pixel 8, Remove the old adhesive from the frame: step 1, image 1 of 3 How to Apply New Screen Adhesive in Your Google Pixel 8, Remove the old adhesive from the frame: step 1, image 2 of 3 How to Apply New Screen Adhesive in Your Google Pixel 8, Remove the old adhesive from the frame: step 1, image 3 of 3
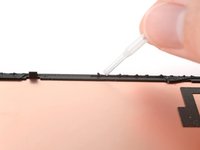
    • In order for the new adhesive to properly seal, you must remove all the old adhesive and its residue.

    • Use the flat end of a spudger to scrape up and remove all the old adhesive from the frame.

    • If you're having trouble, apply a few drops of highly-concentrated (greater than 90%) isopropyl alcohol to the adhesive and scrape it up.

  2. How to Apply New Screen Adhesive in Your Google Pixel 8, Remove the old adhesive residue: step 2, image 1 of 3 How to Apply New Screen Adhesive in Your Google Pixel 8, Remove the old adhesive residue: step 2, image 2 of 3 How to Apply New Screen Adhesive in Your Google Pixel 8, Remove the old adhesive residue: step 2, image 3 of 3
    Tool used on this step:
    Microfiber Cleaning Cloths
    $3.99
    Buy
    • Once you've removed all the old adhesive, apply a few drops of highly-concentrated (greater than 90%) isopropyl alcohol to any residue left on the frame and wipe it away with a microfiber or lint-free cloth.

    • If you're having trouble, wrap the microfiber cloth around a spudger and use it to scrape the frame.

  3. How to Apply New Screen Adhesive in Your Google Pixel 8, Remove the old adhesive from the screen: step 3, image 1 of 3 How to Apply New Screen Adhesive in Your Google Pixel 8, Remove the old adhesive from the screen: step 3, image 2 of 3 How to Apply New Screen Adhesive in Your Google Pixel 8, Remove the old adhesive from the screen: step 3, image 3 of 3
    • If you're installing a new screen, skip this step.

    • Repeat the cleaning procedure to remove all the old adhesive and its residue from the perimeter of the screen.

  4. How to Apply New Screen Adhesive in Your Google Pixel 8, Align the adhesive: step 4, image 1 of 3 How to Apply New Screen Adhesive in Your Google Pixel 8, Align the adhesive: step 4, image 2 of 3 How to Apply New Screen Adhesive in Your Google Pixel 8, Align the adhesive: step 4, image 3 of 3
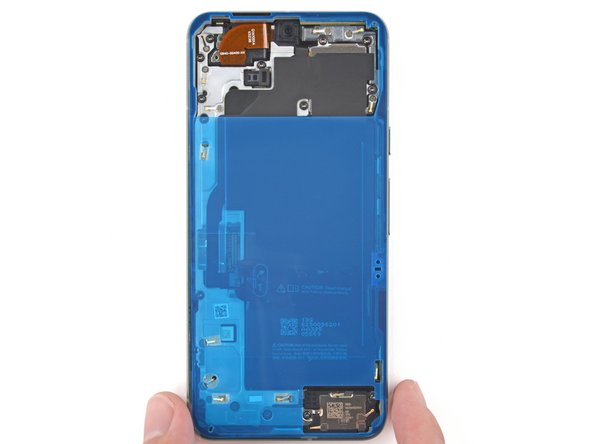
    • Before applying the new adhesive, it's helpful to see how it will be oriented on your phone.

    • Hold the adhesive sheet so the clear liner is on the bottom and place it over your phone to find the proper alignment.

    • Use the cutouts for the spring contacts and the bottom speaker to help align the adhesive.

  5. How to Apply New Screen Adhesive in Your Google Pixel 8, Remove the clear liner: step 5, image 1 of 1
    • Remove the larger clear liner from the back of the sheet to expose the adhesive.

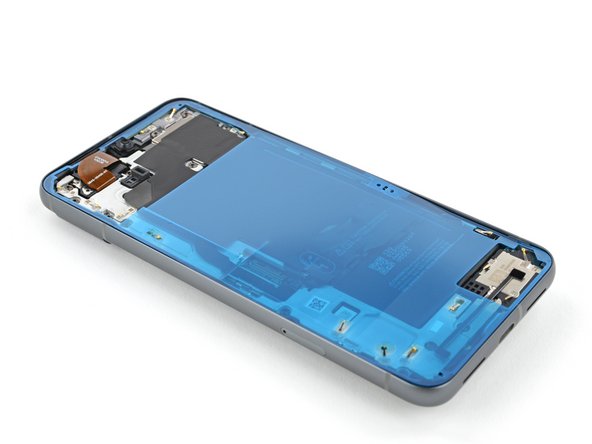
  6. How to Apply New Screen Adhesive in Your Google Pixel 8, Place the adhesive: step 6, image 1 of 3 How to Apply New Screen Adhesive in Your Google Pixel 8, Place the adhesive: step 6, image 2 of 3 How to Apply New Screen Adhesive in Your Google Pixel 8, Place the adhesive: step 6, image 3 of 3
    • Be very careful during this step! Once the adhesive sticks to the frame you won't be able to reposition it. You'll have to start over with new adhesive if it gets applied incorrectly.

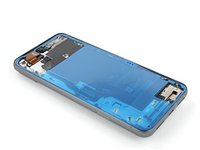
    • Gently place the top edge of the adhesive onto the frame. Use the frame's lip to help position the sheet.

    • Press down gently to secure the bottom corners and carefully lay the rest of the adhesive onto the frame.

  7. How to Apply New Screen Adhesive in Your Google Pixel 8, Secure the adhesive: step 7, image 1 of 3 How to Apply New Screen Adhesive in Your Google Pixel 8, Secure the adhesive: step 7, image 2 of 3 How to Apply New Screen Adhesive in Your Google Pixel 8, Secure the adhesive: step 7, image 3 of 3
    • The adhesive needs to be firmly secured to the frame before removing any liners to prevent it from pulling up and misaligning in the next step.

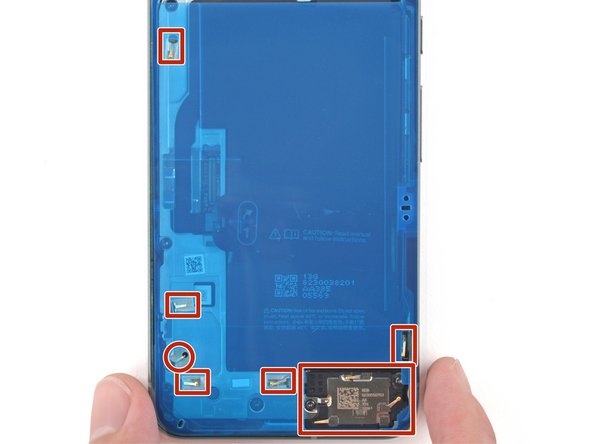
    • Be careful not to damage any spring contacts during this step.

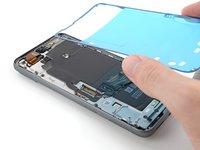
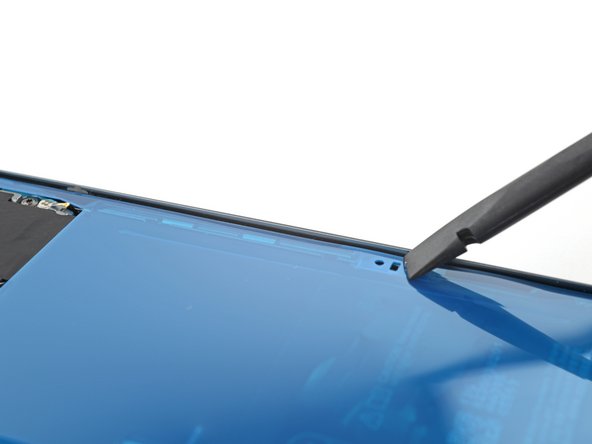
    • Press down firmly and slide the flat end of a spudger around the entire perimeter of the frame to secure the adhesive.

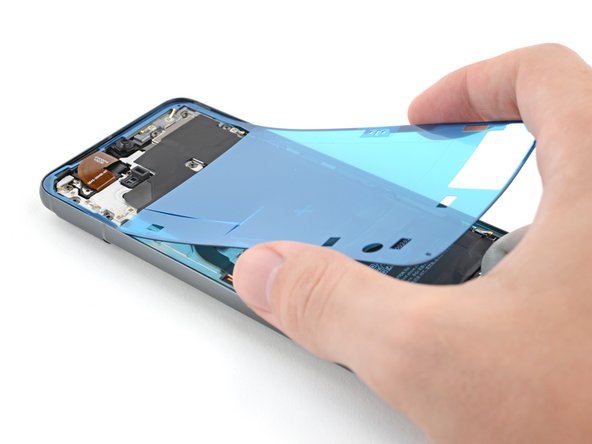
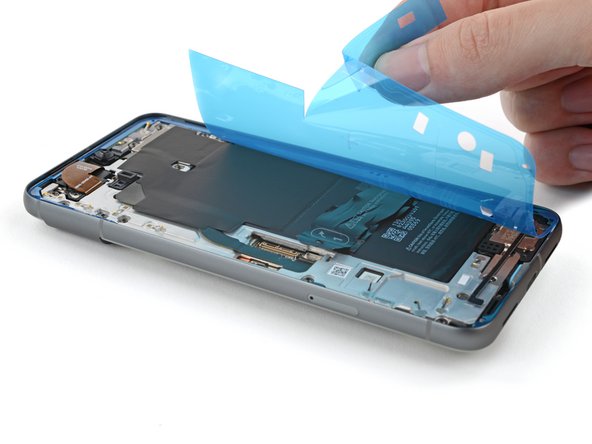
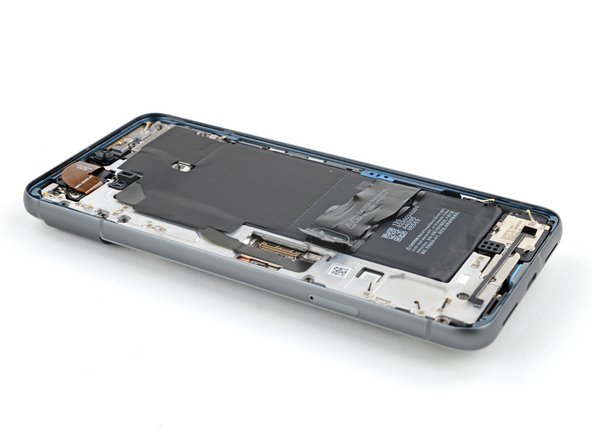
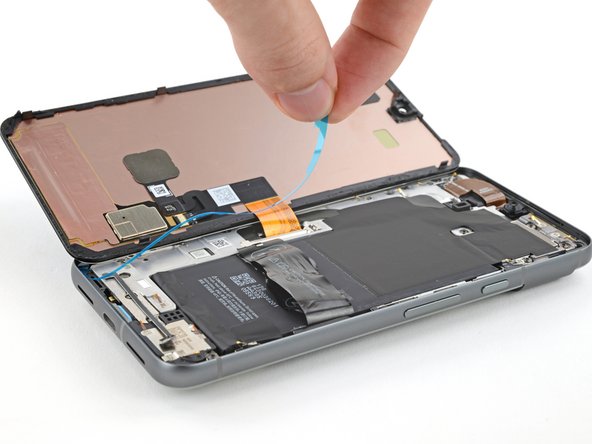
  8. How to Apply New Screen Adhesive in Your Google Pixel 8, Remove the larger blue liner: step 8, image 1 of 3 How to Apply New Screen Adhesive in Your Google Pixel 8, Remove the larger blue liner: step 8, image 2 of 3 How to Apply New Screen Adhesive in Your Google Pixel 8, Remove the larger blue liner: step 8, image 3 of 3
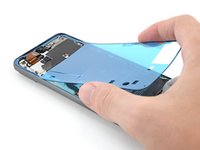
    • Use the pull tab at the top left corner of the adhesive to gently peel up and remove the larger blue liner.

    • If any of the adhesive starts to peel up with the liner, gently lay it back on the frame and use the flat end of a spudger to secure it.

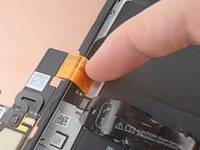
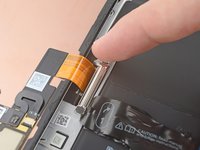
  9. How to Apply New Screen Adhesive in Your Google Pixel 8, Reconnect the screen: step 9, image 1 of 2 How to Apply New Screen Adhesive in Your Google Pixel 8, Reconnect the screen: step 9, image 2 of 2
    • Reconnect the screen cable press connector.

    • Reinstall the screen cable cover.

  10. How to Apply New Screen Adhesive in Your Google Pixel 8, Remove the inner liners: step 10, image 1 of 3 How to Apply New Screen Adhesive in Your Google Pixel 8, Remove the inner liners: step 10, image 2 of 3 How to Apply New Screen Adhesive in Your Google Pixel 8, Remove the inner liners: step 10, image 3 of 3
    • The inner liner is removed in two separate strips.

    • Grip one of the pull tabs along the right edge of the adhesive and remove one half of the inner liner.

    • Repeat for the other half of the inner liner.

    • If any of the adhesive starts to peel up with the liner, gently lay it back on the frame and use the flat end of a spudger to secure it.

  11. How to Apply New Screen Adhesive in Your Google Pixel 8, Check the camera and cutouts: step 11, image 1 of 1
    • Before securing the screen, make sure the front facing camera is snug in its recess.

    • If you replaced the screen, check the front-facing camera hole and sensor cutout on the replacement screen and remove any remaining protective liners in it.

  12. How to Apply New Screen Adhesive in Your Google Pixel 8, Secure the screen: step 12, image 1 of 2 How to Apply New Screen Adhesive in Your Google Pixel 8, Secure the screen: step 12, image 2 of 2
    • Firmly press the screen into place on the frame.

    • You should feel the clips "pop" into place.

  13. How to Apply New Screen Adhesive in Your Google Pixel 8: step 13, image 1 of 2 How to Apply New Screen Adhesive in Your Google Pixel 8: step 13, image 2 of 2
    • Press firmly around the perimeter or the screen to secure it with the new adhesive.

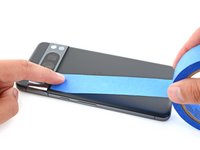
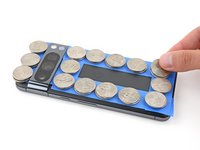
  14. How to Apply New Screen Adhesive in Your Google Pixel 8, Strengthen the adhesive bond: step 14, image 1 of 3 How to Apply New Screen Adhesive in Your Google Pixel 8, Strengthen the adhesive bond: step 14, image 2 of 3 How to Apply New Screen Adhesive in Your Google Pixel 8, Strengthen the adhesive bond: step 14, image 3 of 3
    • This step shows how to further strengthen the bond of your new screen adhesive.

    • In order to get even pressure around the perimeter of the screen, you'll need to account for the rear camera bump by placing objects on the rear cover.

    • If you have screen vice clamps, use them to work around the camera bar.

    • Lay your phone screen side down on a clean, flat surface.

    • Put tape around the perimeter of your phone to protect the rear cover.

    • Place coins or similarly thick objects around the perimeter of the back cover. Make sure they're as thick or thicker than the camera bump.

    • Place heavy objects such as books on your phone and leave them for 30 minutes or longer. Ideally, leave them stacked overnight.

Conclusion

Repair didn’t go as planned? Try some basic troubleshooting, or ask our Google Pixel 8 Answers Community for help.

Alex Diaz-Kokaisl

Member since: 01/16/22

124,642 Reputation

582 Guides authored

Team

iFixit Member of iFixit

Staff

136 Members

17,299 Guides authored

0 Comments

Add Comment

View Statistics:

Past 24 Hours: 7

Past 7 Days: 23

Past 30 Days: 130

All Time: 753