Free Shipping on Domestic Orders $75+

Google Pixel Fold Base Battery (Inner Display) Replacement

Prerequisite Only
This is a prerequisite-only guide! This guide is part of another procedure and isn’t meant to be used alone.

What you need

    1. Google Pixel Fold Base Battery (Inner Display) Replacement, Reposition the cable: step 1, image 1 of 3 Google Pixel Fold Base Battery (Inner Display) Replacement, Reposition the cable: step 1, image 2 of 3 Google Pixel Fold Base Battery (Inner Display) Replacement, Reposition the cable: step 1, image 3 of 3
      • Move the flip battery and bottom interconnect cable away from the battery.

      • Be careful to not crease the cable. Give the cable some slack to avoid straining it.

      • Use tape with light adhesive, like painter's tape, to secure the cable to the side of the phone.

      Ask FixBot

      Add Comment

    2. Google Pixel Fold Base Battery (Inner Display) Replacement, Separate the battery pull tabs: step 2, image 1 of 3 Google Pixel Fold Base Battery (Inner Display) Replacement, Separate the battery pull tabs: step 2, image 2 of 3 Google Pixel Fold Base Battery (Inner Display) Replacement, Separate the battery pull tabs: step 2, image 3 of 3
      Tool used on this step:
      Tweezers
      $4.99
      Buy
      • Take care not to puncture or bend the battery with sharp tools—it can leak dangerous chemicals and/or catch fire.

      • Use a pair of blunt nose tweezers, or your fingers, to peel the clear plastic pull tabs away from the battery.

      Ask FixBot

      Add Comment

    3. Google Pixel Fold Base Battery (Inner Display) Replacement, Heat the battery adhesive: step 3, image 1 of 1
      • Unfold the phone and flip it over.

      • Heat an iOpener and apply it the section of the inner screen above the base battery for two minutes.

      • You can also use a hair dryer, heat gun, or hot plate—but extreme heat can damage the displays and/or internal batteries, so proceed with care.

      Ask FixBot

      Add Comment

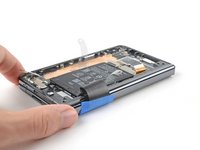
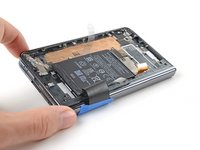
    4. Google Pixel Fold Base Battery (Inner Display) Replacement, Separate the adhesive: step 4, image 1 of 3 Google Pixel Fold Base Battery (Inner Display) Replacement, Separate the adhesive: step 4, image 2 of 3 Google Pixel Fold Base Battery (Inner Display) Replacement, Separate the adhesive: step 4, image 3 of 3
      • The battery adhesive is extremely strong. Be careful when pulling on the battery and reapply heat if necessary to avoid bending the battery.

      • Close your phone.

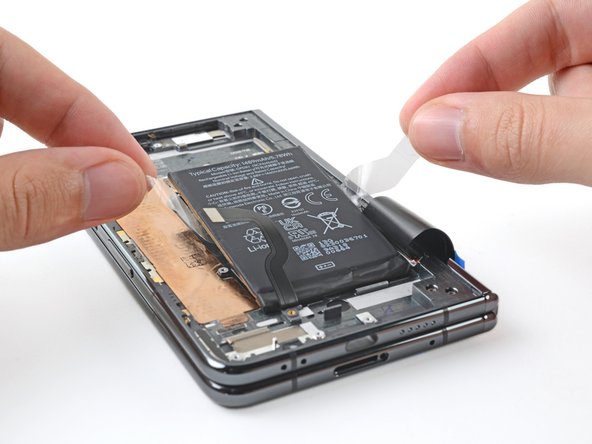
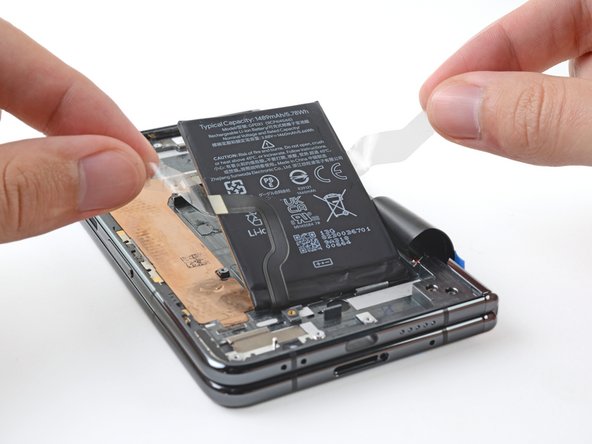
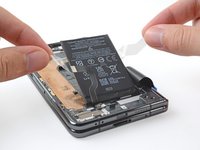
      • Grip the ends of the plastic pull tabs with your fingers.

      • Pull straight up with constant, steady force to separate the adhesive under the battery. Work slowly and let time do the work for you until the adhesive separates.

      • If you're having trouble separating the adhesive, apply more heat and try again.

      • If you're having a lot of trouble separating the adhesive, or if you feel like you might damage the battery, follow the next five steps for an alternate method. If you were successful, jump to this step.

      Ask FixBot

      Add Comment

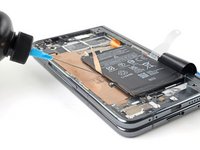
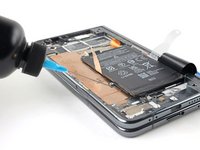
    5. Google Pixel Fold Base Battery (Inner Display) Replacement, Apply isopropyl alcohol: step 5, image 1 of 3 Google Pixel Fold Base Battery (Inner Display) Replacement, Apply isopropyl alcohol: step 5, image 2 of 3 Google Pixel Fold Base Battery (Inner Display) Replacement, Apply isopropyl alcohol: step 5, image 3 of 3
      • Take care not to puncture or bend the battery with your tool—a punctured or bent battery may leak dangerous chemicals or cause a fire.

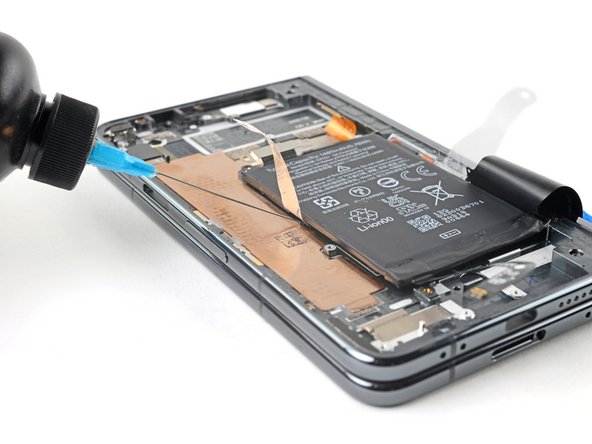
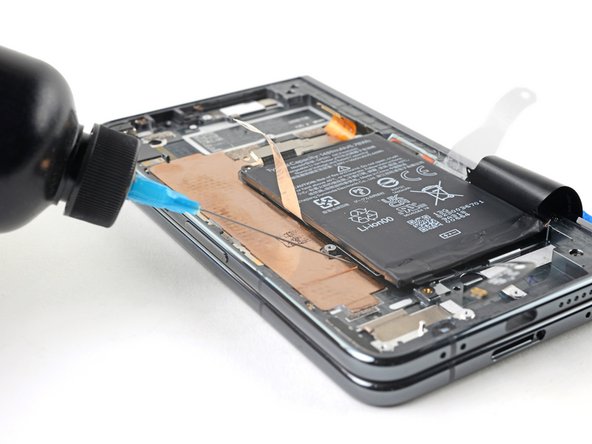
      • Apply a few drops of high concentration (>90%) isopropyl alcohol in the gap between the frame and the left edge of the battery.

      Ask FixBot

      Add Comment

    6. Google Pixel Fold Base Battery (Inner Display) Replacement, Tilt the phone: step 6, image 1 of 2 Google Pixel Fold Base Battery (Inner Display) Replacement, Tilt the phone: step 6, image 2 of 2
      • Tilt the left side of the phone up to let the isopropyl alcohol flow under the battery.

      • Wait one minute for the alcohol to soften the adhesive.

      Ask FixBot

      Add Comment

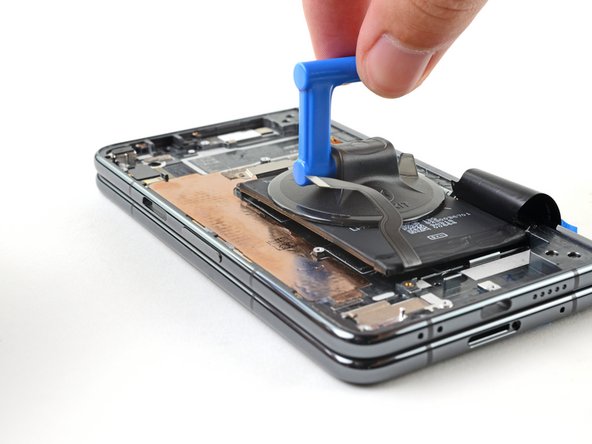
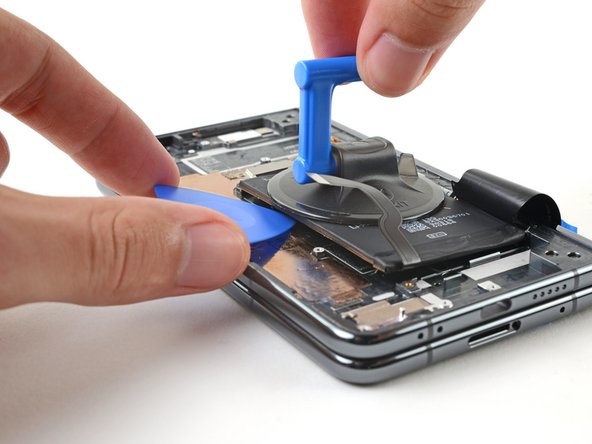
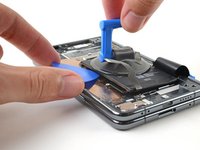
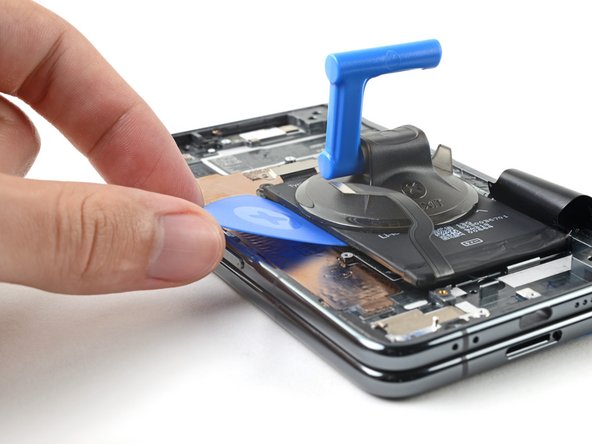
    7. Google Pixel Fold Base Battery (Inner Display) Replacement, Insert an opening pick: step 7, image 1 of 3 Google Pixel Fold Base Battery (Inner Display) Replacement, Insert an opening pick: step 7, image 2 of 3 Google Pixel Fold Base Battery (Inner Display) Replacement, Insert an opening pick: step 7, image 3 of 3
      • Take care not to puncture or bend the battery—it can leak dangerous chemicals and/or catch fire.

      • Apply a suction cup to the battery, as close to the center of the left edge as possible.

      • Pull up on the suction cup with strong, steady force to create a gap between the battery and the frame.

      • Insert an opening pick into the gap.

      Ask FixBot

      Add Comment

    8. Google Pixel Fold Base Battery (Inner Display) Replacement, Rotate the pick: step 8, image 1 of 2 Google Pixel Fold Base Battery (Inner Display) Replacement, Rotate the pick: step 8, image 2 of 2
      • Rotate the opening pick so its long edge sits in the gap.

      Ask FixBot

      Add Comment

    9. Google Pixel Fold Base Battery (Inner Display) Replacement, Pry up the battery: step 9, image 1 of 2 Google Pixel Fold Base Battery (Inner Display) Replacement, Pry up the battery: step 9, image 2 of 2
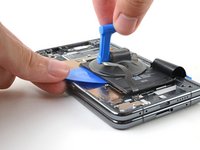
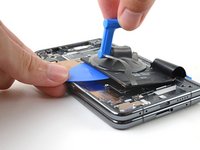
      • Pull up on the suction cup with strong, steady force while also prying up with the opening pick to separate the battery from the frame.

      • If you're feeling a lot of resistance, apply a few more drops of isopropyl alcohol and try again.

      • Depending on the condition of your adhesive, you might need to repeat the alcohol and prying cycle a few times before the battery adhesive yields.

      Ask FixBot

      Add Comment

    10. Google Pixel Fold Base Battery (Inner Display) Replacement, Remove the battery: step 10, image 1 of 1
      Tool used on this step:
      Tesa 61395 Tape
      $8.95
      Buy
      • Lift the battery out of its recess and remove it.

      • During reassembly, if your adhesive is still intact and sticky, then you can reuse it. Otherwise, follow this guide to replace the adhesive with custom cut strips.

      • If you don't have custom cut adhesive strips, use double-sided tape, like Tesa Tape, to secure the battery to the frame.

      Ask FixBot

      Add Comment

Conclusion

For optimal performance, calibrate your newly installed battery after completing this guide.

Take your e-waste to an R2 or e-Stewards certified recycler.

Compare your new replacement part to the original part—you may need to transfer remaining components or remove adhesive backings from the new part before you install it.

To reassemble your device, follow these instructions in reverse order.

Repair didn’t go as planned? Try some basic troubleshooting, or ask our Google Pixel Fold Answers Community for help.

Cancel: I did not complete this guide.

Alex Diaz-Kokaisl

Member since: 01/16/22

250,021 Reputation

1,203 Guides authored

Team

Guide Team Member of Guide Team

Staff

10 Members

61,630 Guides authored

0 Guide Comments

Add Comment

View Statistics:

Past 24 Hours: 0

Past 7 Days: 1

Past 30 Days: 8

All Time: 120