Free Shipping on Domestic Orders $75+

Apple Watch Series 6 Screen Replacement

What you need

  1. Apple Watch Series 6 Screen Replacement, Power down the watch: step 1, image 1 of 2 Apple Watch Series 6 Screen Replacement, Power down the watch: step 1, image 2 of 2
    Ask FixBot
  2. Apple Watch Series 6 Screen Replacement, Safety Requirements: step 2, image 1 of 3 Apple Watch Series 6 Screen Replacement, Safety Requirements: step 2, image 2 of 3 Apple Watch Series 6 Screen Replacement, Safety Requirements: step 2, image 3 of 3
    • Because the gap between the screen and watch body is so thin, an iFlex is needed to separate the two.

    • Protect your fingers by keeping them completely clear of the iFlex edge. If in doubt, protect your free hand with a heavy glove, such as a leather shop glove or gardening glove.

    • Be careful not to apply too much pressure, as this might cause the iFlex to slip and cut you, or damage the watch.

    • Wear eye protection. If the opening procedure is performed incorrectly or with too much pressure, the glass could crack, sending small glass shards flying.

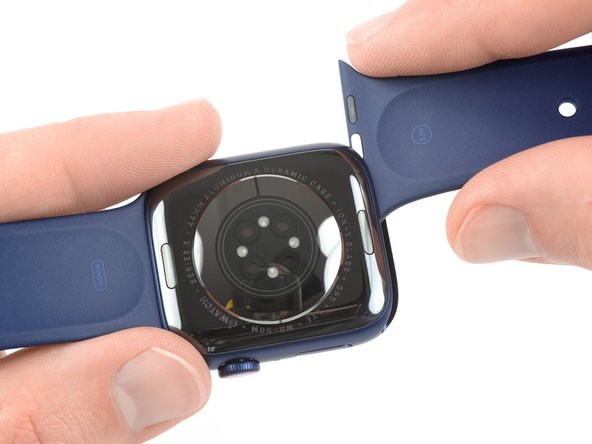
    • Attach or remove the watch band as needed to provide more control as you make repairs.

    Ask FixBot

  3. Apple Watch Series 6 Screen Replacement, Soften the display adhesive: step 3, image 1 of 1
    • Prepare an iOpener and apply it to the screen for three minutes to loosen the adhesive underneath.

    • A hair dryer, heat gun, or hot plate may also be used, but be careful not to overheat the watch—the display and internal battery are both susceptible to heat damage.

    • You may need to reheat the iOpener and repeat this procedure several times until the display adhesive softens.

    Ask FixBot

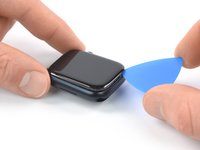
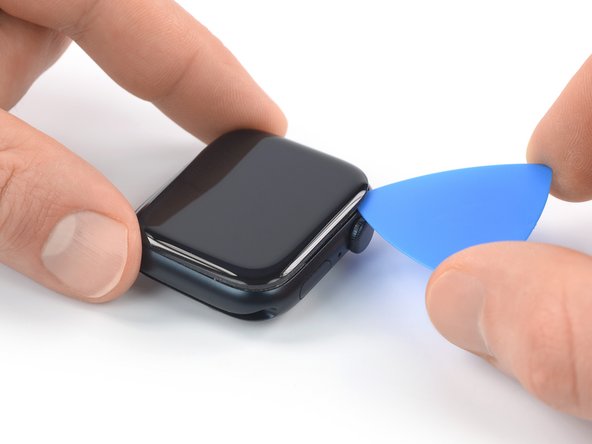
  4. Apple Watch Series 6 Screen Replacement, Create a gap: step 4, image 1 of 3 Apple Watch Series 6 Screen Replacement, Create a gap: step 4, image 2 of 3 Apple Watch Series 6 Screen Replacement, Create a gap: step 4, image 3 of 3
    • Take your time and work carefully to avoid scratching the watch body.

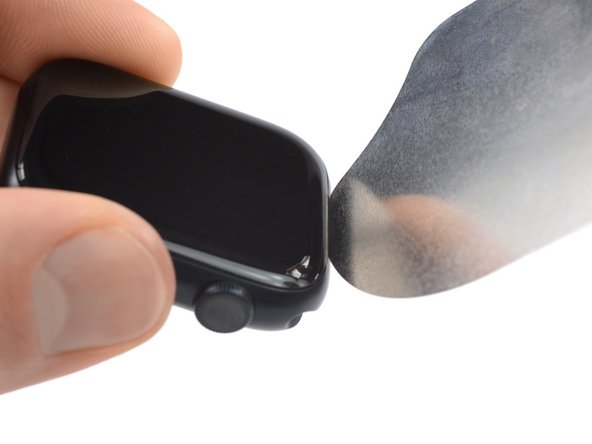
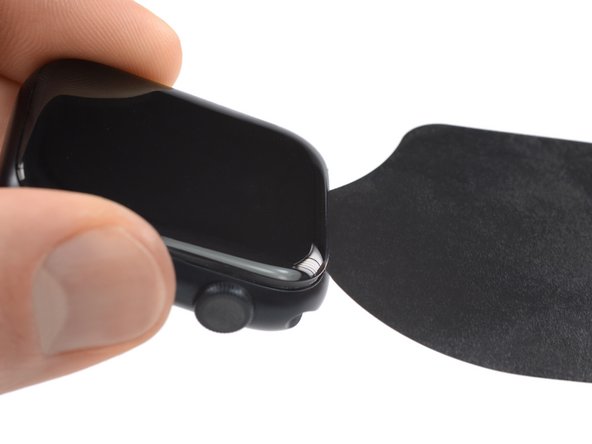
    • Insert the iFlex into the thin gap between the display and frame at the edge adjacent to the digital crown.

    • Tilt the iFlex down to pry the display open slightly and create a gap between the screen and the watch body.

    Ask FixBot
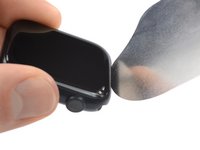
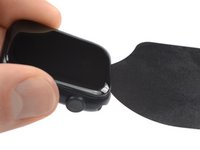
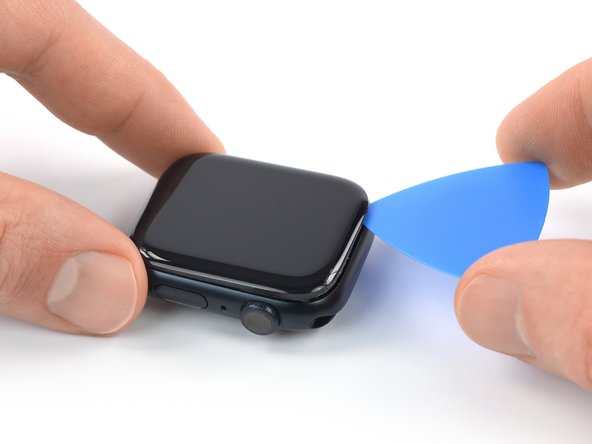
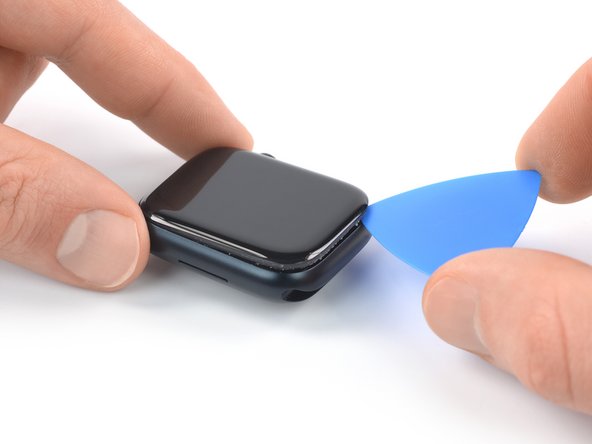
  5. Apple Watch Series 6 Screen Replacement, Slice the adhesive: step 5, image 1 of 2 Apple Watch Series 6 Screen Replacement, Slice the adhesive: step 5, image 2 of 2
    • Insert the tip of an opening pick into the gap you just created.

    • Slide the opening pick along the short edge of the watch to slice the adhesive.

    Ask FixBot
  6. Apple Watch Series 6 Screen Replacement: step 6, image 1 of 2 Apple Watch Series 6 Screen Replacement: step 6, image 2 of 2
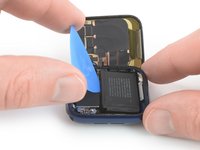
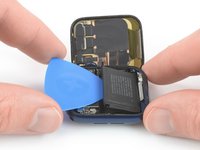
    • Slide the opening pick around the corner and along the long edge opposite to the watch crown to slice the adhesive.

    Ask FixBot
  7. Apple Watch Series 6 Screen Replacement: step 7, image 1 of 2 Apple Watch Series 6 Screen Replacement: step 7, image 2 of 2
    • Slide the opening pick around the corner and along the next short edge to slice the adhesive.

    Ask FixBot
  8. Apple Watch Series 6 Screen Replacement: step 8, image 1 of 3 Apple Watch Series 6 Screen Replacement: step 8, image 2 of 3 Apple Watch Series 6 Screen Replacement: step 8, image 3 of 3
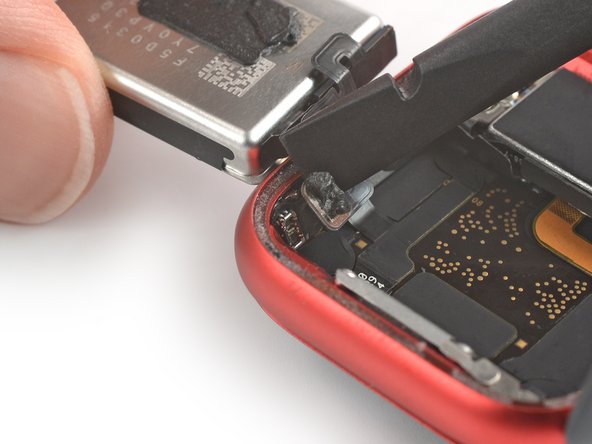
    • When slicing the adhesive on the edge with the watch crown, only insert the opening pick 2–3 mm to prevent damaging the display cables.

    • Slide the opening pick around the corner and toward the watch crown to slice the remaining adhesive.

    • Don't try to fully remove the display yet, as it‘s still connected to the watch assembly.

    Ask FixBot
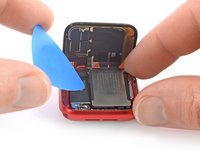
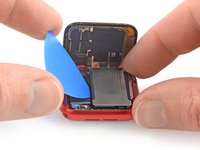
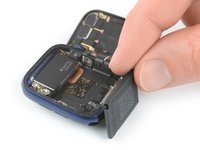
  9. Apple Watch Series 6 Screen Replacement, Swing open the display: step 9, image 1 of 3 Apple Watch Series 6 Screen Replacement, Swing open the display: step 9, image 2 of 3 Apple Watch Series 6 Screen Replacement, Swing open the display: step 9, image 3 of 3
    • Be careful not to strain the display cables when you open the display.

    • Lift the display and carefully pull it towards the watch crown.

    • Swing the display open to an upright position.

    • To reseal your watch follow this general Apple Watch resealing guide.

    Ask FixBot
  10. Apple Watch Series 6 Screen Replacement, Soften the battery adhesive: step 10, image 1 of 1
    • Prepare an iOpener (or use a hair dryer or heat gun) and heat the rear side of the watch to loosen the battery adhesive. Leave the iOpener on the watch for at least two minutes.

    Ask FixBot
  11. Apple Watch Series 6 Screen Replacement, Determine which procedure to follow: step 11, image 1 of 1
    • From this point, the battery removal procedure for the 40 mm watch differs slightly from the 44 mm version.

    • If you're replacing the battery for a 40 mm watch, continue with this step.

    • If you're replacing the battery for a 44 mm watch, continue with this step.

    Ask FixBot
  12. Apple Watch Series 6 Screen Replacement, Pry up the battery: step 12, image 1 of 3 Apple Watch Series 6 Screen Replacement, Pry up the battery: step 12, image 2 of 3 Apple Watch Series 6 Screen Replacement, Pry up the battery: step 12, image 3 of 3
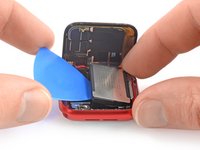
    • The following four steps show how to remove the battery from a 40 mm Apple Watch Series 6.

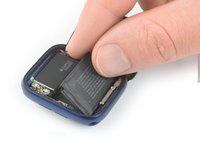
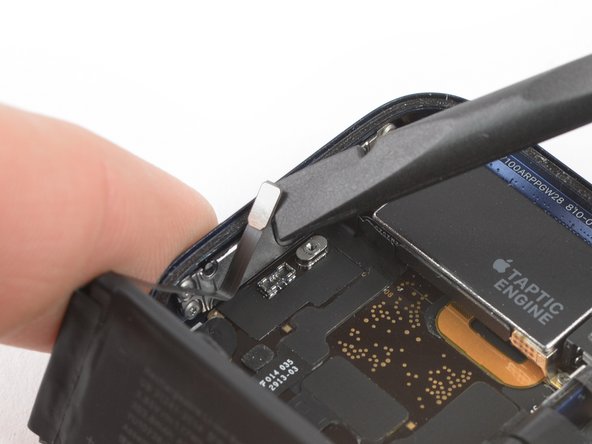
    • Insert an opening pick between the battery and the Taptic Engine.

    • Use constant, steady pressure to slowly pry the battery up, separating it from the adhesive securing it to the mainboard.

    • Make sure you don't puncture or deform the battery, as it can catch fire and/or explode if damaged.

    • Don't try to remove the battery all the way yet. It is still connected to the watch assembly.

    Ask FixBot
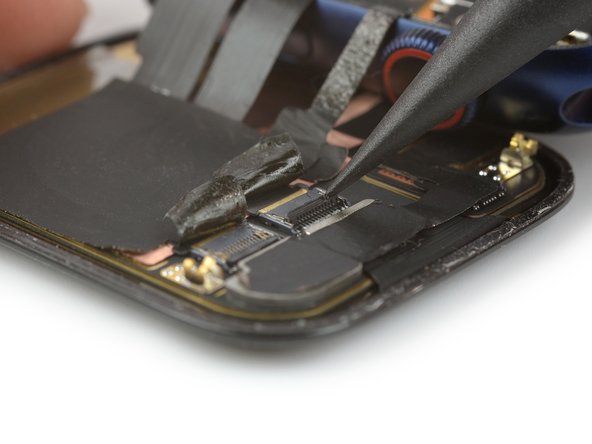
  13. Apple Watch Series 6 Screen Replacement, Move the battery: step 13, image 1 of 3 Apple Watch Series 6 Screen Replacement, Move the battery: step 13, image 2 of 3 Apple Watch Series 6 Screen Replacement, Move the battery: step 13, image 3 of 3
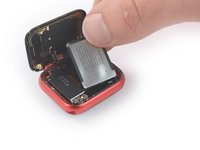
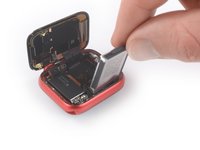
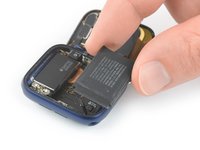
    • The battery flex cable is long enough to allow you to place the battery outside the watch case, but avoid straining the cable when you lift the battery out of its recess.

    • Carefully lift and swing the battery out of its recess.

    Ask FixBot
  14. Apple Watch Series 6 Screen Replacement, Disconnect the battery: step 14, image 1 of 2 Apple Watch Series 6 Screen Replacement, Disconnect the battery: step 14, image 2 of 2
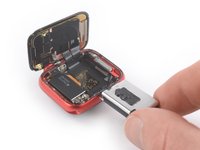
    • Use the flat end of a spudger to pry up and disconnect the battery connector.

    Ask FixBot
  15. Apple Watch Series 6 Screen Replacement, Remove the battery: step 15, image 1 of 1
    Tool used on this step:
    Tesa 61395 Tape
    $8.95
    Buy
    • Remove the battery.

    • Don't reinstall a damaged or deformed battery, as doing so is a potential safety hazard.

    • If you're reusing your old battery during reassembly, you can reuse the existing adhesive to secure the battery during reassembly.

    • Alternatively, remove the old adhesive with high concentration isopropyl alcohol and a lint free cloth and use a small piece of double-sided tape such as Tesa 61395, or a dab of liquid adhesive such as E6000.

    Ask FixBot
  16. Apple Watch Series 6 Screen Replacement, Pry up the battery: step 16, image 1 of 3 Apple Watch Series 6 Screen Replacement, Pry up the battery: step 16, image 2 of 3 Apple Watch Series 6 Screen Replacement, Pry up the battery: step 16, image 3 of 3
    • The following four steps show how to remove the battery from a 44 mm Apple Watch Series 6.

    • Insert an opening pick between the battery and the Taptic Engine.

    • Use constant, steady pressure to slowly pry the battery up, separating it from the adhesive securing it to the mainboard.

    • Make sure you don't puncture or deform the battery, as it can catch fire and/or explode if damaged.

    • Don't try to remove the battery all the way yet. It is still connected to the watch assembly.

    Ask FixBot
  17. Apple Watch Series 6 Screen Replacement, Move the battery: step 17, image 1 of 3 Apple Watch Series 6 Screen Replacement, Move the battery: step 17, image 2 of 3 Apple Watch Series 6 Screen Replacement, Move the battery: step 17, image 3 of 3
    • The battery flex cable is long enough to place the battery outside the watch case during the following procedure but avoid straining it when lifting the battery out of its recess.

    • Carefully lift the battery out of its recess and place it outside the watch case opposite to the Taptic Engine.

    Ask FixBot
  18. Apple Watch Series 6 Screen Replacement, Remove the battery connector screw: step 18, image 1 of 1
    • Remove the single 1.2 mm-long tri point Y000 screw.

    Ask FixBot
  19. Apple Watch Series 6 Screen Replacement: step 19, image 1 of 2 Apple Watch Series 6 Screen Replacement: step 19, image 2 of 2
    Tool used on this step:
    Tweezers
    $4.99
    Buy
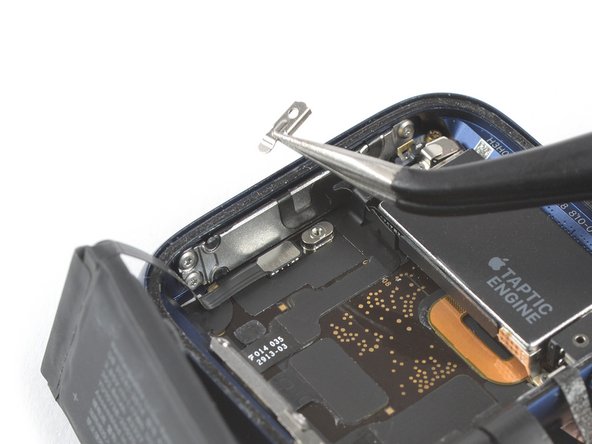
    • Use a pair of tweezers to remove the metal shield covering the battery connector.

    Ask FixBot
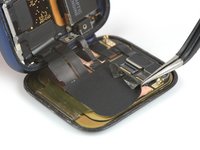
  20. Apple Watch Series 6 Screen Replacement: step 20, image 1 of 2 Apple Watch Series 6 Screen Replacement: step 20, image 2 of 2
    • Use the flat end of a spudger to pry up and disconnect the battery connector.

    Ask FixBot
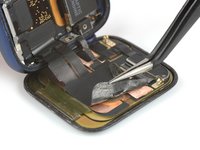
  21. Apple Watch Series 6 Screen Replacement, Remove the battery: step 21, image 1 of 1
    Tool used on this step:
    Tesa 61395 Tape
    $8.95
    Buy
    • Remove the battery.

    • Do not reinstall a damaged or deformed battery, as doing so is a potential safety hazard.
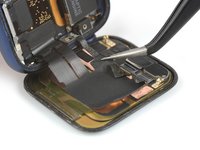
    • If you are reusing your old battery during reassembly, you can reuse the existing adhesive to secure the battery during reassembly.

    • Alternatively, remove the old adhesive with high concentration isopropyl alcohol and a lint free cloth and use a small piece of double-sided tape such as Tesa 61395, or a dab of liquid adhesive such as E6000.

    Ask FixBot
  22. Apple Watch Series 6 Screen Replacement, Peel off the protective foil: step 22, image 1 of 3 Apple Watch Series 6 Screen Replacement, Peel off the protective foil: step 22, image 2 of 3 Apple Watch Series 6 Screen Replacement, Peel off the protective foil: step 22, image 3 of 3
    Tool used on this step:
    Tweezers
    $4.99
    Buy
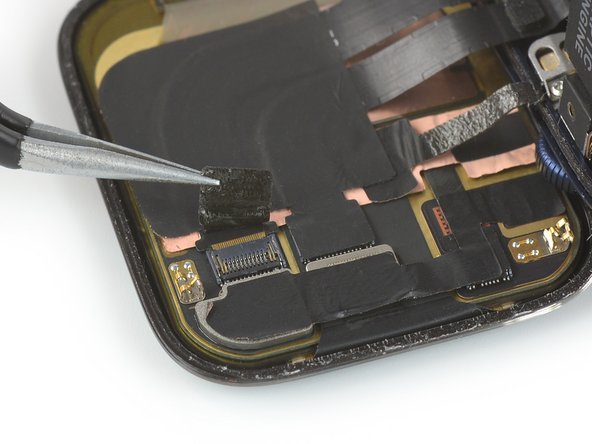
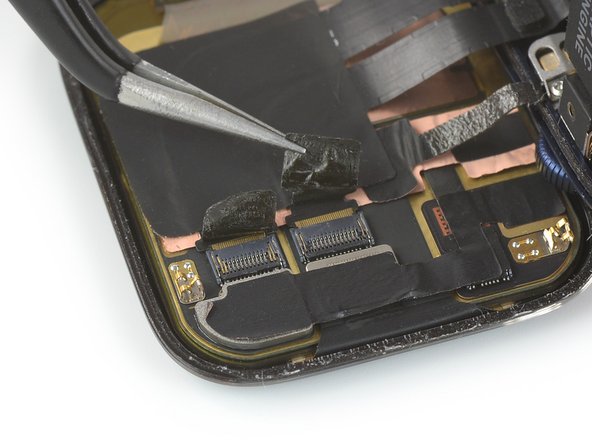
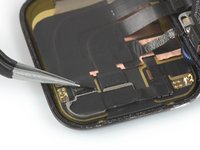
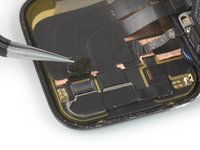
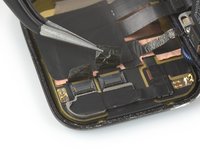
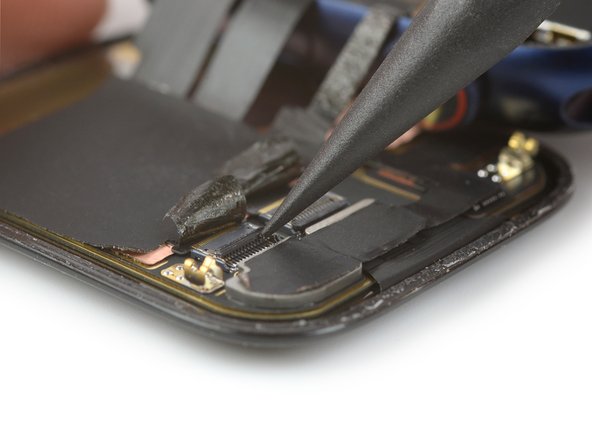
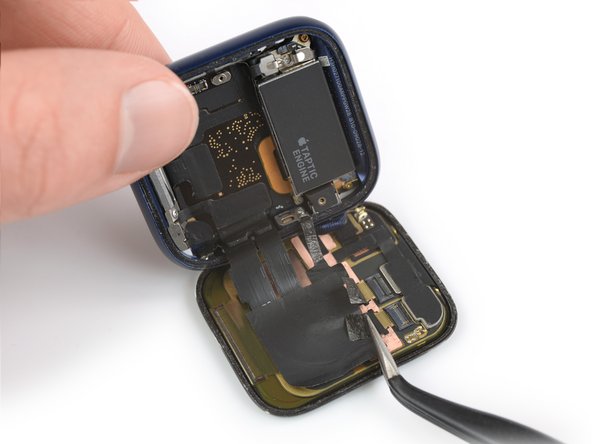
    • Use a pair of tweezers to carefully peel the black protective tape off both display connectors.

    Ask FixBot
  23. Apple Watch Series 6 Screen Replacement, Release the display cables: step 23, image 1 of 3 Apple Watch Series 6 Screen Replacement, Release the display cables: step 23, image 2 of 3 Apple Watch Series 6 Screen Replacement, Release the display cables: step 23, image 3 of 3
    • Use the pointed end of a spudger to pry up the lock bars on both ZIF connectors securing the display cables.

    Ask FixBot
  24. Apple Watch Series 6 Screen Replacement: step 24, image 1 of 3 Apple Watch Series 6 Screen Replacement: step 24, image 2 of 3 Apple Watch Series 6 Screen Replacement: step 24, image 3 of 3
    • Use a pair of tweezers to carefully peel off the edges of the sticker which adheres the display and the grounding cable to the rear side of the screen.

    Ask FixBot
  25. Apple Watch Series 6 Screen Replacement: step 25, image 1 of 2 Apple Watch Series 6 Screen Replacement: step 25, image 2 of 2
    • Use a pair of tweezers to pull both display cables out of the ZIF connectors.

    • Do not pull on the watch assembly, or you may rip the display cable.

    • During reassembly, make sure the locking tab on both ZIF connectors is fully open, then slowly slide the cables into their sockets.

    Ask FixBot
  26. Apple Watch Series 6 Screen Replacement, Remove the screen: step 26, image 1 of 1
    • Separate the watch assembly and the screen.

    Ask FixBot
Conclusion

To reassemble your Apple Watch Series 6 follow these instructions in reverse order to reattach the screen and the battery.

Apply a little bit of high isopropyl alcohol (>90%) to a Q-tip or use a cleaning pad to gently remove the leftover adhesive on the edges of the watch case and the screen before installing new adhesive.

Take your e-waste to an R2 or e-Stewards certified recycler.

Repair didn’t go as planned? Check out our Answers community for troubleshooting help.

43 other people completed this guide.

Dominik Schnabelrauch

Member since: 11/23/16

258,447 Reputation

682 Guides authored

Team

iFixit Member of iFixit

Staff

123 Members

25,718 Guides authored

25 Guide Comments

Can anyone tell me what that 3rd cable is (circled red in the pic linked below)? It’s linked to the metal back in the phone?

https://imgur.com/0meecS9

gauntletmm - Reply Share

I think it is just a grounding wire.

Daniele Carminati - Reply Share

Did you ever find out what that third wire is?

Antonio Silva Carrillo - Reply Share

I want to know too, I break it while pulling the battery yesterday, but the watch seems working fine

Coco - Reply Share

It’s a shield (grounding) line to control EMI noise

DanJ - Reply Share

Add Comment

View Statistics:

Past 24 Hours: 45

Past 7 Days: 252

Past 30 Days: 1,234

All Time: 153,716