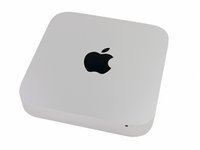
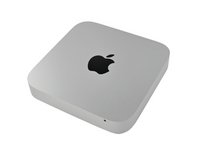
Mac mini Late 2012
A1347 (EMC 2570 Macmini6,1) 2.5 GHz (Dual i5)
A1347 (EMC 2570 Macmini6,2) 2.3 GHz (Quad i7)
A1347 (EMC 2570 Macmini6,2) 2.6 GHz (Quad i7)
Holiday Deals, Built to Last - Shop Now
Plus Free Shipping on $75+ in the Contiguous USA

Condition: New
Part or Kit

OptionPart Onlynot selected

OptionFix Kitselected
Frequently Bought Together
Sale price $59.96
Regular price $74.95
Sale price $15.96
Regular price $19.95
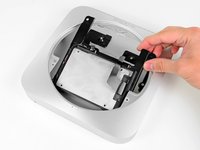
Your Mac mini supports two hard drives—get the kit with the cable, hardware, and tools you need to make the upgrade. No need to pay the Apple premium for an expensive Mac mini server when you can do it yourself and save.
| Compatible Part Numbers | 922-9560, 076-1391 |
|---|---|
| iFixit Part Number | IF171-005-3 |

Purchase with purpose
Repair with confidence
Fast shipping