Introduction
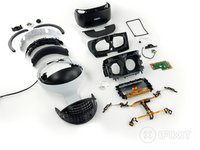
We'd say that VR was for startups and übergamers until now, but Sony has been perfecting their headset for yeeears. With gaming giant Valve and up-and-comer Oculus already established, can the PlayStation VR measure up? Time to dive into the hardware of this latest PlayStation accessory and see what it's bringing to the fight!
Can't get enough bytes? Find us in cyberspace on Instagram, Twitter, and Facebook for all the latest repair news.
What you need
Video Overview
-
-
On paper, the PlayStation VR stands tall next to its two PC-based competitors, the Oculus Rift and HTC Vive. Here are the specs we're most interested in:
-
Single 5.7-inch AMOLED display with 1920 × 1080 resolution (960 × 1080 per eye)
-
Approximately 100º field of view
-
Refresh rate up to 120 Hz
-
Six-axis inertial measurement system (three-axis gyroscope, three-axis accelerometer)
-
Headset weight: 610 g
-
-
-
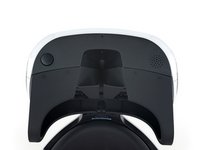
The PlayStation VR differs from its competitors with its headband-and-hanging-visor, rather than the (previously standard) goggle configuration.
-
The standard PS VR comes with headset,
mini-PS4processor unit, headphones, and several numbered cables to connect it all. -
Sold separately (or included in the bundle edition) are the (very necessary) camera and (optional) PlayStation Move sticks.
-
-
-
Time for a brief look at the external bits before we crack the PS VR open.
-
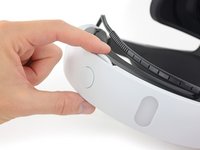
Lacking the "strap it to your face" build, the PS VR has a sliding headband (not unlike the Oculus CV1) with a wheel for fine tightening to ensure a snug fit.
-
Sony's unique hanging visor design presents an all-new solution to the problem of adjusting eye relief. Just hold the button (above the cute PlayStation button symbols) and slide the "scope" forward or back to change the focus.
-
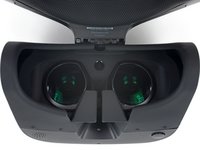
The PS VR lenses are actually totally conventional, no Fresnel (Vive) or hybrid-Fresnel (Rift CV1) lenses here.
-
-
Tool used on this step:iFixit Opening Picks (Set of 6)$4.99
-
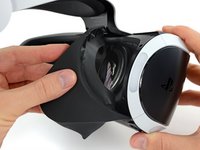
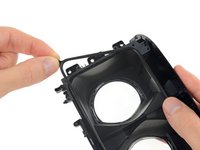
The scope relies on a rubber mask, rather than goggle foam and a tight fit, to block light. As a bonus, it's probably more washable than foam.
-
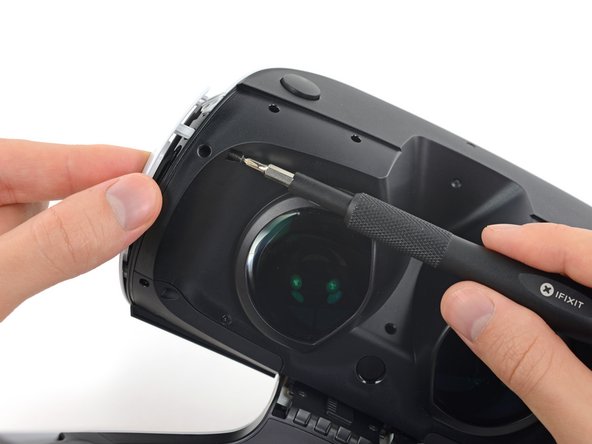
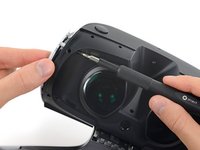
With the user-replaceable rubber shield peeled away, we're treated to simple JIS screws (Phillips' pointed-headed cousins) holding the scope together.
-
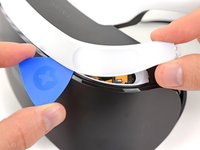
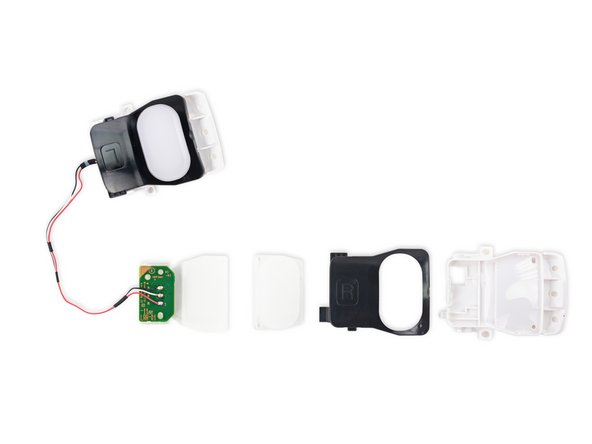
We gleefully pry the futuristic plastic trim (and LED diffusers) away with our trusty opening pick.
-
And peeking out just behind, we've found the first of the 9 position-tracking LEDs. Soon.
-
-
-
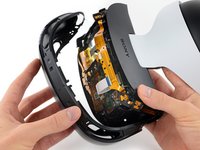
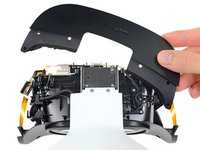
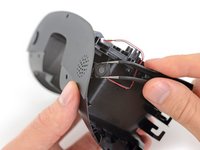
Trim bits removed, we're able to detach the front panel of the visor unit to reveal a sea of flex cables and components.
-
Pulling off the top panel reveals the metal rail that the visor unit slides on when adjusting eye relief.
-
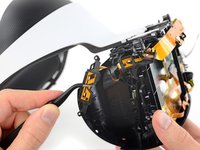
Unlike the Rift and Vive, which rely on invisible IR light for position tracking, the PS VR uses visible light LEDs, in that iconic PlayStation blue.
-
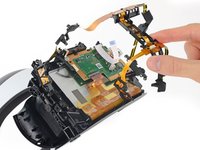
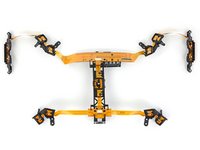
We peel up the first of these LEDs, but can't separate them yet—they're part of a larger assembly, containing all 7 of the headset's lights.
-
-
-
After teasing the first bit free, we go for gold and take out the entire insectile LED assembly cable.
-
Capitalizing on their existing technology, Sony chose to use visible light LEDs and the PlayStation Eye camera for position tracking.
-
This system is most similar to the Rift CV1, with a pattern of light on the headset scanned by a stationary receiver. The Vive, on the other hand, uses IR receivers on the headset, reading from a pair of stationary emitters.
-
-
-
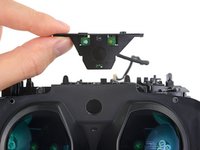
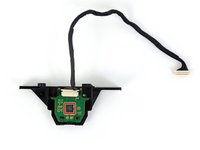
Remember that slick scope adjustment button a few steps ago? Here's the adjustment it allows—up close and personal! Oooh, springy.
-
Eye relief is the distance between your eye and the plane of the display. A large adjustment range means that users can fit glasses under their headsets with ease.
-
-
-
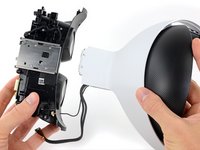
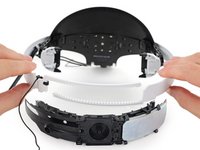
Two cables remain before we're able to separate the
saucer sectionheadband. -
This wide, reinforced connector makes us think display cable—and we're not too far off, as this is for HDMI-in and an AUX connector.
-
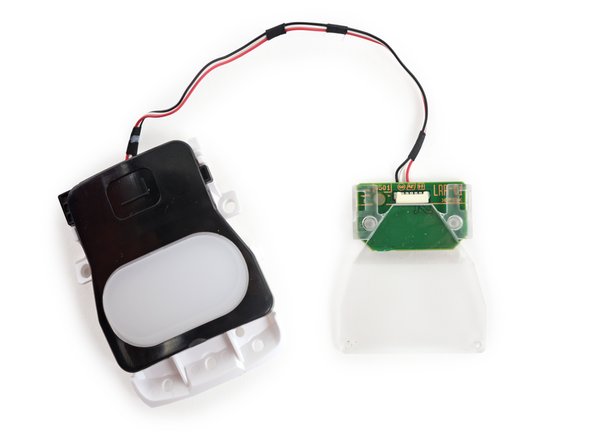
The second cable, a tiny 4-pin job, powers the remaining LEDs, located on the back of the headband.
-
-
-
-
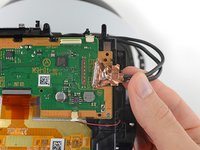
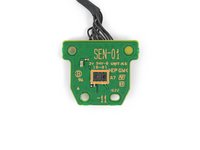
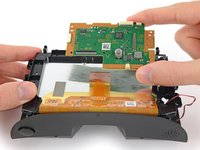
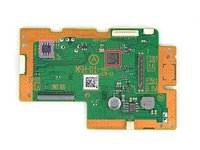
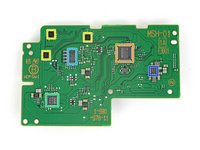
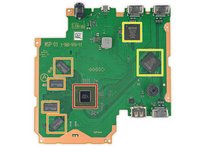
The motherboard is free from the headset! Here's what we found:
-
Toshiba TC358870XBG HDMI interface bridge
-
Nuvoton NUC123SD4SN3 NUC123 series ARM Cortex-M0 microcontroller
-
ROHM BD2802 RGB LED driver (x3)
-
Wolfson WM1801G (likely an audio codec, as found in the DualShock 4 controller)
-
Parade Technologies PS8203 3.0 Gbps HDMI level shifter
-
Texas Instruments S1L 621 APGH (likely a power supply module for the AMOLED display)
-
Rohm BR24T16-W 16 Kb Serial EEPROM Memory
-
-
-
-
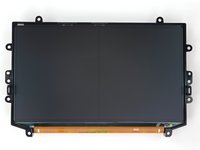
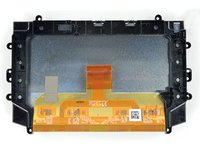
Sony's been touting the subpixel matrix in this display, so we decided to whip out our microscope and take a closer look.
-
On the left we have a traditional LED-backlit IPS display from an iPhone 6s.
-
And on the right is PS VR's AMOLED display featuring a hexagonal subpixel matrix, consistent with other Samsung-made OLED displays found in their flagship smartphones.
-
-
-
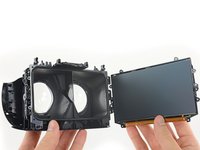
A soft rubber gasket cushions the display against the lens assembly, and seals dust out of the clean-room optics chamber.
-
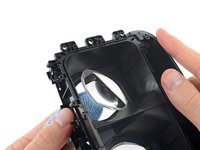
The lenses are glued in place in their frame, but with a bit of encouragement (e.g. some heat and a good push) they pop right out.
-
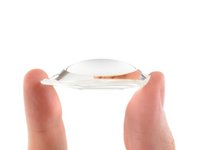
These are 14 mm thick conventional lenses, with no Fresnel stepping, and a smooth dome shape. That means the lenses are quite a bit thicker than the Fresnel lenses in the Vive and the hybrid Fresnel lenses of the Rift.
-
-
-
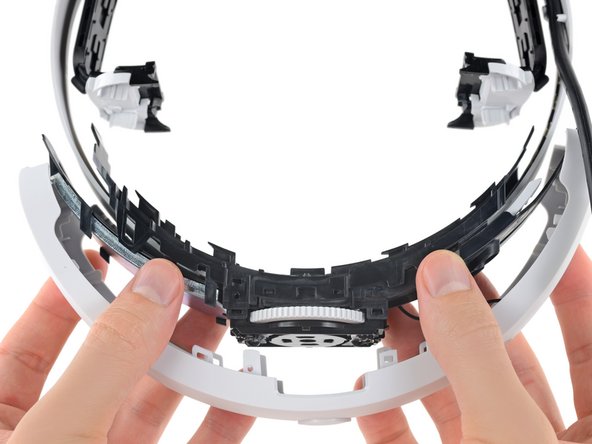
Time to tackle that headband!
-
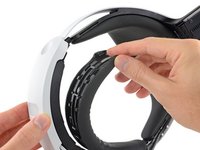
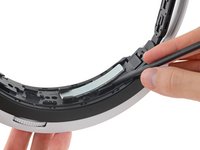
First up, we pop out the squishy headband cushions. No glue or screws here, so fret not, sweaty friends. The prospect of future cushion swaps look good.
-
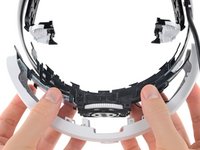
We have nice little counterweights on either side of of the adjustment knob to offset the scope's display and lens mass. There's just a dab of glue and some clips holding them in place, so they're easily scooped out.
-
Because these weights are purely for balance, let's take them out and then compare across the big three, to see who could make the lightest headset. Removing their 95 g puts the PS VR at around 515 g. That puts it right between the Vive's 563 g and the Rift's 470 g.
-
-
-
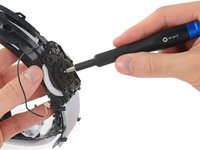
Before we leave the headband for dead(band), we pop open the band adjustment mechanism.
-
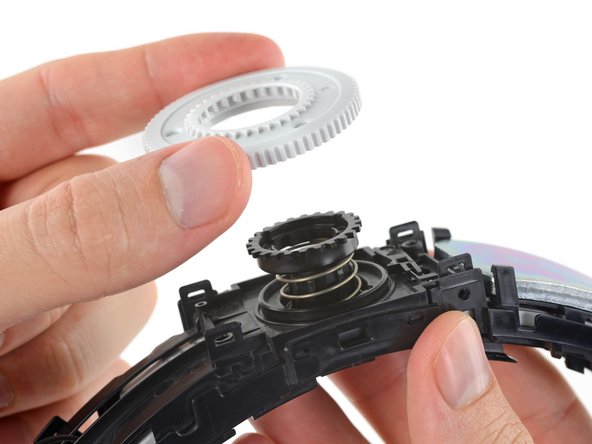
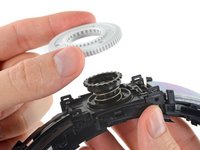
A spring-loaded pinion gear assembly rotates against two racks that spread or contract, tightening or loosening the band.
-
A locking mechanism built into the gear assembly prevents the band's adjustment from slipping while you're swinging your head around in the zone.
-
-
-
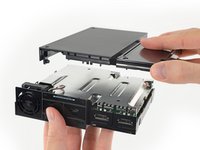
We move on from the headset to the miniature PlayStation that Sony graciously included with the PS VR at no extra charge.
-
It comes equipped with three HDMI ports (one for the PS4 to send video to the unit, and two to send video back out to the TV and headset), a USB port, a proprietary AUX socket, and a barrel jack for DC power.
-
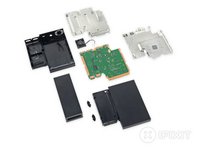
We crack it open and find the insides are encased in metal. Not helping your case that this isn't actually a tiny PlayStation, guys.
-
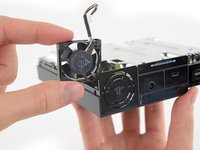
While we're here, we stumble upon a cute little brushless fan! Definitely something warm going on in here.
-
-
-
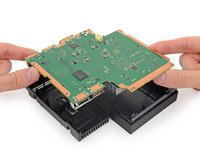
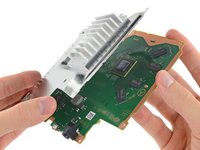
We pop the board out of the box and peel a beefy aluminum heat sink from the processor-side of things.
-
According to Sony, this box isn't packing any graphics processing chops. Instead, it handles PS VR's 3D audio processing and can simultaneously direct video to your TV and headset.
-
We're just itching to see what powers this puppy.
-
-
-
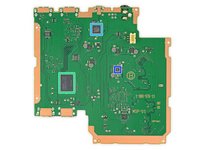
What's inside the box?
-
Marvell DE3214-B0 Armada 1500 Pro 4K SoC
-
Samsung K4B2G1646Q-BCMA 256 MB DDR3 SDRAM (4 chips for 1 GB total)
-
ADV7626 HDMI 2:2 cross point transceiver (x2)
-
On the reverse:
-
Samsung KLM4G1FE3A-F001 4 GB eMMC flash SSD
-
Marvell 88E8087-NMN2 (likely a USB Redriver)
-
Marvell Power Management
-
- Thoughtfully constructed and fairly straightforward to disassemble.
- Many pieces, such as the cushions and light shield, snap in place with no fussy fasteners or adhesive.
- Standard JIS J0 screws are used throughout. You can take it apart with a single driver that's likely already in your electronics toolkit (Phillips drivers work for JIS in a pinch).
- Adhesive is mild, used sparingly, and mostly easy to remove. However, the lenses are firmly glued in place.
- Complicated piece of hardware with a lot of extra trim pieces that would be difficult to reassemble without guides.
Final Thoughts
Repairability Score


(10 is easiest to repair)
51 Guide Comments
Today i watched austin evans's unboxin video after few mins i sow the email received the teardown guid. impressive! Thank you ifixit team!
@buddhika Lol...
I used to Watch His Videos...
Lol...
😆😅...
Pmsl...
Lol....
Yeh don't worry bout My Username...
Lol.
Is the PlayStation vr power adapter a dual voltage
It will work just fine, it supports dual voltage.
Yes it supports dual voltage, enjoy


