Half the Price, No Long Distance Travel to Apple Stores, Double the HD Capacity!
mblack -
My Problem
My MacBook Pro (Mid-2010) stopped booting up and I took it to a certified "Apple Technician" at the University I attend in South Georgia. He determined there were bad sectors on the HD and was kind enough to recover the data he could to my external HD. In the next day or two he called back and said Apple had done something like an update to their own system contacts of certified technicians and he had not reappeared on their list. He spent a week holding the laptop for me hoping the negotiations with Apple would move quickly but they didn't and he let me pick up the laptop and my external HD for no charge since he could not complete repairs.
I looked around for other Apple stores, afraid to open up my mac and try installing a HD on my own. But, the other stores were more than 2 hours away, had more than a week's wait time to come in, and wanted more than I could afford to pay for repairs. Too expensive? Too far away? "It's time to try doing this myself."
An acquaintance who used to repair macs recommended IFIXIT and I couldn't have been more pleased with customer service: A human answers the phone and can quickly help someone take steps to problem solve and resolve issues. Everyone I talked with was pleasant and knowledgeable.
My Fix
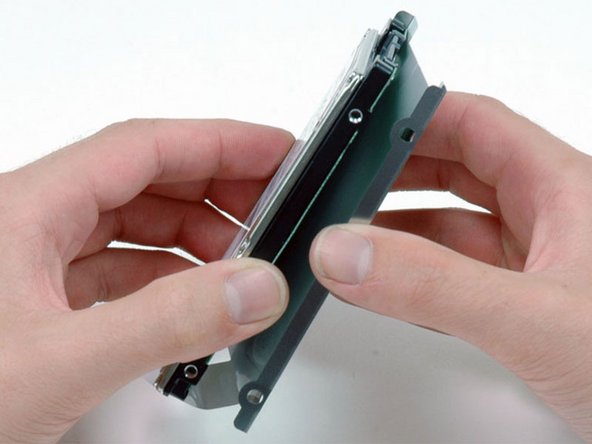
The installation of the new HD (double the capacity of the old HD for 1/2 the price of what an Apple store or repair place wanted to charge for their whole process) was surprisingly easy using the tool kit I got with the HD and the online guide.
I took my time and sat down at a table (took a couple steps to try and avoid extra static buildup) and used scotch tape to put the screws on to organize the types and keep them from rolling away.
From the time I had the hard drive and tools set out on the table with the mac to the time I had it back together I'm pretty sure was less than an hour. (I was pretty reserved and cautious with each step.)
My Advice
My challenge came next trying to find a way to get the brand new HD formatted and then get the operating system installed. I had no recovery/installation discs that came with my mac and, again, the old HD had bad sectors so I had no HD or backup of my whole system or another way to get this done. I could have paid for someone to ship the discs and then waited another day or two, but found a much cheaper way using a USB (see below).
My model MacBook Pro (Mid-2010) does have internet recovery on it, but I ran into issues trying to use wifi at the college since drivers need to be installed to access the campus wifi. I was pretty disheartened until I went home to simpler wifi with just a password and was able to use internet recovery to format the HD (found directions online) so it would be ready to then install OS X (Mavericks).
The problem as of 2/11/15 was that the only operating system Apple has available to download from internet recovery is Yosemite and that wasn't compatible for my mac since I only had updated to Mavericks in the past. (I'm sharing all this because I had to learn it all from various sources and experience in the last week and hope it'll help someone and make their process shorter.)
I tried hard several times with a knowledgeable IT guy at the college to make a bootable USB drive of OS X Mavericks, but had no success until we just decided to look for other options than making the USB using all those steps ourselves. We came across a freeware called Diskmaker X, downloaded it, and it did all the steps of making the USB for me. It was awesome when I then plugged the UBS into my laptop, turned it on, hit the option key, and watched it list the USB. The install was seamless once I plugged in the USB.
So, several keys I came away with:
1) Invest the money into a good external HD and invest the time into regularly backing up with some program like Time Machine and look into options of using it to make a backup of the whole system (including the OS) so if it crashes or the HD goes bad, you'll have a lot more to work with than I did.
2) If you end up in a situation similar to mine and want to create a bootable USB (needs to be at least 8GB USB) you have to have access to another mac with administrative privilages to make the USB. You will log into your apple account on the other mac, download the OS X install program you had been using on your personal mac to this other mac and probably do something similar to what I wrote below.
3) I tried making the USB myself and eventually had to use the freeware Diskmaker X. My recommendation now, is for others to start by trying to use Diskmaker X. It's FREE and has options to make a bootable USB of OS X Mavericks and other versions like Yosemite. Save the time and hassle of trying to make it yourself. So glad someone suggested IFIXIT!
0 Comments