Introduction
Prereq-only for detaching the display assembly.
What you need
-
-
-
Power off your iPhone before beginning disassembly.
-
Remove the two 6.75 mm long pentalobe P2 screws at the bottom edge of the iPhone.
 Ask FixBot
-
-
-
-
-
Lay overlapping strips of clear packing tape over the iPhone's screen until the whole face is covered.
-
If you can't get the suction cup to stick in the next few steps, fold a strong piece of tape (such as duct tape) into a handle and lift the screen with that instead.
-
-
Tool used on this step:Clampy - Anti-Clamp$24.95
-
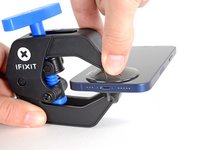
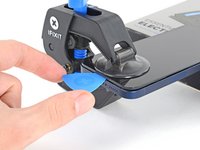
Pull the blue handle backwards to unlock the Anti-Clamp's arms.
-
Slide the arms over either the left or right edge of your iPhone.
-
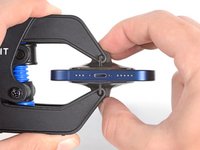
Position the suction cups near the bottom edge of the iPhone—one on the front, and one on the back.
-
Squeeze the cups together to apply suction to the desired area.
-
-
-
Pull the blue handle forwards to lock the arms.
-
Turn the handle clockwise 360 degrees or until the cups start to stretch.
-
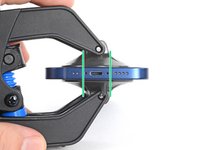
Make sure the suction cups remain aligned with each other. If they begin to slip out of alignment, loosen the suction cups slightly and realign the arms.
-
-
-
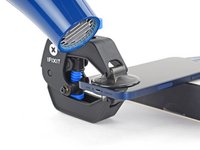
Support your iPhone on something sturdy such as a hardcover book so it rests hands-free and parallel to the ground; this makes it easier to work with in the following steps.
-
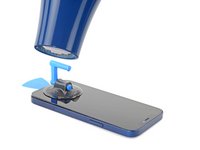
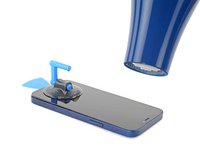
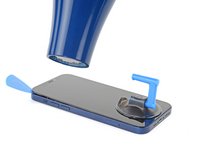
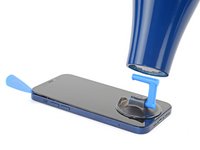
Use a hair dryer to heat along the bottom edge of the iPhone. The screen should feel slightly too hot to touch.
-
Wait one minute to give the adhesive a chance to release and present an opening gap.
-
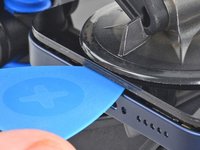
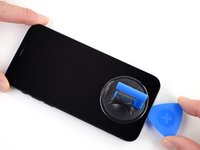
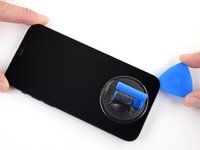
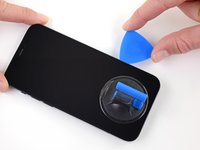
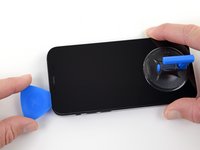
Insert an opening pick under the plastic screen bezel when the Anti-Clamp creates a large enough gap.
-
Skip the next three steps.
-
-
-
Use a hair dryer or heat gun to heat the bottom half of the screen until it’s slightly too hot to touch. This softens the adhesive securing it.
-
-
-
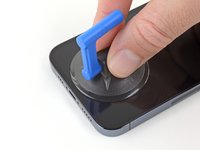
If you're using a single suction handle, apply it to the bottom edge of the screen.
-
-
-
To avoid damaging your screen in the next step, note the following:
-
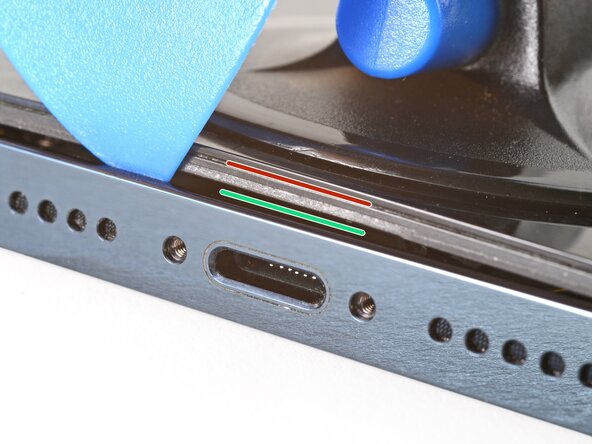
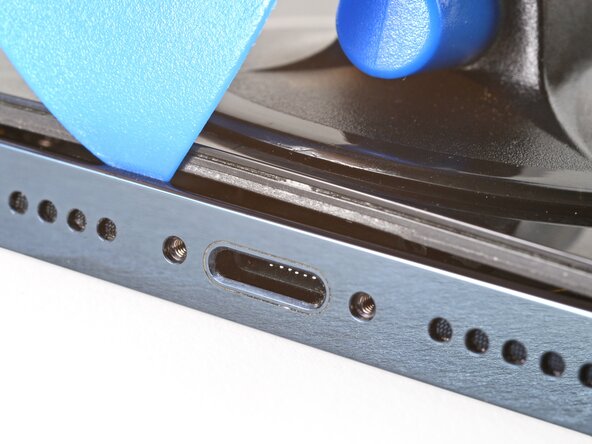
There's a plastic bezel on the underside of the screen. Your opening pick will go underneath this bezel.
-
There's a seam between the plastic bezel and the display panel. Don't insert your pick here or you'll damage the screen.
-
-
-
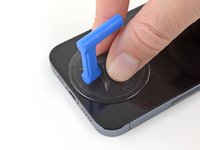
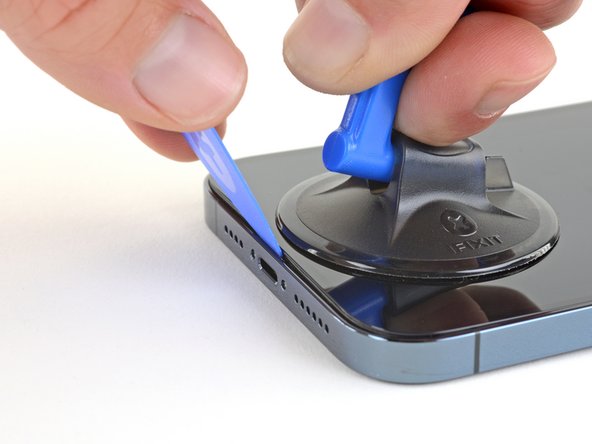
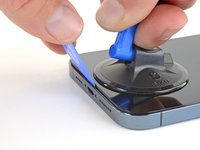
Pull up on the suction cup with firm, constant pressure to create a slight gap between the screen and the frame.
-
Insert an opening pick at a steep angle into the gap.
-
Remember to insert the opening pick under the thick plastic bezel to avoid damaging your screen.
-
-
-
-
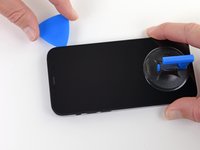
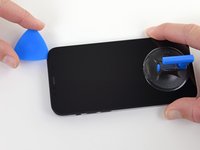
Slide your pick back and forth along the bottom edge to separate the adhesive.
-
Leave your pick inserted in the bottom right corner to prevent the adhesive from re-sealing.
-
-
-
Use a hair dryer to heat the right edge of the iPhone (the edge with the power button) until the screen is slightly too hot to touch.
-
-
-
Slide the opening pick around the bottom right corner of the iPhone to separate its adhesive.
-
Continue sliding up the right edge of the iPhone until you reach the top right corner.
-
Leave the pick in the top right corner before continuing.
-
-
-
Use a hair dryer to heat the top edge of the iPhone until the screen is slightly too hot to touch.
-
-
-
Slide the opening pick around the top right corner of the iPhone to separate the top adhesive.
-
Leave the pick in the top left corner before continuing.
-
-
-
Use a hair dryer to heat the left edge of the iPhone until the screen is slightly too hot to touch.
-
-
-
Don't insert your pick deeper than 2 mm along the left edge to avoid the two cables connecting the screen to the phone.
-
Rotate your pick around the top left corner of the screen.
-
Slide your pick to the bottom left corner of the screen to separate the adhesive.
-
-
-
Rotate your iPhone so the right edge faces you.
-
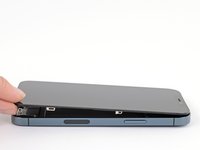
Open the iPhone by swinging the display up from the right side, like the front cover of a book.
-
Lean the display against something to keep it propped up while you're working on the phone.
-
-
Tool used on this step:Magnetic Project Mat$19.95
-
Remove two 1.1 mm long Y000 screws securing the battery and display connector cover.
-
-
-
Use a spudger or a clean fingernail to pry the battery connector up from its socket on the logic board.
-
Bend the connector slightly away from the logic board to prevent it from accidentally making contact with the socket and providing power to the phone during your repair.
-
-
-
Use a spudger or a fingernail to disconnect the display cable connector.
-
-
-
Use a spudger or a fingernail to disconnect the digitizer cable connector.
-
-
-
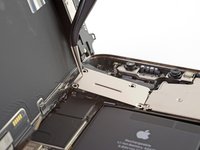
Use a Y000 driver to remove four screws securing the front sensor connector cover.
-
Three 1.1 mm-long screws
-
One 1.4 mm-long screw
-
-
-
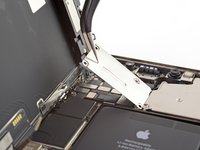
Swing the cover up from the left until the small clip on the right unhooks.
-
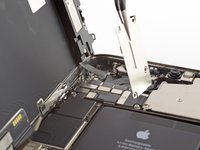
Remove the cover.
-
-
-
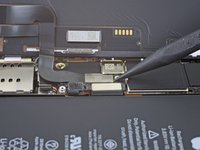
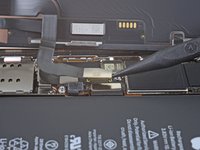
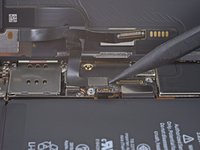
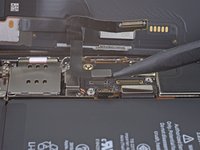
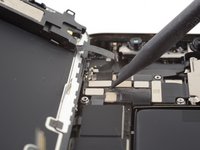
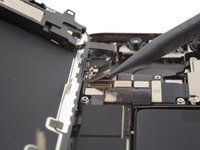
Use a spudger or a fingernail to disconnect the front sensor assembly cable connector.
-
-
























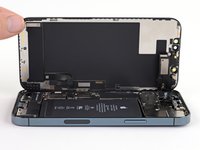
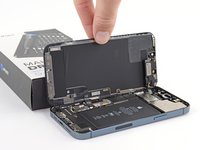


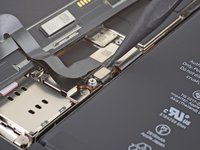
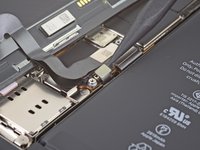









To reassemble your device, follow these instructions in reverse order.

