Introduction
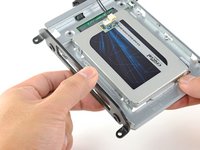
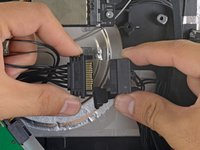
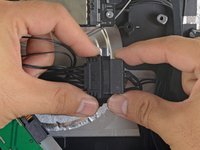
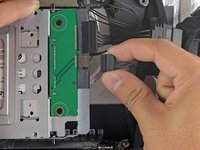
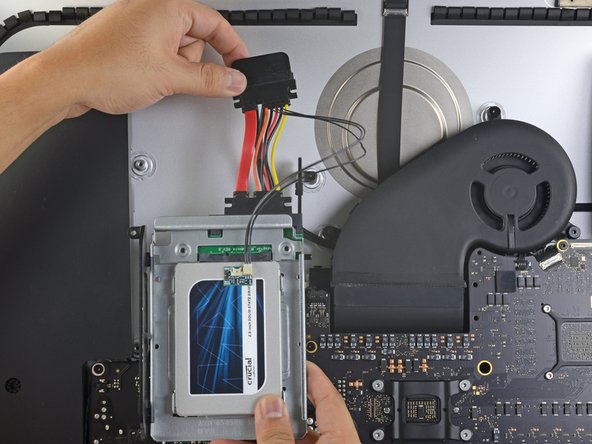
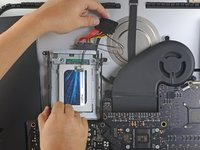
Follow this guide to upgrade your iMac's hard drive with an SSD using an updated 2.5” to 3.5” metal enclosure. The guide includes steps to install the temperature sensor so that the Mac's fans will operate at the correct speed.
This is a prerequisite only guide and should not be used alone. This guide is a part of the iMac HDD replacement guides.
What you need
-
-
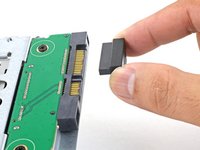
Line up the SSD connectors with the metal enclosure's sockets.
-
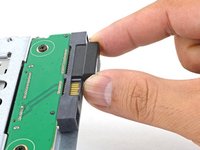
Press the drive against the enclosure sockets until the SSD is firmly seated.
-
-
-
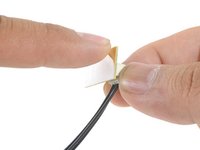
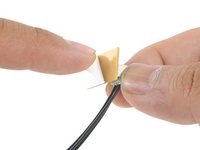
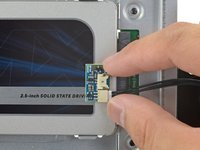
Peel the white liner off the back of the small temperature sensor board in order to expose the adhesive.
-
Adhere the temperature sensor board to an exposed, metal surface of the SSD, close to the SATA connector.
-
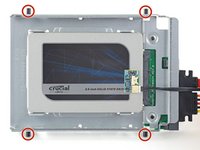
Fold the excess temperature sensor wires so that they are out of the way while you install the enclosure.
-
-
-
-
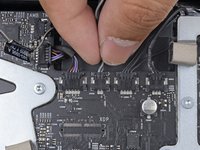
Find the connector on the motherboard labeled HD TMP or HDD TEMP.
-
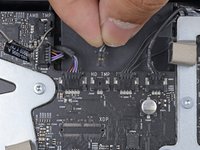
If the previous temperature cable is still connected to the board here, disconnect and remove it. You will no longer need it.
-
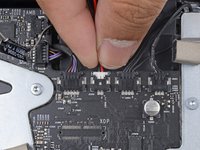
Connect the temperature sensor's two-wire red-black cable to the motherboard plug labeled HD TMP or HDD TEMP.
-
Route the excess wire so it does not interfere with any other components.
-
To reassemble your device, follow these instructions in reverse order.
Cancel: I did not complete this guide.
4 other people completed this guide.


