What you need
-
-
Once your machine has booted up, from the Idle Screen, press Settings.
-
Press Tools
-
Initialize EEPROM will clear all soft data and restore the machine back to the last firmware settings installed. The screen may return to the idle screen.
-
Reset BLTouch is only valid if you have a BL Touch probe installed. This button will clear any current errors with the Probe. No movement or confirmation will occur.
-
Adjust Steps/mm will bring you to a new menu where you can calibrate each Axis' steps/mm. Pressing this will enter the Calibration screen for Steps/mm.
-
PID Tuning will bring you to a new menu where you can calibrate thermal settings. Pressing this will enter the Calibration screen for PID Tuning.
-
-
-
-
Calibration
-
Calibration-PID Tuning>PID Automatic Tuning will initiate an automatic PID calibration. Enter a temperature 10 degrees over your printing temperature and press Start.
-
Calibration-PID Tuning>PID Manual Tuning will display the current saved values and allow manual adjustment.
-
After desired changes are made, press Store Settings
-
-
-
Thermistor Error! This is usually a wiring or component issue.
-
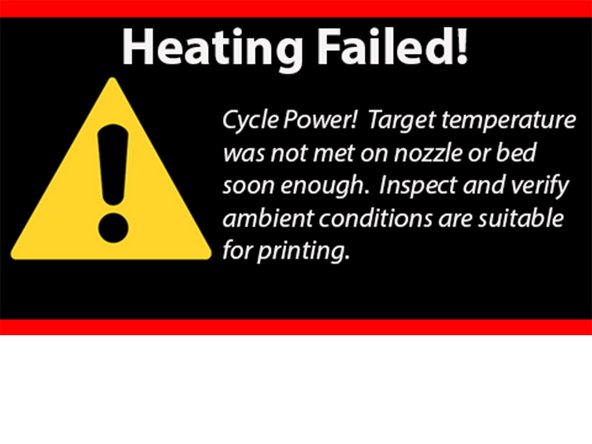
Heating Failed! This is sometimes a wiring or component issue.
-
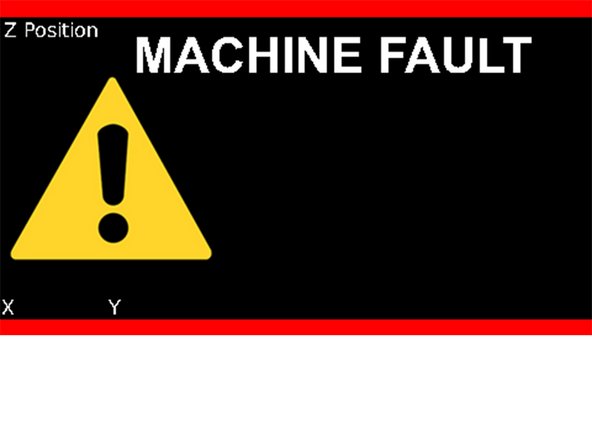
MACHINE FAULT This is sometimes a wiring issue.
I've got a Creality CR-10S Pro V2. I would like to flash the firmware for the display screen and I can not find where that would be at. can or will someone please help me.
-


To reassemble your device, follow these instructions in reverse order.
To reassemble your device, follow these instructions in reverse order.
Cancel: I did not complete this guide.
7 other people completed this guide.

Team

10 Comments
This is so hot mess, looking at Ender 5 Plus firmware and screen update…..documents are all out dated and files are not correct just a hot mess and wasted 2 hours try to figure your crap out.
What are you referring to? If you’re having issues with a firmware update, the best way to contact us is email - support@tinymachines3d.com.
https://docs.google.com/document/d/1lkhv... is where we have the latest files.
Hi
I have installed latest version of UI for CR10s Pro and Marlen 2.0.x. What is extruder value for, not defined above?
I want to know how to modify extrusion rate steps/mm thank you?
Can the screen firmware be flashed on any Ender 5 Plus? And it will just work? or does the board need firmware updates too? I’m running the Creatlity silent board
Check the link below
Is there a better way for you guys to post these firmware as it is very confusing the way it is at the moment. Even if you have a added file that explains what things in your filenames mean. For eg: E5PUBLSlntDZ_MC_DW7.4.5.hex.zip what does this all mean. Why not use E5PL at the start as the E5P just made me think it was for the 5 Pro. what is SintDZ-MC for. I am guessing silent board but no ide what the DZ or MC is for. I am not trying to be negative as I really appreciate the work you put into making these firmware updates, just hoping to get it a little easier for a first timer like me to understand what things mean. Thanks again for everything you have done.
Ender 5 Pro doesn't get a special name because there is no difference between that machine and standard Ender 5 with regards to firmware.
check the link
https://github.com/InsanityAutomation/Ma...
Tiny Machines 3D is a primary sponsor in the development of our firmware, but we are not the author. Insanity Automation develops and maintains firmware for a few vendors, including Tiny Machines 3D.
The latest supported release for customers is https://github.com/InsanityAutomation/Ma... Anything newer is not thoroughly tested by Tiny Machines 3D. The process for reporting bugs, issues or concerns for any firmware outside our support is outlined below.
Insanity Automation, the firmware author, has launched a discord server in order to help manage issues and support. There is a dedicated channel, accessible only to supporters, where they can receive priority support or customization assistance as well.
Insanity Automation Discord - https://discord.gg/TKmJ85PyG4
How old is the latest files? Hex and screen?
Can you explain how the time on the printing page works crealitys own just said the time I’d been printing for, the tiny machines firmware shows 84 on one side of the screen and 5: 23 on the other I’ve been printing for 6 hours
What is exactly the "soft data"? If I run a pid tune, or I set the offsets and I store them to the mainboard, are they still "soft data" and pressing the "initialize EEPROM" will erase them?
So what does "last firmware settings" really mean? If I ran a pid tune using my old firmware, and I stored them. Then I upgraded to the new firmware, are these settings now the "last firmware settings"? Or are they still regarded as "soft settings" and will not count?
I am asking because basically if it erases these stored settings, there is no point of reference anymore. We need to know exactly what are the "last firmware settings" in this context before pressing this button.
kornelis bijker - Reply
In the pid tuning screen, you have auto and manual. I do not see anywhere how many cycles it takes before giving you the return readout? Also, immediately after I push the auto pid tune, the screen says pid tune finished! But it is still cycling through the process of heating and cooling. It also tells you different pid figures a few times, so how do I know exactly when it is really finished?
Then, when it is really finished, the new numbers show up in the manual section. If press the "store settings" button, is it storing these figures? So, if I run a pid tune with octoprint, or with pronterface, and I have my new pid figures, I could theoretically fill them in here and store them? But other then that there is no real manual part to this pid tuning.
Bit unclear as to why there is this manual part, if you have figures for pid from some other tuning session, you can also easily enter them into the g-code terminal and save them. Unless I am missing something, I don't see the point of this manual pid tuning.
kornelis bijker - Reply