
Samsung Galaxy S8+ Back Glass Replacement

Jeff Suovanen and 3 other contributors
Last updated on May 7, 2024
Views: 891
View statistics:
- Past 24 Hours:
- 0
- Past 7 Days:
- 3
- Past 30 Days:
- 14
- All Time:
- 891
Comments: 4
4 comments on steps.
Completed: 1 2
1 person has marked this guide "completed." Will you be next?
2 people have marked this guide "completed." Including you — great job!
Favorites: 1 2
1 person has favorited (and subscribed to) this guide. Will you be next?
2 people have favorited (and subscribed to) this guide — including you!
Introduction
Go to step 1 ↓Prerequisite-only guide for opening the phone and accessing the internals.
What you need
Fix Kit
This kit contains all the parts and tools needed to complete this guide.

Parts
-
Tesa 61395 Double-Sided Tape4.9
Thin, high-bond tape is required if the replacement part does not come with adhesive.


Tools
-
-
-
-
-
Spudger4.9
-
-


-
-
-
Prepare an iOpener and heat the back of the phone along its left edge for about two minutes. This will help soften the adhesive securing the back cover.
 Ask FixBot
-
-
-
In the following steps, you'll be cutting through the adhesive securing the back cover.
-
As seen from outside the phone, you'll be slicing through the adhesive in the areas shown:
-
Thick portions of adhesive
-
Thin areas of adhesive
-
Avoid prying or slicing in this area, to protect the fingerprint sensor flex cable.
-
-
-
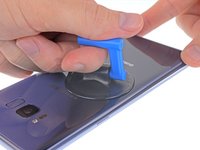
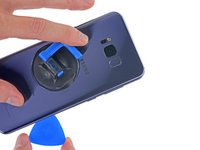
Secure a suction cup to the back cover, as close to the heated edge as possible.
-
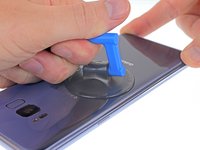
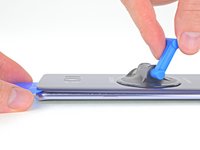
Lift the back cover's left edge with your suction cup, opening a slight gap between the back cover and the frame.
-
-
-
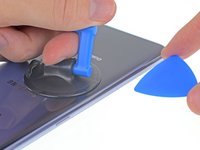
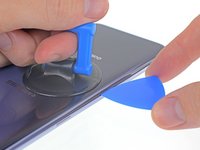
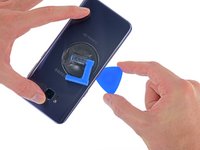
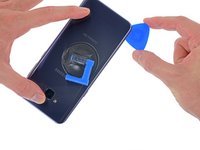
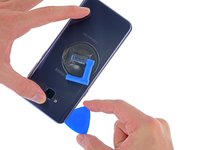
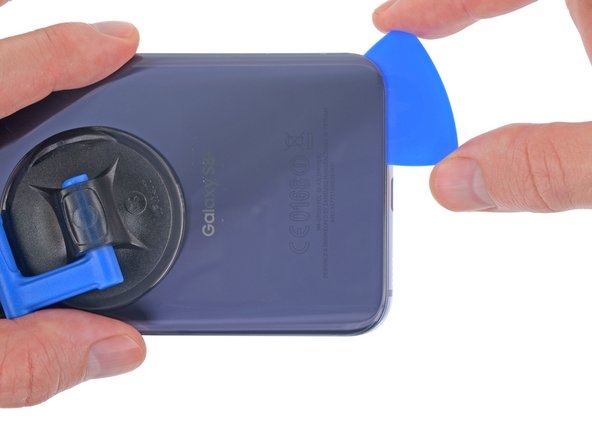
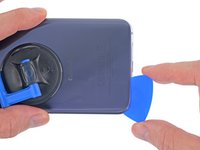
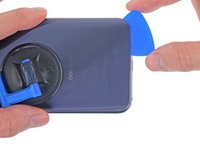
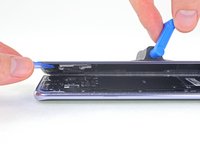
Slide your opening pick along the left edge of the phone to slice through the adhesive securing the back cover.
-
-
-
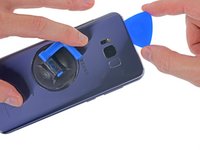
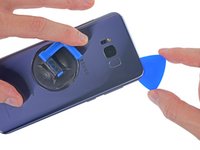
Continue slicing through the adhesive along the bottom edge of the phone.
-
Again, it may help to leave the opening pick in place and grab another one for the following step.
-
-
-
-
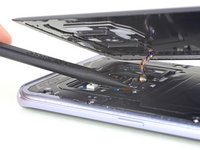
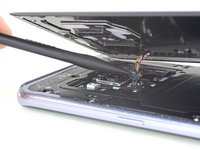
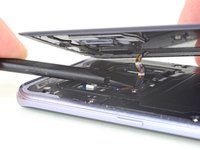
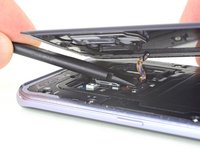
Use the point of a spudger to pry up and disconnect the fingerprint sensor flex cable.
-
-
-
Then, use the flat end of your spudger to gently snap the connector into place by pressing it straight down.
-
-
Tool used on this step:Tweezers$4.99
-
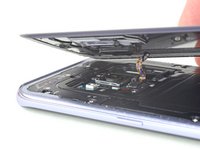
Remove the back cover.
-
Use tweezers to peel away any remaining adhesive from the phone's chassis. Then clean the adhesion areas with high concentration isopropyl alcohol (at least 90%) and a lint-free cloth to prep the surface for the new adhesive.
-
Peel the adhesive backing off of the new rear glass, carefully line up one edge of the glass against the phone chassis, and firmly press the glass onto the phone.
-
-
















To reassemble your device, follow these instructions in reverse order.
Cancel: I did not complete this guide.
One other person completed this guide.


