
Motorola Moto Z Play Battery Replacement

Prerequisite Only
This guide is only intended to be used as a prerequisite for other guides. It's incomplete by itself.

What you need

  1. Motorola Moto Z Play Battery Replacement, Battery: step 1, image 1 of 1
    • Use a T3 Torx driver to remove the six 3.2 mm screws securing the lower cover.

  2. Motorola Moto Z Play Battery Replacement: step 2, image 1 of 2 Motorola Moto Z Play Battery Replacement: step 2, image 2 of 2
    • Pry up and remove the lower cover.

    • If you use a tool, don't pry against the battery or motherboard.

  3. Motorola Moto Z Play Battery Replacement: step 3, image 1 of 2 Motorola Moto Z Play Battery Replacement: step 3, image 2 of 2
    • Use a spudger to disconnect the battery by prying its connector straight up from the motherboard.

  4. Motorola Moto Z Play Battery Replacement: step 4, image 1 of 2 Motorola Moto Z Play Battery Replacement: step 4, image 2 of 2
    • The battery is strongly glued into place.

    • If available, apply some high concentration (>90%) isopropyl alcohol under each corner of the battery and allow it to penetrate for several minutes to help weaken the adhesive.

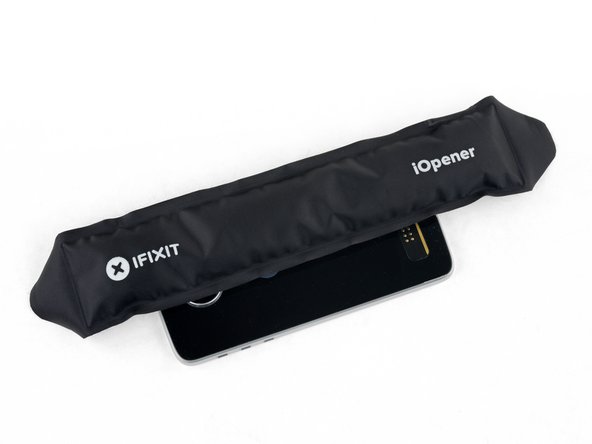
    • Alternatively, apply a freshly heated iOpener to the back of the phone directly behind the battery for two minutes to help soften the adhesive. Re-heat and reapply the iOpener as necessary.

    • If you can see under the battery, it may be possible to pull on the end of the "command adhesive strips" with tweezers or forceps to remove the battery.

  5. Motorola Moto Z Play Battery Replacement: step 5, image 1 of 3 Motorola Moto Z Play Battery Replacement: step 5, image 2 of 3 Motorola Moto Z Play Battery Replacement: step 5, image 3 of 3
    • When using tools to pry up the battery, be careful not to damage the two orange flex cables hidden underneath the battery's top edge.

    • Insert several opening picks or a plastic card along the outer edge of the battery.

    • Apply steady, even pressure to slowly lever the battery up and out of the phone.

    • If necessary, use several rounds of heating and pressure to slowly weaken the adhesive, and the battery will begin to separate.

    • Try your best not to deform the battery during this process. Soft-shell lithium-ion batteries can leak dangerous chemicals, catch fire, or even explode if damaged. Do not use excessive force or pry at the battery with metal tools.

  6. Motorola Moto Z Play Battery Replacement: step 6, image 1 of 1
    • Continue pulling up the battery until all the adhesive releases from the rear case.

  7. Motorola Moto Z Play Battery Replacement: step 7, image 1 of 1
    • Remove the battery.

    • Do not reuse the battery after it has been removed. The stress of removal can cause hidden damage to the battery cell, creating a potential safety hazard. Replace it with a new battery.

  8. Motorola Moto Z Play Battery Replacement: step 8, image 1 of 2 Motorola Moto Z Play Battery Replacement: step 8, image 2 of 2
    • Before installing your new battery, peel up all the old adhesive and remove it from the phone.

    • For best results, clean the area underneath the battery with isopropyl alcohol and a lint-free cloth or coffee filter. This helps prep the surface so the new battery will adhere more strongly.

  9. Motorola Moto Z Play Battery Replacement: step 9, image 1 of 3 Motorola Moto Z Play Battery Replacement: step 9, image 2 of 3 Motorola Moto Z Play Battery Replacement: step 9, image 3 of 3
    Tool used on this step:
    Tesa 61395 Tape
    $5.99
    Buy
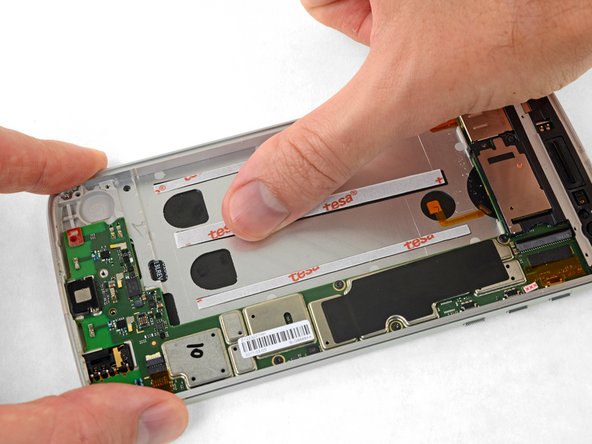
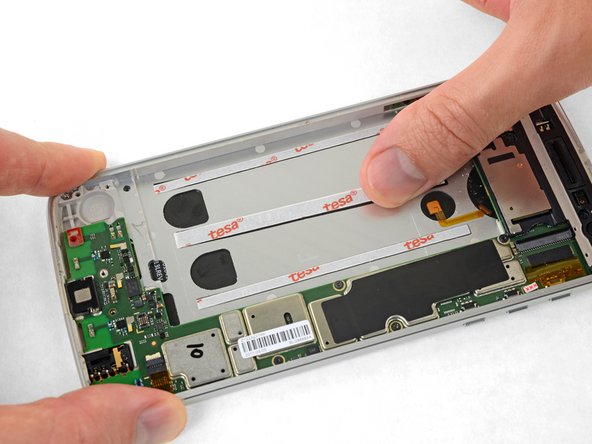
    • Place several strips of thin double-sided adhesive tape, either from a pre-cut adhesive card or from a roll of Tesa 61395, into the battery well, and press them firmly into place.

  10. Motorola Moto Z Play Battery Replacement: step 10, image 1 of 3 Motorola Moto Z Play Battery Replacement: step 10, image 2 of 3 Motorola Moto Z Play Battery Replacement: step 10, image 3 of 3
    • Peel off the remaining film liners to expose the adhesive before pressing your new battery into place.

    • Carefully position the battery and press it firmly and evenly into the phone.

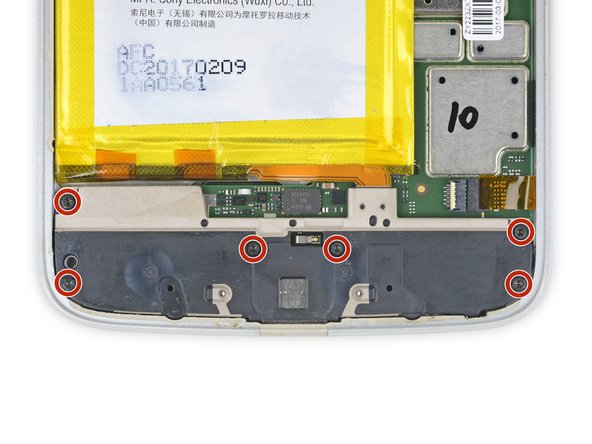
    • Connect the battery to the motherboard, and install the lower cover, including its six T3 Torx screws.

Jeff Suovanen

Member since: 08/06/13

428,288 Reputation

259 Guides authored

Team

iFixit Member of iFixit

Staff

135 Members

16,822 Guides authored

View Statistics:

Past 24 Hours: 2

Past 7 Days: 3

Past 30 Days: 3

All Time: 83