Introduction
This guide will enable you to replace the power and/or volume button of your Microsoft Surface Book. Follow the Microsoft Surface Book Screen Replacement guide to remove the screen from the device.
Tip:
This is a very difficult repair and cost me nearly $450 to complete. This was due to the fact that I had to purchase several parts-only motherboards while I perfected the button harvesting process and a new screen. The repair did bring the Surface Book back to operational state, but not to its original state. You may want to consider going the refurbished option through MS support. Otherwise, I hope my experience benefits you if decide to attempt this repair.
What you need
-
-
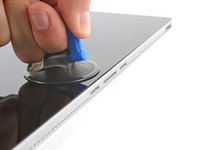
Heat an iOpener and lay it on the bottom edge of the screen to soften the glue securing it.
 Ask FixBot
-
-
Tool used on this step:Clampy - Anti-Clamp$24.95
-
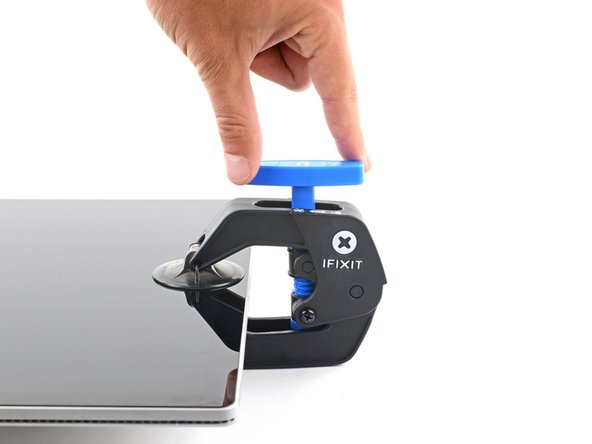
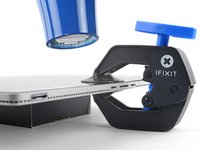
Pull the blue handle backwards to unlock the Anti-Clamp's arms.
-
Place an object under your Surface Book so it rests level between the suction cups.
-
Position the suction cups near the middle of the bottom edge—one on the front, and one on the back.
-
Hold the bottom of the Anti-Clamp steady and firmly press down on the top cup to apply suction.
-
-
-
Pull the blue handle forward to lock the arms.
-
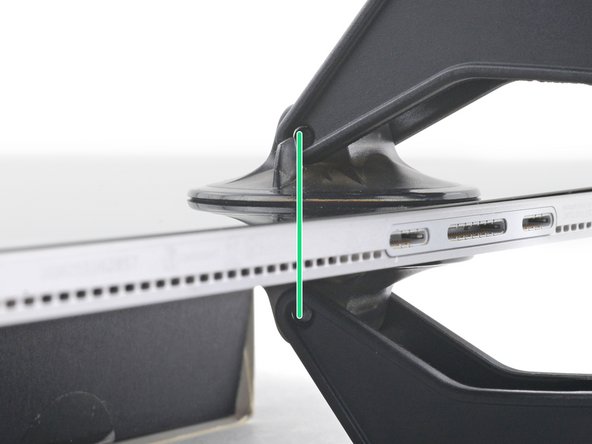
Turn the handle clockwise 360 degrees or until the cups start to stretch.
-
Make sure the suction cups remain aligned with each other. If they begin to slip out of alignment, loosen the suction cups slightly and realign the arms.
-
-
-
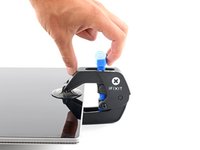
Wait one minute to give the adhesive a chance to release and present an opening gap.
-
If your screen isn't getting hot enough, you can use a hair dryer to heat along the bottom edge.
-
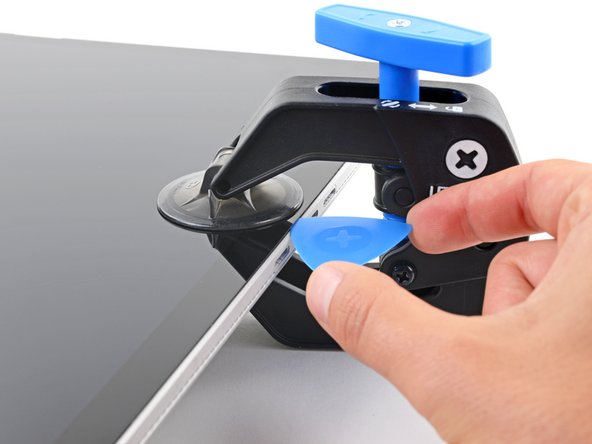
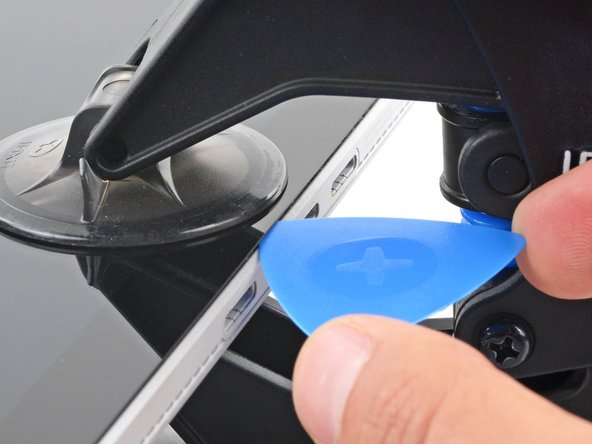
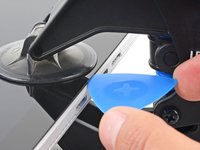
Insert an opening pick under the screen when the Anti-Clamp creates a large enough gap.
-
Skip the next step.
-
-
-
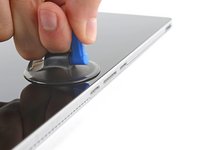
Apply a suction handle to the screen, as close to the center of the bottom edge as possible.
-
Pull up on the suction cup with strong, steady force to create a gap between the screen and the frame.
-
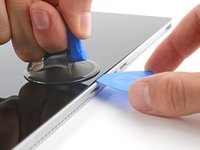
Insert an opening pick into the gap.
-
-
-
Use the pick to slice all the way around the perimeter of the screen to separate the glue.
-
Gently raise the screen but don't fully detach it until the cables underneath are disconnected.
-
-
-
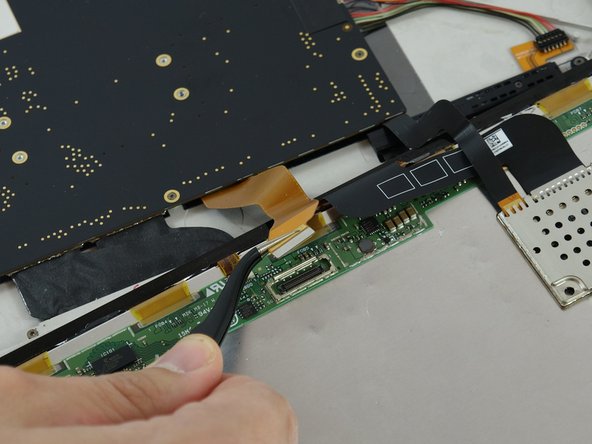
Tool used on this step:Tweezers$4.99
-
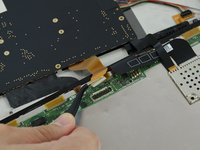
Begin by removing the ribbon on the right. With the curved tweezers, carefully remove the metal bracket to expose the end of the ribbon. Remove ribbon.
-
-
-
Next, remove the metal shield covering the other ribbon. Then remove the ribbon.
-
Remove the screen.
-
-
-
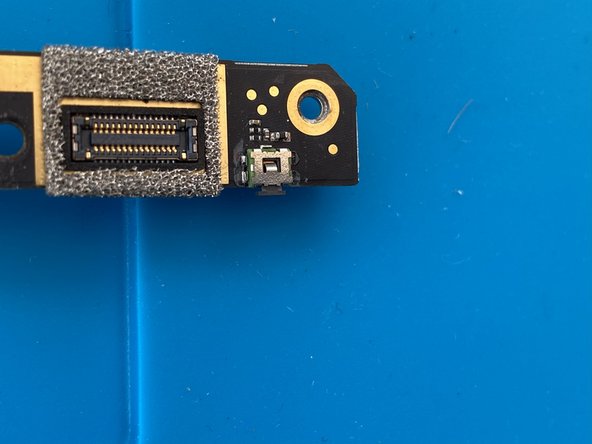
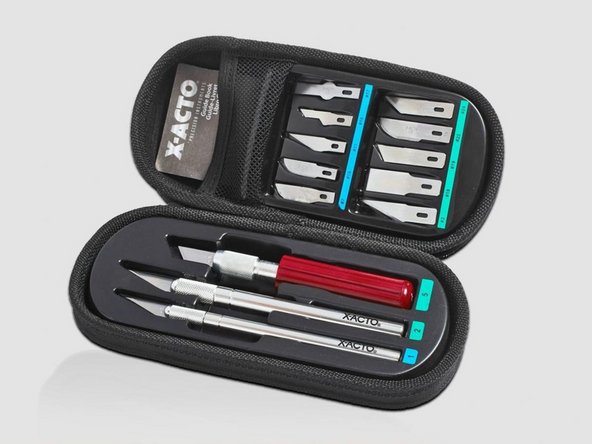
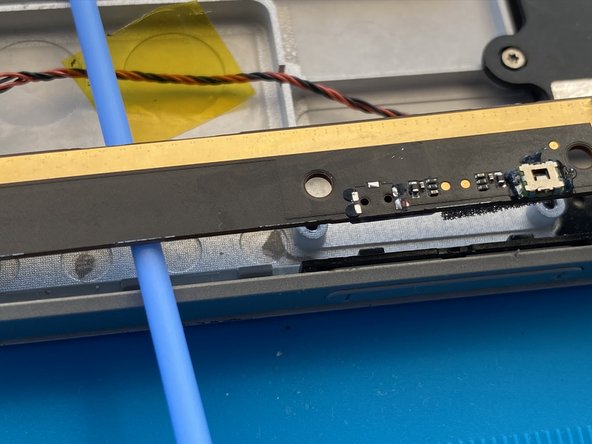
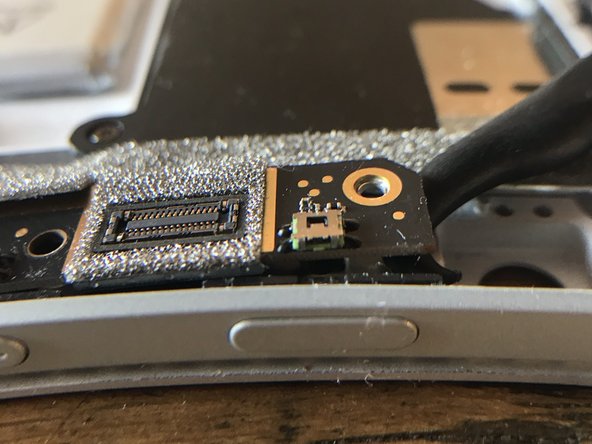
Gently remove the black epoxy resin covering surface contacts on the button from your parts only Microsoft Surface Book 1703 Motherboard using an X-ACTO knife.
-
Place the X-ACTO knife blade flat against the board and apply gentle pressure to the epoxy moving the knife with control towards the button. The epoxy should pop off the mount and the side of the button.
-
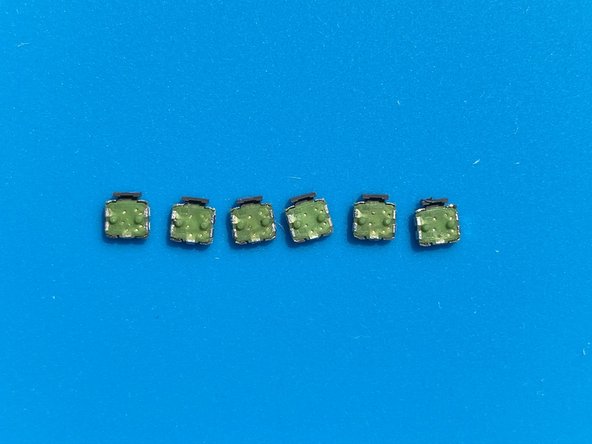
Once you removed the epoxy with the X-ACTO knife the button appear similar to the second image.
-
Warning: the buttons are delicate and be damaged if you apply too much pressure as you attempt to remove the epoxy.
-
Warning: if you dig in to much you can snap the button clear of the board breaking the surface mount contacts on the board. If you do the motherboard in the computer you'll be unable to repair the issue and will need to install a new motherboard. Trust me, just don't.
-
Warning: there are tiny surface mount components next to the buttons on the board. Be very careful not to hit them or disturb them with the X-ACTO knife as you remove the epoxy.
-
Tip: Work steps 1 - 3 on your parts only Motherboard first to get the feel of each step before attempting the procedure on the Motherboard in your computer. I would recommend you remove all three buttons from your parts only board for practice. I damaged several buttons and circuit boards before achieving success.
-
-
-
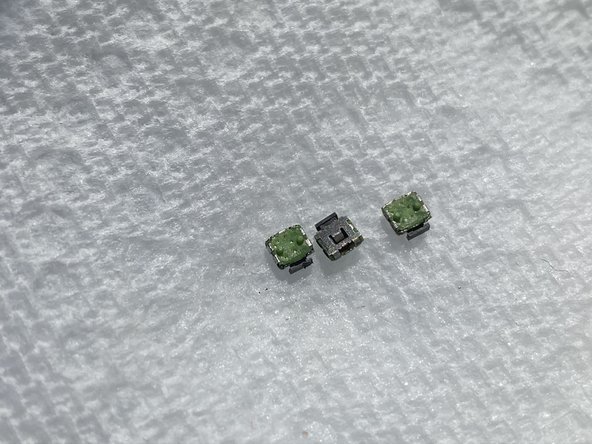
Apply a little flux to the five leads that mount to the circuit board. There are two on either side of the button and one on the back of the button. See the reference image.
-
Apply the Lead-Free Chip Quik Alloy to the button contacts using a soldering iron.
-
While the Chip Quik alloy is still in a liquid and malleable state and with carefully applied heat from the soldering iron gently slide with minimal pressure the X-ACTO knife between button and the circuit board right beneath the push button head and carefully attempt to rotate the knife blade so that it lifts the button from circuit board.
-
Warning: If the button doesn't slip off the board apply more heat and try to remove the button.
-
Warning: there are two tiny anchors the help seat the button on the circuit. You can damage these if you are not careful so don't slide your knife in the middle of the button. Slide it between the board on either side of the button. See the reference image.
-
Warning: there are very tiny surface mount components right next to the button. DO NOT disturb them with soldering iron. Make sure you apply heat only to the surface mount contacts on the button. DO NOT all the Chip Quik Alloy to come in contact with the other surface mount components on the board.
-
-
-
Using Solder Wick gently clean the five surface mount contacts so they are free of solder.
-
Remove any remaining flux using an alcohol pad or flux remover.
-
Warning: there are tiny surface mount components next to the button. Be extremely careful when cleaning the board to avoid damaging them.
-
-
-
You need clean any residual solder and flux from buttons you harvested from your parts only board. Use solder wick to clean all the J leads on the button.
-
Warning: you can damage the casing and leads on the button if you remove it incorrectly or apply to much heat.
-
Tip: tip check the operation of the button to be sure it wasn't damaged in the removal process.
-
Tip: make sure you clean any excess flux from the button.
-
-
-
Once you've got the hang of the procedure on your parts only motherboard you are ready to attempt the procedure on your computer.
-
You do not need to and you SHOULD NOT remove the motherboard to repair the button. Simply remove the screws on the motherboard that hold the upper portion of the board to the chassis.
-
Gently slide a Q-tip between the motherboard and chassis.
-
-
-
Repeat steps 5 - 7 on the motherboard in your computer. Make sure you clean the Surface mounts.
-
-
Tool used on this step:Tweezers$4.99
-
I found the best technique to for mounting the button back to the board was to apply solder to each of the J Leads on the button before soldering.
-
Using a fine tweezers hold the button and apply a small amount of solder to each lead.
-
-
-
Apply a small amount of flux to the surface mount pads on the board.
-
Recommended: for additional strength you may want to consider gluing the button in place. I did this on my fix.
-
Secure the button in place on the motherboard making sure it is flush with the circuit board and touching the surface mount contacts. One-by-one heat each of the J Leads on button using your soldering iron. If you've done this right the flux should draw the solder to the SMT pads on the board.
-
Testing: to test your soldering job you can carefully screw the motherboard back in place so that the battery contacts are touching the motherboard. Gently press the button being careful not to break it. If your soldering was done correctly you should hear the fan turn on when you power it up.
-
Using a toothpick apply a drop of epoxy for each of the J leads on the button to circuit board so that the drop covers the lead. Allow the epoxy to cure based on the product instructions. The epoxy helps keep the button in place so that when you press down it doesn't break free from the board.
-
Note: The button harvesting process may cause some flux to get into the button and it may not click when you press it. This happened to me. I was unable to find a way to clean the button without damaging it. Unfortunately you may find the button requires additional pressure in order to power on and off your device.
-


To reattach the screen to your device, follow the instructions in the Microsoft Surface Book Screen Replacement guide.
Cancel: I did not complete this guide.
3 other people completed this guide.

8 Guide Comments
Hy can you recommand a button from here ? https://uk.farnell.com/c/switches-relays...
I was unable to identify a compatible button on the market. I had to harvest my from used boards.
Was able to find the same button used on the surface book
Mitsumi R-667270 - This one is the 204gf operation force and can be seen with the green color plastic under the metal top
https://www.digikey.sg/en/products/detai...
If the plastic color is gray then use the (R-667799) 245gf operation force or black then use the (R-666939) 163gf operation force
I just removed the small plastic plunger from one to put on another. I bought my pieces new, not off of another board. Also, there is no epoxy on mine, even the ones that are mounted to the board already… could be that the parts were not available like they are now, so he had to get an old board.
hi Ghengis, could you please tell me where you buy the new pieces? I meet the same question and I cannot find that button in my city, can you send me(ryan136688@gmail.com) the link of that product selling?