Introduction
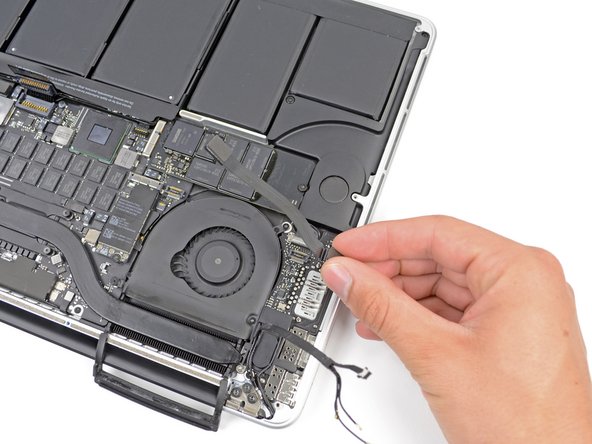
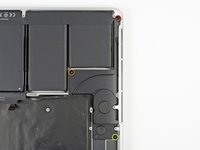
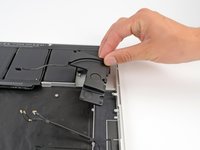
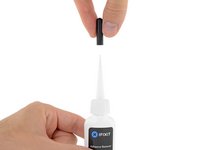
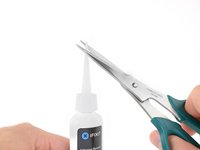
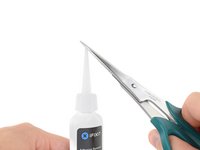
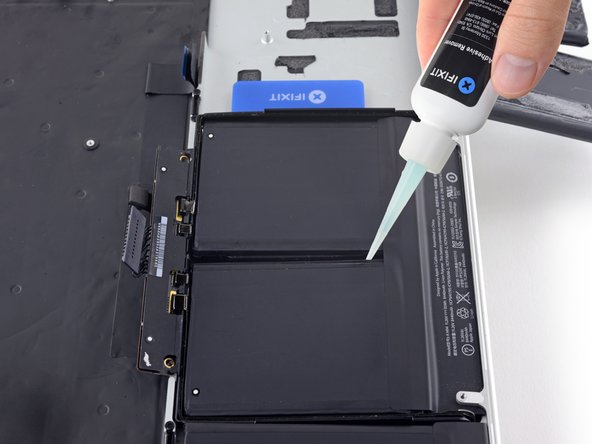
Use this guide to safely remove the glued-in battery from your MacBook Pro with the help of an iFixit battery replacement kit. The adhesive remover in your kit will dissolve the adhesive securing the battery, allowing you to remove it with ease.
iFixit adhesive remover is highly flammable. Perform this procedure in a well-ventilated area. Do not smoke or work near an open flame during this procedure.
To minimize risk of damage, turn on your MacBook and allow the battery to fully discharge before starting this procedure. A charged lithium-ion battery can create a dangerous and uncontrollable fire if accidentally punctured. If your battery is swollen, take extra precautions.
Note: The solvent used to dissolve the battery adhesive will damage your speakers if it comes in contact with the plastic speaker enclosures. This guide instructs you to remove the speakers before proceeding to the battery.
If you're using the old-style iFixit adhesive remover with separate bottle and syringe (no longer sold), click here for a slightly modified set of instructions.
What you need
-
-
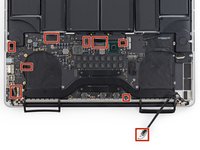
Remove the following P5 pentalobe screws securing the lower case to the MacBook Pro:
-
Eight 3.0 mm
-
Two 2.3 mm
-
-
Tool used on this step:Tweezers$4.99
-
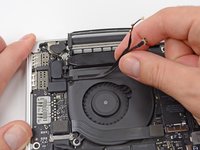
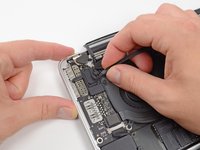
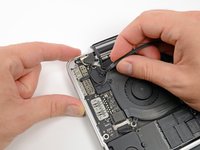
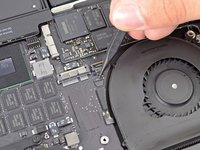
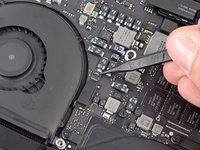
Use a spudger or tweezers to pry the three AirPort antenna cables straight up off of their sockets on the AirPort board.
-
-
-
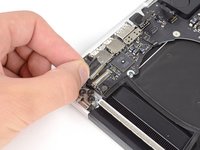
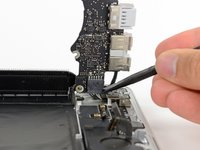
Using the flat end of a spudger, pry the I/O Board connector straight up out of its socket on the logic board.
-
In a similar fashion, remove the I/O Board cable connector from its socket on the I/O Board.
-
Remove the I/O Board cable from the MacBook Pro.
-
-
-
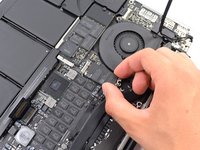
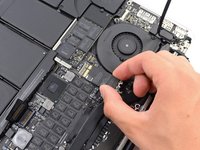
Remove the single 2.9 mm T5 Torx screw securing the AirPort card to the logic board.
-
-
-
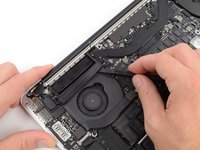
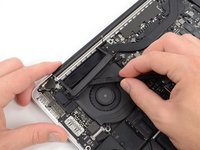
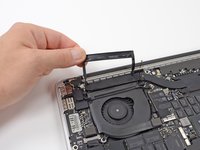
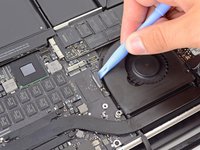
Use the flat end of a spudger to lift the rubber heat sink cover up off the left fan.
-
-
-
-
Use the tip of a spudger to flip up the I/O board data cable lock and rotate it toward the battery side of the computer.
-
Use the flat end of a spudger to slide the I/O board data cable straight out of its socket on the logic board.
-
-
-
Use the flat end of a spudger to pry the left speaker connector up and out of its socket on the logic board.
-
Use the tip of a spudger to pry the right speaker connector up and out of its socket on the logic board
-
-
-
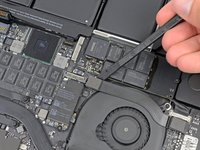
Peel back the tape covering the top of the keyboard ribbon cable connector.
-
Use the flat end of a spudger to flip up the retaining flap on the keyboard ribbon cable ZIF socket.
-
Use the flat end of a spudger to push the keyboard ribbon cable out of its socket.
-
-
-
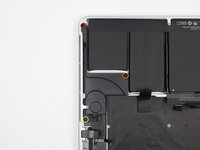
Remove the following three screws securing the left speaker to the upper case:
-
One 5.6 mm T5 Torx screw
-
One 6.9 mm T5 Torx screw
-
One 2.6 mm T5 Torx screw
-
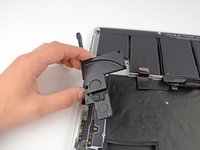
Lift the left speaker out of the upper case and set it aside.
-
-
-
Now that your MacBook Pro is fully prepped, it's time to prep yourself.
-
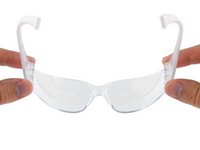
Wear eye protection when handling and applying the adhesive remover. (Eye protection is included in your kit.)
-
Do not wear contact lenses without eye protection.
-
Protective gloves are also included in your kit. If you are concerned about possible skin irritation, put your gloves on now.
-
-
Tool used on this step:Plastic Cards$2.99
-
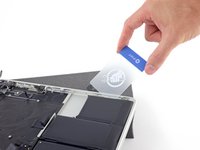
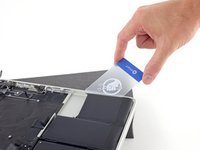
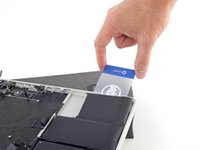
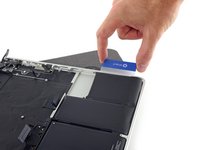
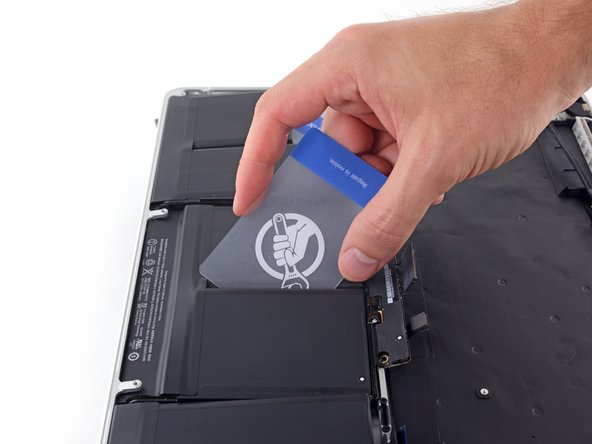
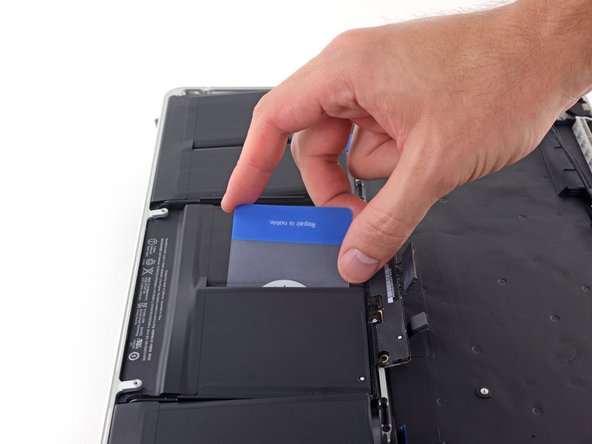
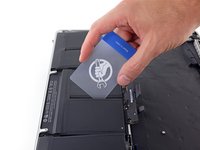
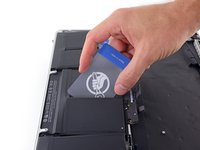
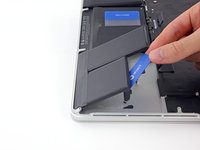
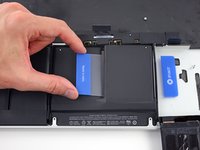
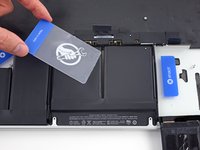
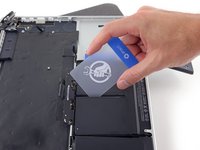
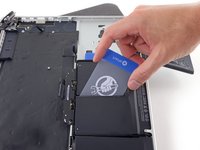
Slide one corner of a plastic card under the outer edge of the battery cell.
-
Slide the card farther underneath the battery cell to separate it from the adhesive securing it to the MacBook Pro's upper case.
-
-
-
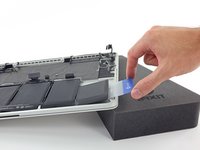
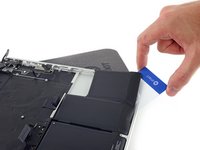
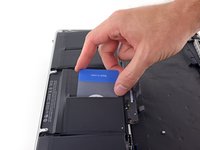
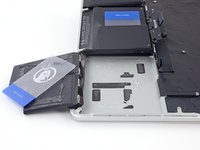
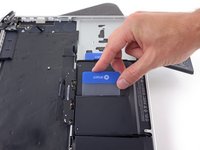
Slide one corner of your plastic card underneath the second battery cell.
-
Push the card underneath the second battery cell, and slide it side to side to separate the adhesive underneath.
-
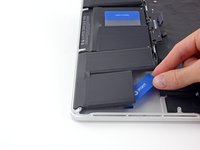
Leave the plastic card underneath both battery cells (or flip them over) to prevent them from re-adhering as you proceed to the next step.
-
-
-
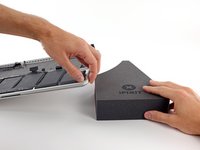
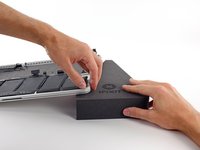
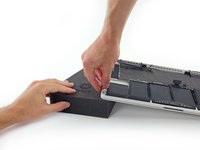
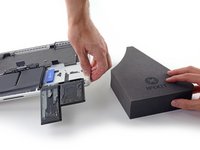
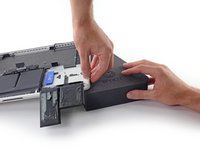
It's time to switch sides. Remove your book or foam block and place it under the opposite side of your MacBook Pro.
-
Repeat the procedure from the prior steps to separate the two battery cells on this side:
-
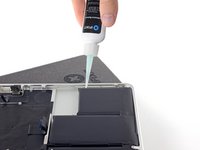
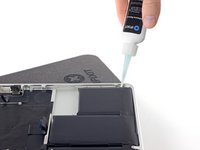
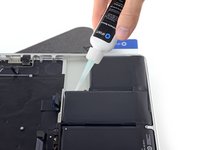
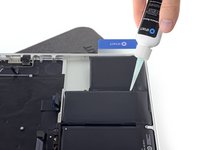
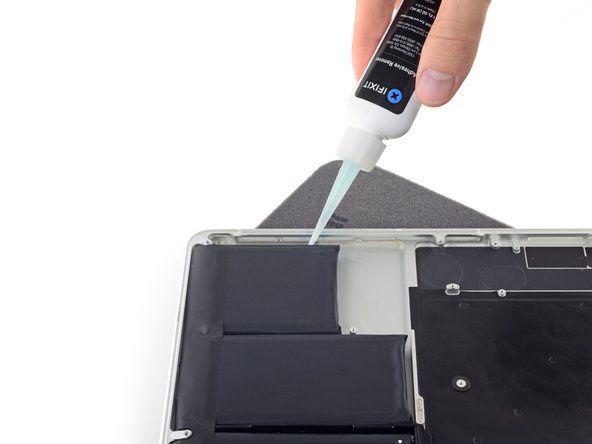
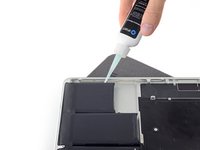
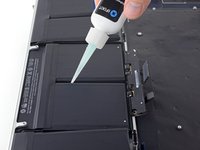
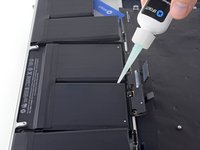
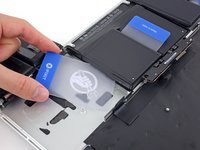
Apply your adhesive remover to the elevated edge of the outer battery cell, and wait 2-3 minutes for it to penetrate.
-
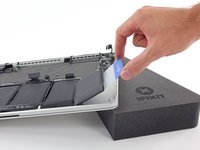
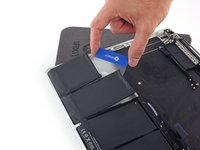
Work one corner of a plastic card underneath the battery cell, and slide the card fully underneath the battery cell to separate it.
-
Do the same for the adjacent cell.
-
Leave your plastic card in place or flip the battery cells over to prevent them from re-adhering during the following steps.
-
-
-
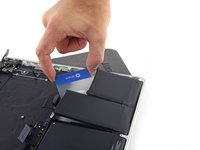
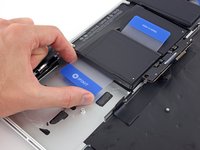
Slide one corner of a plastic card between the middle two cells, and under the elevated edge of the center-right battery cell.
-
Slide the card farther underneath the battery cell to slice through the adhesive securing it in place.
-
Don't try to fully separate this battery cell yet. Leave your plastic card in place to prevent it from re-adhering.
-
-
-
Slide one corner of a plastic card under the elevated edge of the final battery cell.
-
Push the card farther underneath the battery cell to slice through the adhesive securing it in place.
-
Don't try to fully separate this battery cell yet. Leave your plastic card in place to prevent it from re-adhering.
-
-
-
Repeat the process you used on the center-right battery cell to finish separating the adhesive on the center-left cell:
-
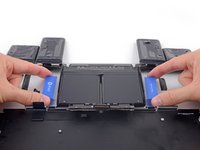
Lift and flip the two outer battery cells to clear access to the remaining adhered edge of the center-left battery cell.
-
Slide your card all the way underneath the battery cell, and leave it to prevent the battery cell from re-adhering.
-
Remove the first card that you inserted under this battery cell in the previous step.
-
-
-
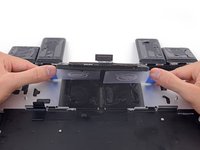
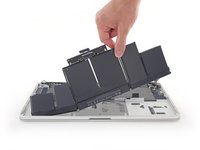
Lift and remove the battery.
-
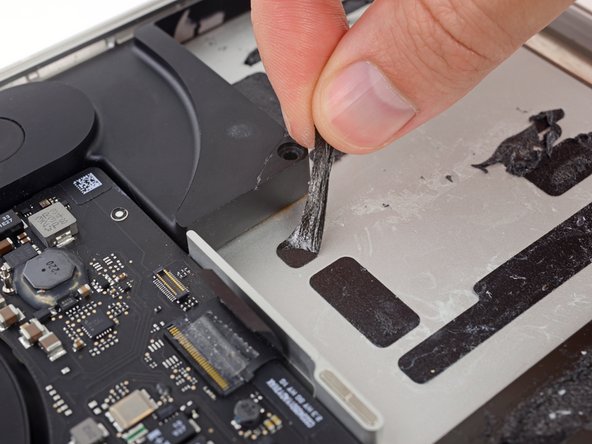
With a little luck, you can slowly pull out each strip of adhesive with your fingers.
-
Otherwise, soak each strip of adhesive with a bit of adhesive remover for 2-3 minutes, and then scrape it out with a plastic tool. This can take quite a bit of work, so be patient. While scraping, take care not to damage the trackpad cable.
-
Mop up any remaining adhesive remover and give your MacBook Pro a few minutes to air dry.
-
Calibrate your newly installed battery: charge it to 100%, and keep charging it for at least 2 more hours. Unplug and use it normally to drain the battery. When you see the low battery warning, save your work, and keep your laptop on until it goes to sleep due to low battery. Wait at least 5 hours, then charge your laptop uninterrupted to 100%.
-
To reassemble your device, follow these instructions in reverse order.
Cancel: I did not complete this guide.
346 other people completed this guide.
163 Guide Comments
I just replaced my battery successfully using a modification of this method: follow step 1-4, then 34, then remove the battery pack using thread (or dental floss as in my case), as shown in this video: https://www.youtube.com/watch?v=fupkPz55... . If you use dental floss, make sure you at least quadruple it to have enough strength, and tie around two screwdrivers at the ends, otherwise it can be pretty painful. Finally, use a very small amount of the adhesive remover liquid to help fully remove the adhesive strips (making sure it doesn't go anywhere else), and install the new battery (step 54)!
Yeah, this method works great. Just wear gloves or your fingers might die.
Thank you for this recommendation!
Yeah, I did the same thing, steps 1-4, then 34, then removed the battery with a mid-weight nylon cord. The nylon cord has just enough slip so that you do not need adhesive remover, it glides through the glue with a firm pull. I clamped a 1/2 scrap of wood to my workbench, placed the laptop behind the clamped wood as a stopper, which gave me a sturdy platform to pull against (it’s not quite as easy if you try to hold it down yourself, or even with another person). Just be sure to pull straight back and keep the cord low.
I think the steps in this post are insane, and you risk damage to some vital parts that you shouldn’t even be touching just to remove the battery. But YMMV.
Late to the party, but putting the laptop at an angle, using 99%iso alcohol dissolves the adhesive really well. As well as a plastic pry bar from one of my tablet kits. Now, i just need to wait until the new battery from here comes so i can swap out the explodium batteries.
SOMEONE BUY THIS MAN A BEER! Wow. That hack worked perfectly. I used a strand from some paracord I had lying around and it took me about 5 min to do this whole thing! So… thank you my man.


