Free Shipping on Domestic Orders $75+

Huawei Mate 8 Display Replacement

What you need

    1. Huawei Mate 8 Display Replacement, Back Cover: step 1, image 1 of 2 Huawei Mate 8 Display Replacement, Back Cover: step 1, image 2 of 2
      • Switch off your phone and remove the SIM card tray.

      Ask FixBot

      Add Comment

    2. Huawei Mate 8 Display Replacement: step 2, image 1 of 1
      • Remove the Torx T2 screws from the bottom of the phone

      Ask FixBot

      Add Comment

    3. Huawei Mate 8 Display Replacement: step 3, image 1 of 2 Huawei Mate 8 Display Replacement: step 3, image 2 of 2
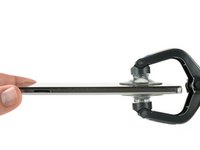
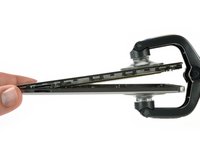
      • Use an iSclack or a suction handle in the bottom area of your phone to separate the display unit from the rear panel.

      Ask FixBot

      Add Comment

    4. Huawei Mate 8 Display Replacement: step 4, image 1 of 3 Huawei Mate 8 Display Replacement: step 4, image 2 of 3 Huawei Mate 8 Display Replacement: step 4, image 3 of 3
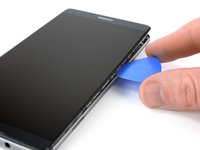
      • Use an opening pick to fully separate the clips, releasing the phone.

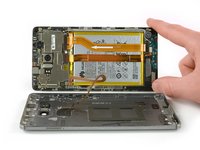
      • Do not fully remove the rear case. The fingerprint sensor cable is still connected to the back cover.

      • Open the phone like a book from the SIM tray side.

      • Use a spudger, to disconnect the fingerprint sensor cable.

      Ask FixBot

      Add Comment

    1. Huawei Mate 8 Display Replacement, Daughterboard interconnect cable: step 5, image 1 of 3 Huawei Mate 8 Display Replacement, Daughterboard interconnect cable: step 5, image 2 of 3 Huawei Mate 8 Display Replacement, Daughterboard interconnect cable: step 5, image 3 of 3
      • Remove the liquid indicator sticker.

      • Remove the Phillips #00 screw that holds down the metal shield.

      • The metal shield is tightly held in place. If you try to remove it without holding it down on one side, it'll break easily.

      • Use a spudger to remove the metal shield.

      Ask FixBot

      Add Comment

    2. Huawei Mate 8 Display Replacement: step 6, image 1 of 3 Huawei Mate 8 Display Replacement: step 6, image 2 of 3 Huawei Mate 8 Display Replacement: step 6, image 3 of 3
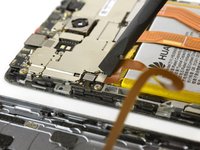
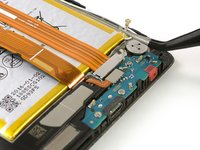
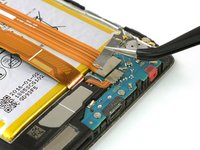
      • Use the flat end of a spudger to disconnect the display, daughterboard interconnect, and battery cables.

      Ask FixBot
      Add Comment

    3. Huawei Mate 8 Display Replacement: step 7, image 1 of 1
      • Remove the Phillips #00 screw that holds down the interconnect cable bracket.

      Ask FixBot
      Add Comment

    4. Huawei Mate 8 Display Replacement: step 8, image 1 of 2 Huawei Mate 8 Display Replacement: step 8, image 2 of 2
      • Lift the coaxial connector off of its socket to allow access to the daughterboard interconnect cable bracket.

      • Remove the bracket.

      Ask FixBot
      Add Comment

    5. Huawei Mate 8 Display Replacement: step 9, image 1 of 1
      • Use a spudger to disconnect the interconnect cable.

      • Remove the interconnect cable.

      Ask FixBot

      Add Comment

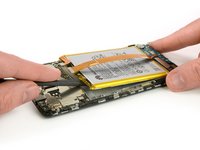
    1. Huawei Mate 8 Display Replacement, Battery: step 10, image 1 of 1
      • The battery is glued in place with two adhesive strips. One with a pull tab and one without.

      • Get a good grip on the pull tab near the power button and peel out the adhesive strip by steadily pulling at the tab in a flat angle.

      • If the adhesive strip rips, grab and twist it around the tweezer tips a couple of times and then continue.

      Ask FixBot

      Add Comment
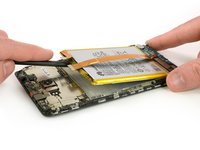
    2. Huawei Mate 8 Display Replacement: step 11, image 1 of 3 Huawei Mate 8 Display Replacement: step 11, image 2 of 3 Huawei Mate 8 Display Replacement: step 11, image 3 of 3
      • Do not bend or puncture the battery, damage to the cell can cause battery fires.

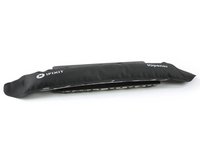
      • Heat an iOpener and place it on the phone for about a minute to loosen the remaining adhesive.

      • Carefully insert the flat end of a spudger to separate any remaining adhesive at the top of the battery.

      Ask FixBot

      Add Comment

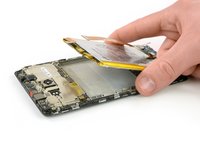
    3. Huawei Mate 8 Display Replacement: step 12, image 1 of 2 Huawei Mate 8 Display Replacement: step 12, image 2 of 2
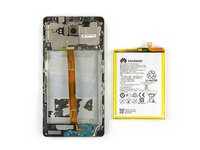
      • Lift the top end of the battery to pull the battery off of the remaining adhesive strip.

      • When reassembling your phone, apply stretch release adhesive strips, double sided adhesive tape, or pre-cut adhesive to secure the new battery.

      • Never reinstall a battery that has been bent or damaged during removal.

      Ask FixBot

      Add Comment

    1. Huawei Mate 8 Display Replacement, Display: step 13, image 1 of 1
      • Remove the four Phillips #00 screws holding the daughterboard and loudspeaker to the phone.

      Ask FixBot

      Add Comment

    2. Huawei Mate 8 Display Replacement: step 14, image 1 of 2 Huawei Mate 8 Display Replacement: step 14, image 2 of 2
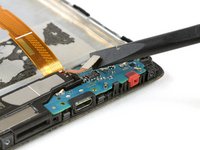
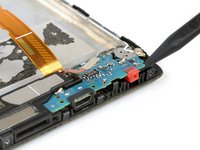
      • Use the flat end of a spudger to disconnect the loudspeaker connector cable.

      • Use the tip of a spudger to lift the daughterboard from the phone.

      Ask FixBot

      Add Comment

    3. Huawei Mate 8 Display Replacement: step 15, image 1 of 2 Huawei Mate 8 Display Replacement: step 15, image 2 of 2
      Tool used on this step:
      Tweezers
      $4.99
      Buy
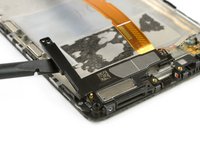
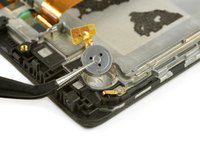
      • Insert the flat end of a spudger under the loudspeaker at the gap on the left side.

      • Work the spudger under the loudspeaker to seperate it from the adhesive and remove the loudspeaker.

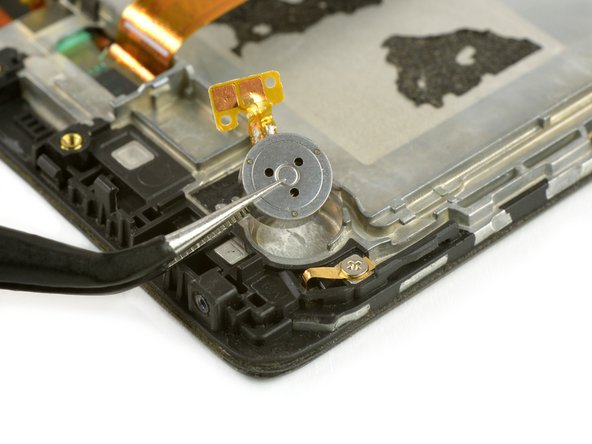
      • Use tweezers to take the vibration unit out of its housing.

      Ask FixBot

      Add Comment

    4. Huawei Mate 8 Display Replacement: step 16, image 1 of 1
      • Remove the eight Phillips #00 screws securing the motherboard to the phone.

      Ask FixBot

      Add Comment

    5. Huawei Mate 8 Display Replacement: step 17, image 1 of 2 Huawei Mate 8 Display Replacement: step 17, image 2 of 2
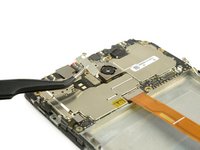
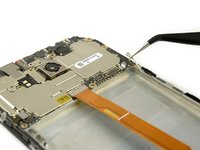
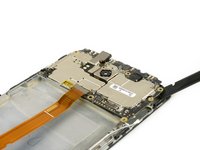
      • Remove the bracket from the rear camera flex cable.

      • Use tweezers to disconnect the antenna cable.

      Ask FixBot

      Add Comment

    6. Huawei Mate 8 Display Replacement: step 18, image 1 of 3 Huawei Mate 8 Display Replacement: step 18, image 2 of 3 Huawei Mate 8 Display Replacement: step 18, image 3 of 3
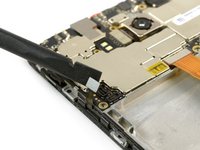
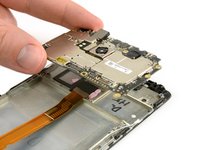
      • Use the flat end of a spudger to disconnect the volume and power flex cable on the bottom left side of the mainboard.

      • Work the flat end of a spudger under the top right side of the mainboard to pry it out.

      • Remove the mainboard.

      Ask FixBot

      Add Comment

    7. Huawei Mate 8 Display Replacement: step 19, image 1 of 2 Huawei Mate 8 Display Replacement: step 19, image 2 of 2
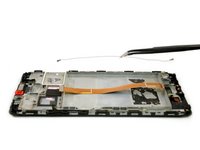
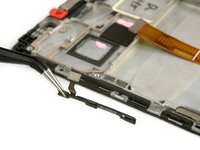
      • Remove the antenna interconnect cable.

      • Remove the power and volume switch assembly.

      Ask FixBot

      Add Comment

    8. Huawei Mate 8 Display Replacement: step 20, image 1 of 3 Huawei Mate 8 Display Replacement: step 20, image 2 of 3 Huawei Mate 8 Display Replacement: step 20, image 3 of 3
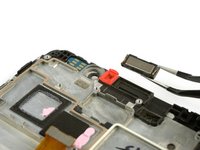
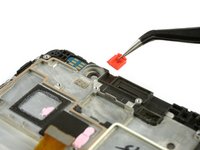
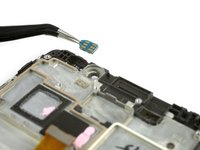
      • Use tweezers to remove the earpiece speaker.

      • Remove the red rubber gasket.

      • Remove the ambient light and proximity sensor.

      Ask FixBot

      Add Comment

Conclusion

To reassemble your device, follow these instructions in reverse order.

Cancel: I did not complete this guide.

9 other people completed this guide.

Dominik Schnabelrauch

Member since: 11/23/16

262,587 Reputation

682 Guides authored

Team

iFixit Member of iFixit

Staff

123 Members

48,533 Guides authored

1 Guide Comment

Tidy. Really tidy like.

Marc Vestabule - Reply Share

Add Comment

View Statistics:

Past 24 Hours: 2

Past 7 Days: 10

Past 30 Days: 56

All Time: 7,136