Introduction
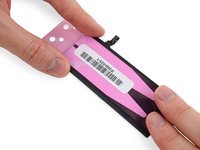
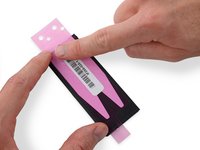
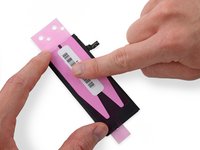
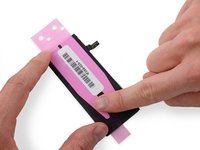
This guide shows how to cut and apply new stretch release adhesive strips when you’re replacing a battery.
Note: This guide depicts several different phones and batteries during the procedure. Your adhesive application may vary slightly from the photos depicted in this guide, but the method remains the same.
What you need
-
Tool used on this step:Tweezers$4.99
-
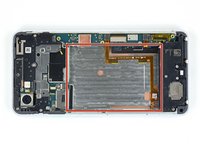
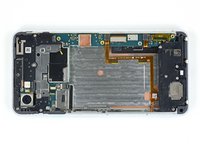
Begin by removing all of the old adhesive and residue from the adhesion surfaces in the battery well.
-
-
-
Finish cleaning the surface using a lint-free cloth (or coffee filter) and some high-concentration isopropyl alcohol (90% or higher).
-
-
-
With the device powered off, inspect the battery well on your device:
-
-
-
If you don't need to cut the adhesive strips to length, skip the next two steps.
-
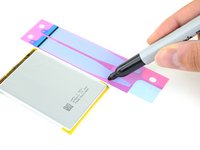
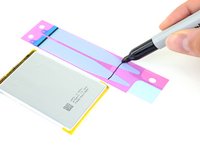
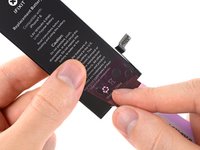
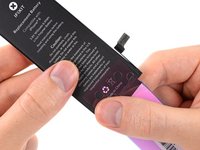
Lay the stretch release adhesive strips next to your replacement battery, aligning the pull tabs slightly above the top edge of the battery.
-
-
-
-
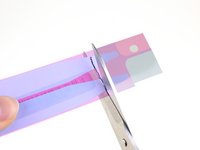
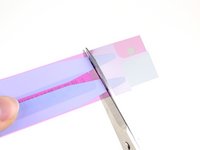
Use a pair of sharp scissors or a razor blade to cut the stretch release adhesive tabs at the marked line.
-
Remove the excess section of adhesive.
-
-
-
Place the battery face down on a flat surface.
-
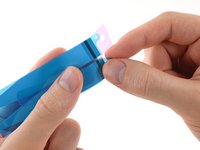
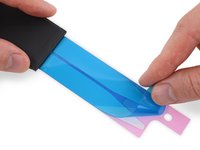
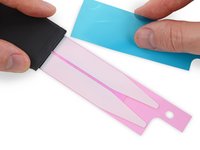
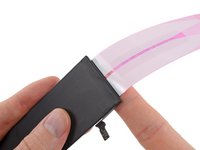
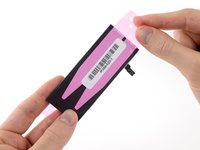
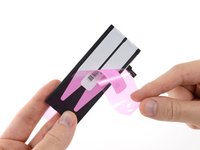
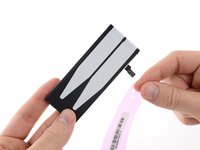
Starting at the cut end of the adhesive strips, peel off the large blue film covering the strips.
-
If this happens to you and you got your strips from iFixit, contact us and we'll send you a replacement on the double.
-
In the meantime, you can temporarily reassemble your phone with a bit of double-sided tape to hold the battery.
-
-
-
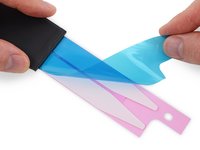
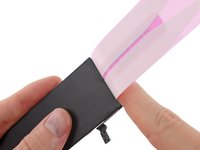
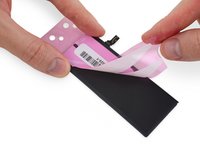
Carefully peel away the remaining piece of film, fully exposing the adhesive strips.
-
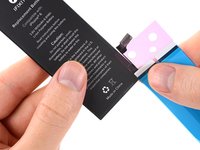
Set the battery lightly in place in the device.
-
Plug in the battery connector temporarily to ensure that the cable reaches the socket. Disconnect the battery before resuming reassembly.
-
Press the battery into place, and continue with your repair.
-
For optimal performance, calibrate your newly installed battery after completing this guide.
Cancel: I did not complete this guide.
18 other people completed this guide.
3 Guide Comments
The strips I have (from another supplier) have pink film on one side and clear on the other. How do I tell, apart from the colour, which side goes on the back of the battery?
I've worked it out. Comparing the first two photos of Step 5 you can see that the pull tabs have a black stripe on one side but are fully black on the other. The stripe side sticks to the battery as it's all sticky except just for the stripe. The black on the other side is then exposed. Not being sticky, it prevents it from sticking to anything it shouldn't.


