Free Shipping on Domestic Orders $75+

Google Pixel 5a Front-Facing Camera Replacement

What you need

  1. Google Pixel 5a Front-Facing Camera Replacement, Eject the SIM card tray: step 1, image 1 of 3 Google Pixel 5a Front-Facing Camera Replacement, Eject the SIM card tray: step 1, image 2 of 3 Google Pixel 5a Front-Facing Camera Replacement, Eject the SIM card tray: step 1, image 3 of 3
    Tool used on this step:
    SIM Card Eject Tool
    $2.99
    Buy
    • Insert a SIM card eject tool into the small hole on the right side edge of the frame.

    • A standard SIM card eject tool may be too wide for the job. Don't force the tool in—use a small paperclip, or a properly sized tool, like the SIM eject bit.

    • Press firmly until you feel the SIM card tray pop out.

    • Remove the SIM card tray from the phone.

    Ask FixBot
  2. Google Pixel 5a Front-Facing Camera Replacement, Precautionary notes: step 2, image 1 of 2 Google Pixel 5a Front-Facing Camera Replacement, Precautionary notes: step 2, image 2 of 2
    • Be sure to turn off your device before you begin the repair.

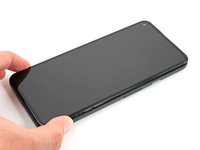
    • You'll need to pry the screen up to remove it from the phone. Read the following notes carefully before proceeding.

    • Take note of the two seams on the edge of the phone:

    • Screen seam: This seam separates the screen from the rest of the phone. Do not pry at this seam.

    • Bezel seam: This is where the plastic bezel designed to protect the screen meets the frame. It's held in place by plastic clips. This is where you should pry.

    Ask FixBot
  3. Google Pixel 5a Front-Facing Camera Replacement, Heat the right edge of the screen: step 3, image 1 of 1
    • Apply a heated iOpener to the right edge of the display for one minute to soften the adhesive.

    • Depending on the strength of your device's adhesive, you may need to reapply the iOpener multiple times in order to weaken it enough.

    • A hair dryer, heat gun, or hot plate may also be used, but be careful not to overheat the phone—the display and internal battery are both susceptible to heat damage.

    Ask FixBot
  4. Google Pixel 5a Front-Facing Camera Replacement, Bezel removal note: step 4, image 1 of 2 Google Pixel 5a Front-Facing Camera Replacement, Bezel removal note: step 4, image 2 of 2
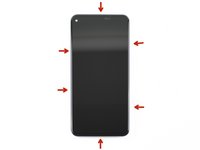
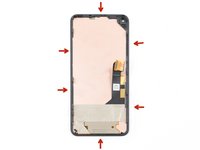
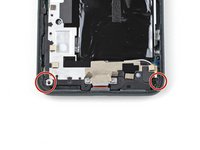
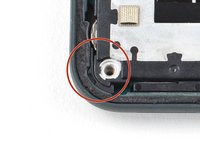
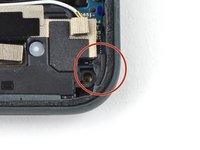
    • To remove the screen, you'll need to insert opening picks in between the black clips that secure the bezel to the midframe.

    • Note the optimal points of entry before proceeding.

    Ask FixBot
  5. Google Pixel 5a Front-Facing Camera Replacement, Create a gap between the bezel and midframe: step 5, image 1 of 2 Google Pixel 5a Front-Facing Camera Replacement, Create a gap between the bezel and midframe: step 5, image 2 of 2
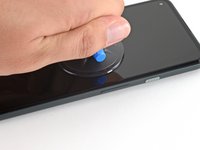
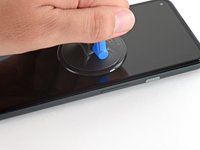
    • If your display is badly cracked, covering it with a layer of clear packing tape may allow the suction cup to adhere. Alternatively, very strong tape may be used instead of the suction cup. If all else fails, you can superglue the suction cup to the broken screen.

    • Place a suction cup as close to the right edge of the screen as possible.

    • Lift the suction cup with a strong steady force until a small gap forms between the bezel and midframe.

    Ask FixBot
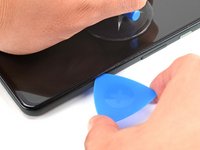
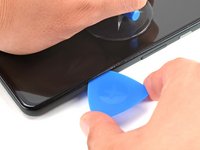
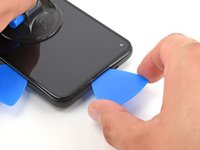
  6. Google Pixel 5a Front-Facing Camera Replacement, Insert an opening pick: step 6, image 1 of 2 Google Pixel 5a Front-Facing Camera Replacement, Insert an opening pick: step 6, image 2 of 2
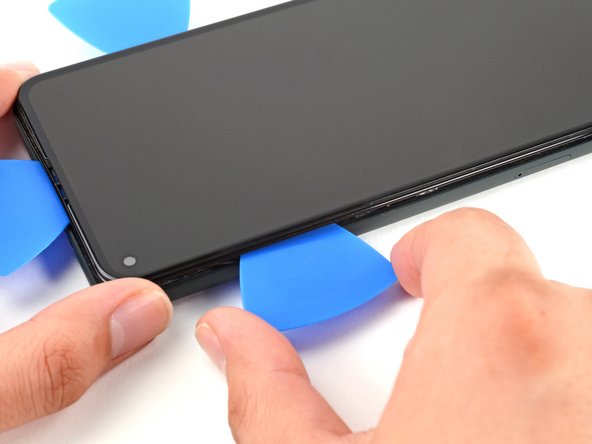
    • The bezel is connected to the midframe by a series of plastic clips which can be detached by inserting an opening pick at points all along the seam.

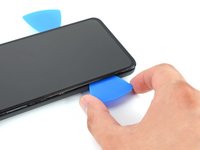
    • Insert the tip of an opening pick into the bezel seam about 4-5 cm from the bottom of the phone.

    Ask FixBot
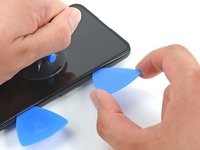
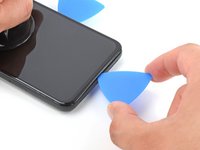
  7. Google Pixel 5a Front-Facing Camera Replacement: step 7, image 1 of 2 Google Pixel 5a Front-Facing Camera Replacement: step 7, image 2 of 2
    • Insert the tip of an opening pick into the bezel seam about 3-4 cm from the top of the phone.

    Ask FixBot
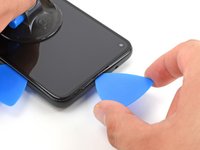
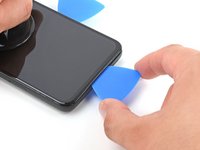
  8. Google Pixel 5a Front-Facing Camera Replacement: step 8, image 1 of 2 Google Pixel 5a Front-Facing Camera Replacement: step 8, image 2 of 2
    • Insert the tip of an opening pick into the bezel seam at the top of the phone.

    • If this step proves difficult, slide the pick along the top right corner of the phone until there is enough of a gap at the top for the opening pick.

    Ask FixBot
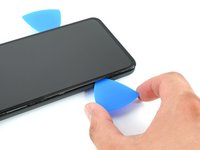
  9. Google Pixel 5a Front-Facing Camera Replacement: step 9, image 1 of 2 Google Pixel 5a Front-Facing Camera Replacement: step 9, image 2 of 2
    • Insert the tip of an opening pick into the bezel seam at the bottom of the phone.

    • If this step proves difficult, slide the pick along bottom right corner of the phone until there is enough of a gap at the bottom for the opening pick.

    Ask FixBot
  10. Google Pixel 5a Front-Facing Camera Replacement: step 10, image 1 of 2 Google Pixel 5a Front-Facing Camera Replacement: step 10, image 2 of 2
    • Insert the tip of an opening pick into the bezel seam on the left side of the phone, about 2 cm from the bottom of the phone.

    Ask FixBot
  11. Google Pixel 5a Front-Facing Camera Replacement: step 11, image 1 of 2 Google Pixel 5a Front-Facing Camera Replacement: step 11, image 2 of 2
    • Insert the tip of an opening pick into the bezel seam about 3-4 cm below the front-facing camera.

    Ask FixBot
  12. Google Pixel 5a Front-Facing Camera Replacement: step 12, image 1 of 3 Google Pixel 5a Front-Facing Camera Replacement: step 12, image 2 of 3 Google Pixel 5a Front-Facing Camera Replacement: step 12, image 3 of 3
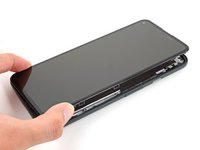
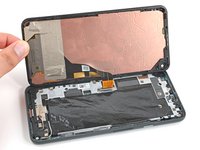
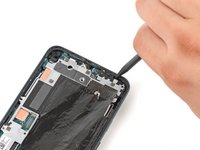
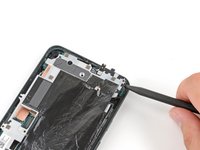
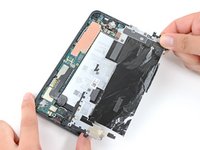
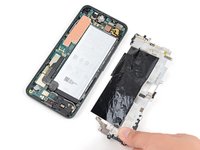
    • Be sure to detach all the clips. Slice through any remaining adhesive with an opening pick.

    • Open the device from the right side like a book.

    Ask FixBot
  13. Google Pixel 5a Front-Facing Camera Replacement: step 13, image 1 of 1
    Tool used on this step:
    Magnetic Project Mat
    $19.95
    Buy
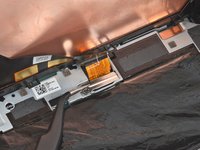
    • Use a T3 Torx driver to remove the 4.6 mm-long screw securing the screen connector bracket.

    • Throughout this repair, keep track of each screw and make sure it goes back exactly where it came from.

    Ask FixBot
  14. Google Pixel 5a Front-Facing Camera Replacement, Remove the connector bracket: step 14, image 1 of 2 Google Pixel 5a Front-Facing Camera Replacement, Remove the connector bracket: step 14, image 2 of 2
    Tool used on this step:
    Tweezers
    $4.99
    Buy
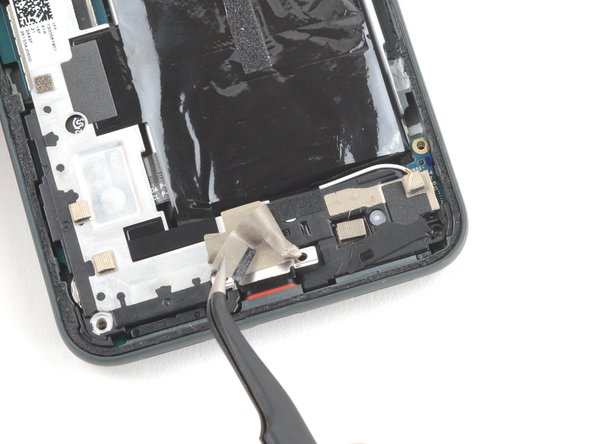
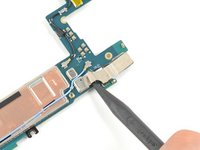
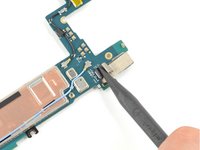
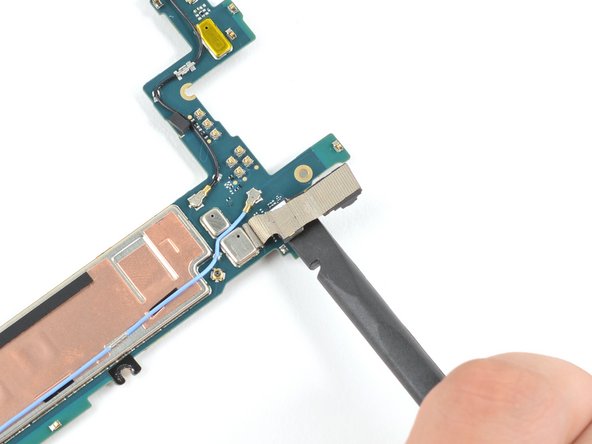
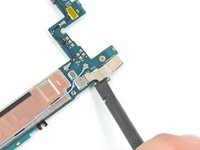
    • Use a pair of tweezers to remove the screen connector bracket.

    Ask FixBot
  15. Google Pixel 5a Front-Facing Camera Replacement, Remove the screen: step 15, image 1 of 2 Google Pixel 5a Front-Facing Camera Replacement, Remove the screen: step 15, image 2 of 2
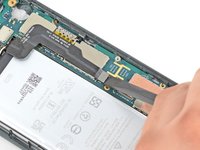
    • Use the tip of a spudger to pry up and disconnect the screen flex cable.

    • To re-attach press connectors like this one, carefully align and press down on one side until it clicks into place, then repeat on the other side. Do not press down on the middle. If the connector is misaligned, the pins can bend, causing permanent damage.

    Ask FixBot
  16. Google Pixel 5a Front-Facing Camera Replacement, Screen information: step 16, image 1 of 1
    • The back of the Pixel's screen is very fragile. Even a small scratch or dent can damage the screen.

    • To prevent damaging your screen or replacement screen:

    • When handling your screen, grip it by its edges.

    • When placing the screen on your work area, make sure nothing is touching the bottom of the screen. Consider placing it on a soft, lint-free cloth.

    Ask FixBot
  17. Google Pixel 5a Front-Facing Camera Replacement: step 17, image 1 of 1
    • Remove the screen from the phone.

    • During reassembly:

    • If you replaced the screen, check the screen's front-facing camera hole and remove any protective liners covering it.

    • Remember to reinstall the screen connector bracket.

    • If you are using a custom-cut adhesive, follow this guide to correctly apply new screen adhesive.

    • If you are using Tesa tape to reattach the screen, follow this guide.

    • During the boot-up process after reassembly, the screen will go through a calibration sequence. Do not touch the screen during this process, as it could result in improper touch calibration and create touch issues.

    Ask FixBot
  18. Google Pixel 5a Front-Facing Camera Replacement, Remove the screws: step 18, image 1 of 1
    • Use a T3 Torx driver to remove six of the screws securing the midframe to the motherboard:

    • Four 4.6 mm screws

    • One 4.0 mm screw

    • One 2.0 mm screw

    • Since a few of these screws have different lengths, keep track of each screw and be sure to reinstall them in their proper places.

    Ask FixBot
  19. Google Pixel 5a Front-Facing Camera Replacement, Remove the black plastic cover: step 19, image 1 of 2 Google Pixel 5a Front-Facing Camera Replacement, Remove the black plastic cover: step 19, image 2 of 2
    • Use the pointed end of a spudger to pry up on the black plastic cover at the bottom left of the phone.

    Ask FixBot
  20. Google Pixel 5a Front-Facing Camera Replacement: step 20, image 1 of 2 Google Pixel 5a Front-Facing Camera Replacement: step 20, image 2 of 2
    • Slide the pointed end of the spudger left until the plastic cover is completely separated from the midframe.

    • Remove the plastic cover from the midframe.

    Ask FixBot
  21. Google Pixel 5a Front-Facing Camera Replacement: step 21, image 1 of 3 Google Pixel 5a Front-Facing Camera Replacement: step 21, image 2 of 3 Google Pixel 5a Front-Facing Camera Replacement: step 21, image 3 of 3
    Tool used on this step:
    Tweezers
    $4.99
    Buy
    • Use a pair of tweezers to slightly peel back the tape concealing the two screws securing the charging port bracket.

    Ask FixBot
  22. Google Pixel 5a Front-Facing Camera Replacement, Remove the remaining screws: step 22, image 1 of 1
    • Use a T3 Torx driver to remove the remaining four screws securing the midframe to the motherboard:

    • Three 4.6 mm screws

    • One 4.0 mm screw

    Ask FixBot
  23. Google Pixel 5a Front-Facing Camera Replacement: step 23, image 1 of 2 Google Pixel 5a Front-Facing Camera Replacement: step 23, image 2 of 2
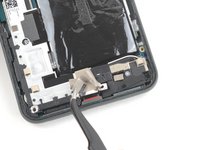
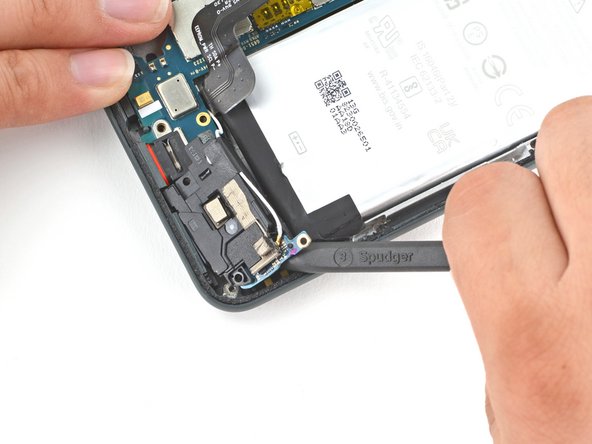
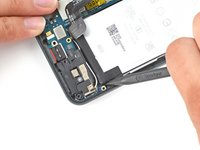
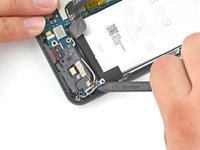
    • Use a spudger or a pair of tweezers to peel back the tape securing the charging port bracket to the speaker assembly.

    • Take care not to puncture or bend the battery with your tool—a punctured or bent battery may leak dangerous chemicals or cause a fire.

    Ask FixBot
  24. Google Pixel 5a Front-Facing Camera Replacement: step 24, image 1 of 3 Google Pixel 5a Front-Facing Camera Replacement: step 24, image 2 of 3 Google Pixel 5a Front-Facing Camera Replacement: step 24, image 3 of 3
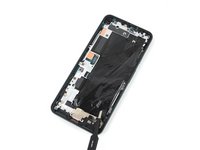
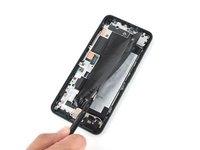
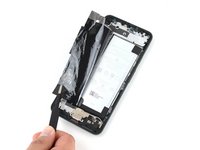
    • Use a blunt pair of tweezers, or your fingers, to carefully peel back the graphite sheet covering the battery.

    • Be careful not to accidentally puncture or otherwise damage the battery when gripping the graphite sheet.

    Ask FixBot
  25. Google Pixel 5a Front-Facing Camera Replacement, Detach the midframe: step 25, image 1 of 2 Google Pixel 5a Front-Facing Camera Replacement, Detach the midframe: step 25, image 2 of 2
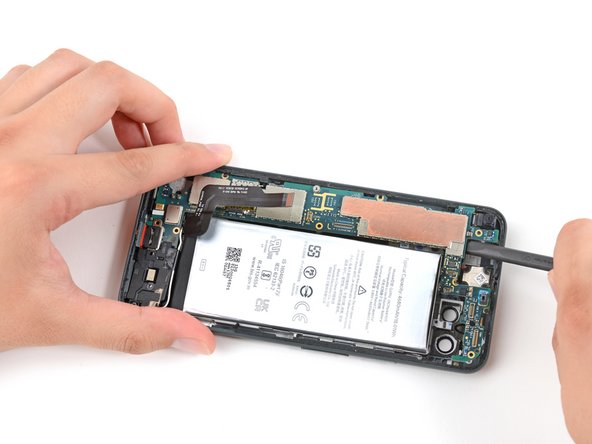
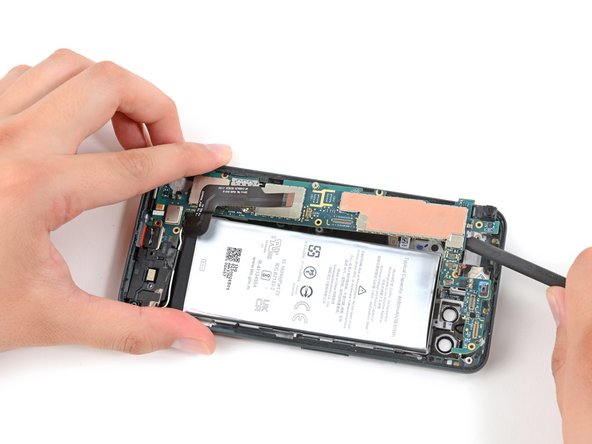
    • Insert the pointed end of a spudger under the top right corner of the midframe.

    • There is a black plastic clip at the top of the midframe that secures it to the top of the frame. To detach it, use the spudger to pull the midframe down and then pry up.

    Ask FixBot
  26. Google Pixel 5a Front-Facing Camera Replacement, Remove the midframe: step 26, image 1 of 2 Google Pixel 5a Front-Facing Camera Replacement, Remove the midframe: step 26, image 2 of 2
    • Remove the midframe.

    Ask FixBot
  27. Google Pixel 5a Front-Facing Camera Replacement, Replace the plastic bits: step 27, image 1 of 3 Google Pixel 5a Front-Facing Camera Replacement, Replace the plastic bits: step 27, image 2 of 3 Google Pixel 5a Front-Facing Camera Replacement, Replace the plastic bits: step 27, image 3 of 3
    • There are two small plastic bits that help hold the midframe in place. Take care not to misplace them, as without the midframe to hold them in place, they are very easy to lose.

    • Be sure to place these back into their respective corners before replacing the midframe when reassembling your device.

    Ask FixBot
  28. Google Pixel 5a Front-Facing Camera Replacement, Disconnect the battery: step 28, image 1 of 2 Google Pixel 5a Front-Facing Camera Replacement, Disconnect the battery: step 28, image 2 of 2
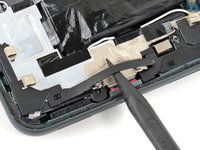
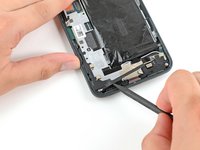
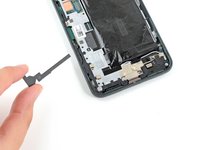
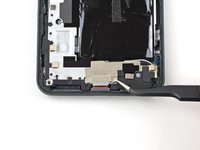
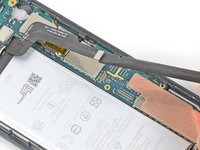
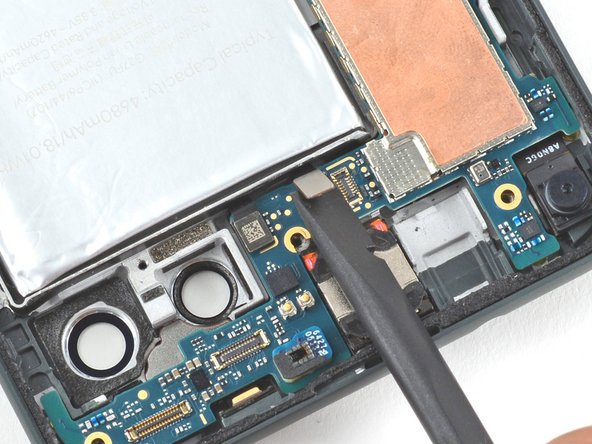
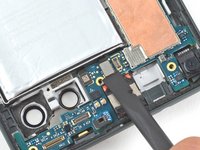
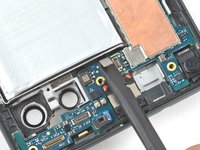
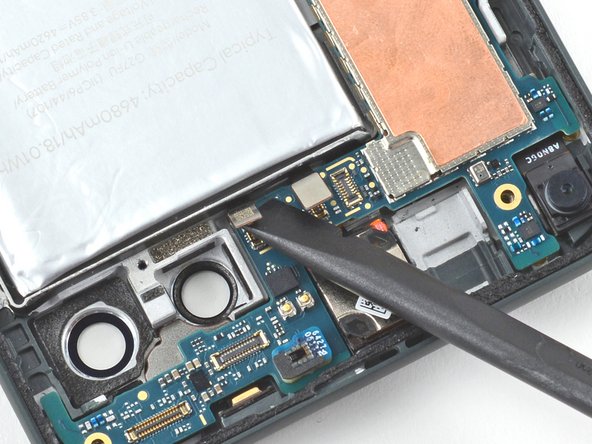
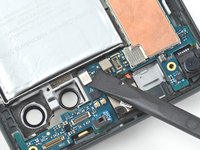
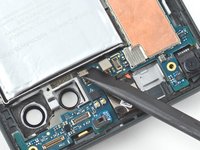
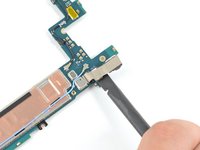
    • Use the flat end of a spudger to pry up on the battery connector to disconnect it.

    Ask FixBot
  29. Google Pixel 5a Front-Facing Camera Replacement, Remove the 16 MP Ultrawide camera: step 29, image 1 of 3 Google Pixel 5a Front-Facing Camera Replacement, Remove the 16 MP Ultrawide camera: step 29, image 2 of 3 Google Pixel 5a Front-Facing Camera Replacement, Remove the 16 MP Ultrawide camera: step 29, image 3 of 3
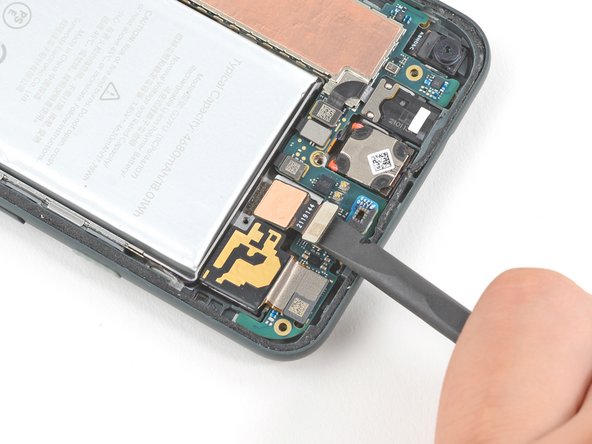
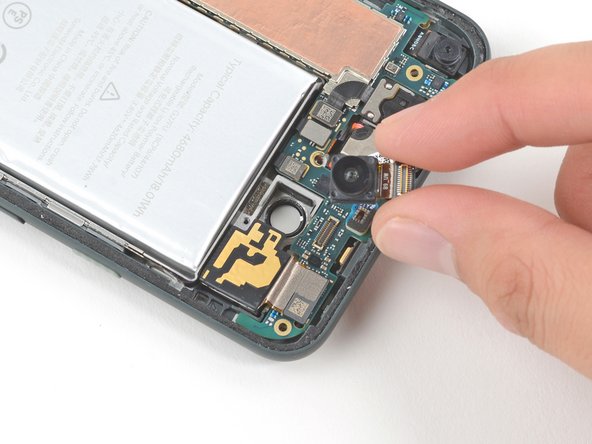
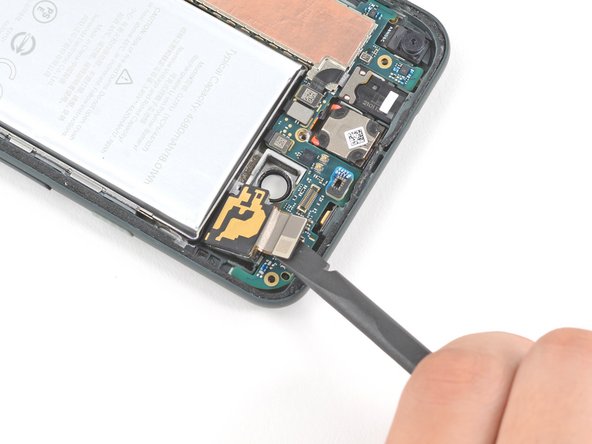
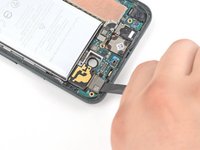
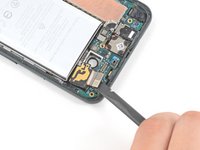
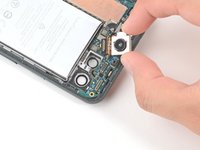
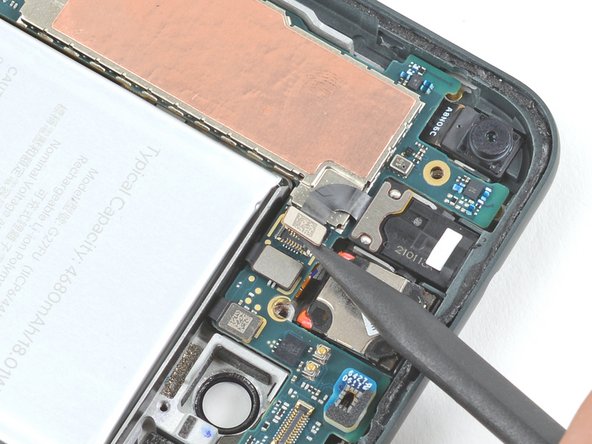
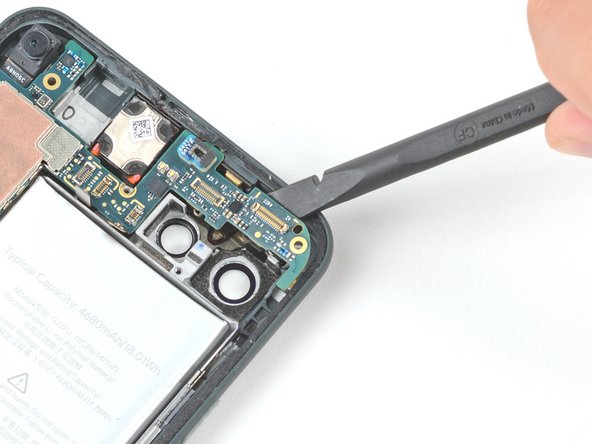
    • Use the flat end of a spudger to pry up on the 16 MP Ultrawide camera's connector to disconnect it.

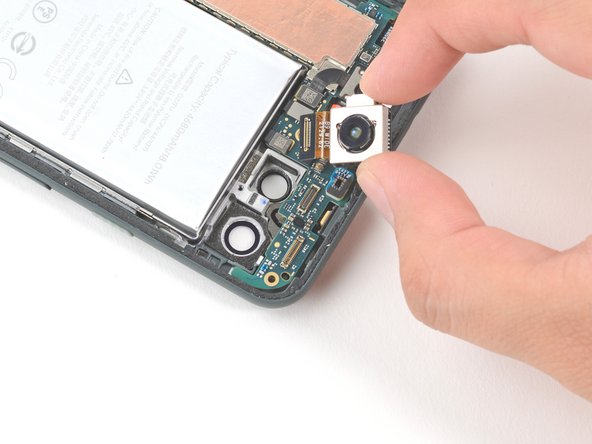
    • Remove the 16 MP Ultrawide camera.

    Ask FixBot
  30. Google Pixel 5a Front-Facing Camera Replacement, Remove the 12.2 MP Wide-Angle camera: step 30, image 1 of 3 Google Pixel 5a Front-Facing Camera Replacement, Remove the 12.2 MP Wide-Angle camera: step 30, image 2 of 3 Google Pixel 5a Front-Facing Camera Replacement, Remove the 12.2 MP Wide-Angle camera: step 30, image 3 of 3
    • Use the flat end of a spudger to pry up on the 12.2 MP Wide-Angle camera's connector to disconnect it.

    • Remove the 12.2 MP Wide-Angle camera.

    Ask FixBot
  31. Google Pixel 5a Front-Facing Camera Replacement, Disconnect the headphone jack: step 31, image 1 of 2 Google Pixel 5a Front-Facing Camera Replacement, Disconnect the headphone jack: step 31, image 2 of 2
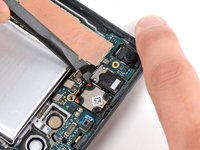
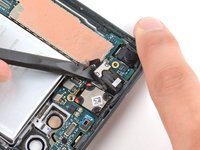
    • Use the pointed end of a spudger to pry up on the headphone jack connector to disconnect it.

    Ask FixBot
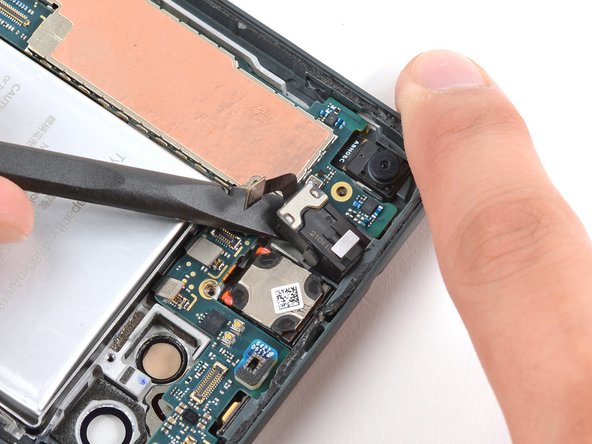
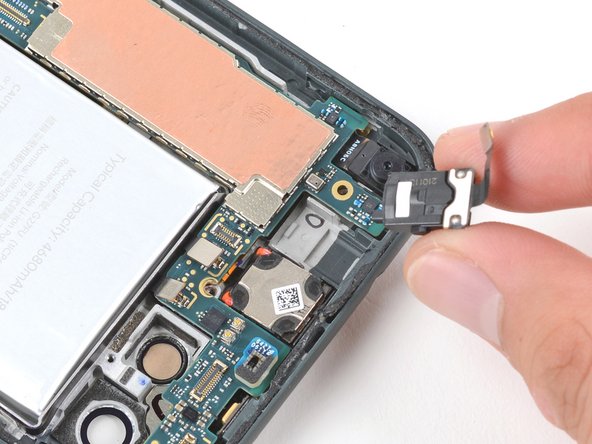
  32. Google Pixel 5a Front-Facing Camera Replacement, Remove the headphone jack: step 32, image 1 of 3 Google Pixel 5a Front-Facing Camera Replacement, Remove the headphone jack: step 32, image 2 of 3 Google Pixel 5a Front-Facing Camera Replacement, Remove the headphone jack: step 32, image 3 of 3
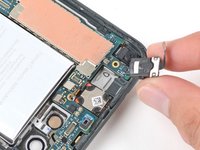
    • Use the flat end of a spudger to pry up on the headphone to pop it out of its socket.

    • Remove the headphone jack.

    Ask FixBot
  33. Google Pixel 5a Front-Facing Camera Replacement, Disconnect the fingerprint sensor cable: step 33, image 1 of 2 Google Pixel 5a Front-Facing Camera Replacement, Disconnect the fingerprint sensor cable: step 33, image 2 of 2
    • Use the flat end of a spudger to pry up on the fingerprint sensor connector to disconnect it.

    Ask FixBot
  34. Google Pixel 5a Front-Facing Camera Replacement, Disconnect the camera flash cable: step 34, image 1 of 2 Google Pixel 5a Front-Facing Camera Replacement, Disconnect the camera flash cable: step 34, image 2 of 2
    • Use the flat end of a spudger to pry up on the camera flash connector to disconnect it.

    Ask FixBot
  35. Google Pixel 5a Front-Facing Camera Replacement, Remove the motherboard screws: step 35, image 1 of 1
    • Use a T3 Torx driver to remove the three 2.9 mm screws securing the motherboard to the frame.

    Ask FixBot
  36. Google Pixel 5a Front-Facing Camera Replacement: step 36, image 1 of 2 Google Pixel 5a Front-Facing Camera Replacement: step 36, image 2 of 2
    • Insert the flat end of a spudger under the top right corner of the motherboard to lift it from the frame.

    • The SIM card tray also secures the motherboard to the frame, so double-check that it has been removed before this step.

    Ask FixBot
  37. Google Pixel 5a Front-Facing Camera Replacement: step 37, image 1 of 2 Google Pixel 5a Front-Facing Camera Replacement: step 37, image 2 of 2
    • Insert the flat end of a spudger under the top left corner of the motherboard to lift it from the frame.

    Ask FixBot
  38. Google Pixel 5a Front-Facing Camera Replacement: step 38, image 1 of 2 Google Pixel 5a Front-Facing Camera Replacement: step 38, image 2 of 2
    • Insert the pointed end of a spudger under the the screw slot to the top right of the speaker assembly to dislodge it from the frame.

    • Be careful not to deform the battery when prying at the speaker assembly.

    Ask FixBot
  39. Google Pixel 5a Front-Facing Camera Replacement, Remove the motherboard: step 39, image 1 of 1
    • Remove the motherboard and speaker assembly.

    Ask FixBot
  40. Google Pixel 5a Front-Facing Camera Replacement, Peel back the tape: step 40, image 1 of 2 Google Pixel 5a Front-Facing Camera Replacement, Peel back the tape: step 40, image 2 of 2
    • Flip the motherboard over.

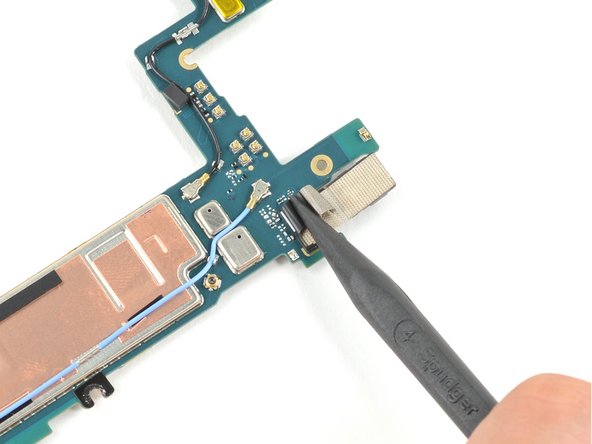
    • Use the pointed end of a spudger to peel back the tape covering the front-facing camera connector.

    Ask FixBot
  41. Google Pixel 5a Front-Facing Camera Replacement, Disconnect the front-facing camera: step 41, image 1 of 2 Google Pixel 5a Front-Facing Camera Replacement, Disconnect the front-facing camera: step 41, image 2 of 2
    • Use the the flat end of a spudger to disconnect the front-facing camera.

    Ask FixBot
  42. Google Pixel 5a Front-Facing Camera Replacement, Remove the front-facing camera: step 42, image 1 of 1
    • Remove the front-facing camera.

    Ask FixBot
Conclusion

To reassemble your device, follow these instructions in reverse order.

Take your e-waste to an R2 or e-Stewards certified recycler.

Repair didn’t go as planned? Try some basic troubleshooting, or ask our Google Pixel 5a Answers community for help.

Compare your new replacement part to the original part—you may need to transfer remaining components or remove adhesive backings from the new part before you install it.

Clay Kim

Member since: 02/16/21

13,155 Reputation

21 Guides authored

0 Guide Comments

Add Comment

View Statistics:

Past 24 Hours: 4

Past 7 Days: 12

Past 30 Days: 56

All Time: 1,137