
Apple Watch Ultra 2 Sensor Assembly Replacement

What you need

  1. Apple Watch Ultra 2 Sensor Assembly Replacement, Power down your watch: step 1, image 1 of 2 Apple Watch Ultra 2 Sensor Assembly Replacement, Power down your watch: step 1, image 2 of 2
    • Drain your watch battery below 25% before starting this repair. A charged battery may catch fire if damaged.

    • Take your watch off the charger and power it down.

    • If your touchscreen is broken and you can't power off the watch, use this alternate method to power it down.

  2. Apple Watch Ultra 2 Sensor Assembly Replacement, Safety details: step 2, image 1 of 3 Apple Watch Ultra 2 Sensor Assembly Replacement, Safety details: step 2, image 2 of 3 Apple Watch Ultra 2 Sensor Assembly Replacement, Safety details: step 2, image 3 of 3
    Tool used on this step:
    Safety Glasses
    $3.19
    Buy
    • Because the gap between the screen assembly and frame is so small, a thin metal tool is needed to pry the screen up. Read the following warnings before you start disassembly:

    • Protect your fingers by keeping them completely clear of the front end of your tool. You can protect your free hand with a heavy glove, such as a leather shop glove or gardening glove.

    • Be careful not to apply too much pressure, as this might cause the iFlex to slip and cut you, or damage the watch.

    • Wear eye protection. The glass may break, sending pieces flying.

    • Attach or remove the watch bands as needed to provide more control as you make repairs.

  3. Apple Watch Ultra 2 Sensor Assembly Replacement, Unfasten the sensor assembly screws: step 3, image 1 of 2 Apple Watch Ultra 2 Sensor Assembly Replacement, Unfasten the sensor assembly screws: step 3, image 2 of 2
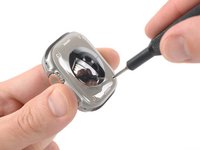
    • Use a P5 Pentalobe driver to remove the four 2.2 mm‑long screws securing the sensor assembly.

  4. Apple Watch Ultra 2 Sensor Assembly Replacement, Soften the sensor assembly adhesive: step 4, image 1 of 1
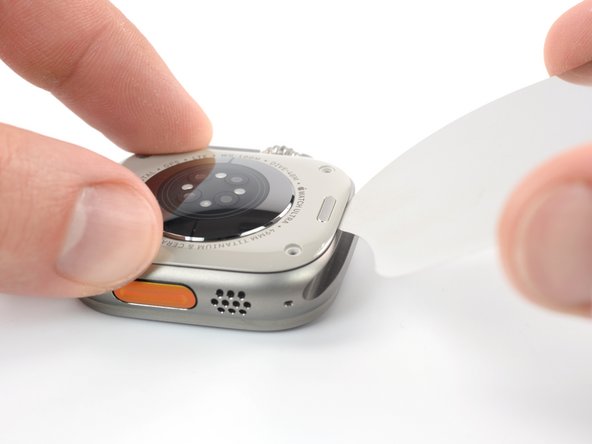
    • Heat an iOpener and apply it to the sensor assembly for at least two minutes to loosen the adhesive underneath.

    • You can also use a hair dryer, heat gun, or hot plate, but be careful not to overheat the watch—the screen and internal battery are both susceptible to heat damage.

  5. Apple Watch Ultra 2 Sensor Assembly Replacement, Create a gap: step 5, image 1 of 3 Apple Watch Ultra 2 Sensor Assembly Replacement, Create a gap: step 5, image 2 of 3 Apple Watch Ultra 2 Sensor Assembly Replacement, Create a gap: step 5, image 3 of 3
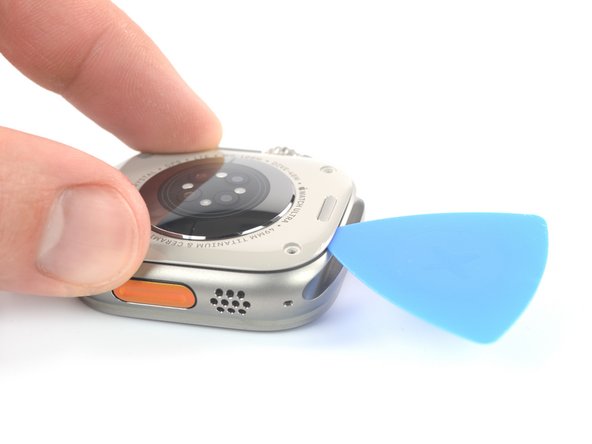
    • Insert an iFlex in the seam between the watch frame and the top edge of the sensor assembly to create a gap.

    • Carefully twist the iFlex to widen the gap.

    • Don't apply too much force, or you'll cause the sensor assembly to pop off and tear the sensor assembly cables.

  6. Apple Watch Ultra 2 Sensor Assembly Replacement, Insert an opening pick: step 6, image 1 of 3 Apple Watch Ultra 2 Sensor Assembly Replacement, Insert an opening pick: step 6, image 2 of 3 Apple Watch Ultra 2 Sensor Assembly Replacement, Insert an opening pick: step 6, image 3 of 3
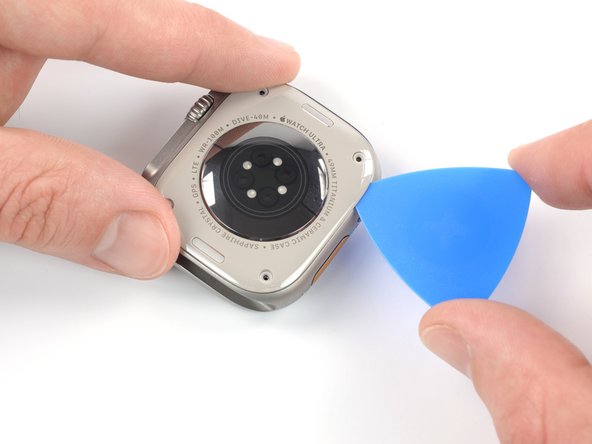
    • Insert an opening pick into the gap you created.

    • Do not insert the opening pick deeper than 3 mm to avoid tearing the sensor assembly cables.

    • Remove the iFlex.

  7. Apple Watch Ultra 2 Sensor Assembly Replacement, Slice the sensor assembly adhesive: step 7, image 1 of 3 Apple Watch Ultra 2 Sensor Assembly Replacement, Slice the sensor assembly adhesive: step 7, image 2 of 3 Apple Watch Ultra 2 Sensor Assembly Replacement, Slice the sensor assembly adhesive: step 7, image 3 of 3
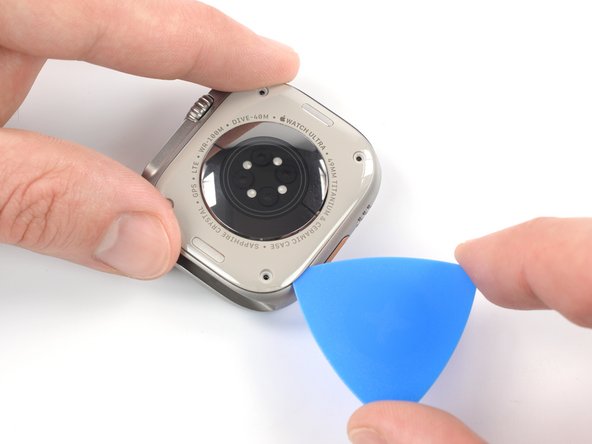
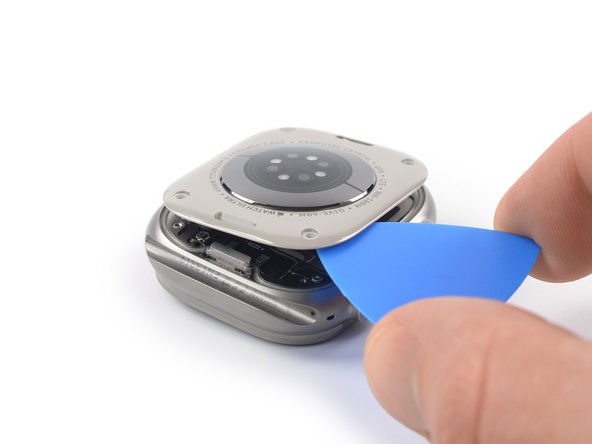
    • Slide the opening pick around the top right corner of the sensor assembly and along the right edge to slice its adhesive.

  8. Apple Watch Ultra 2 Sensor Assembly Replacement: step 8, image 1 of 2 Apple Watch Ultra 2 Sensor Assembly Replacement: step 8, image 2 of 2
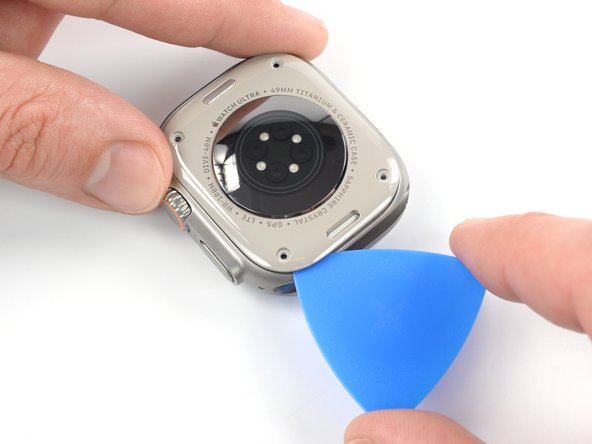
    • Slide the opening pick around the bottom right corner and along the bottom edge to slice the rear assembly adhesive.

  9. Apple Watch Ultra 2 Sensor Assembly Replacement: step 9, image 1 of 2 Apple Watch Ultra 2 Sensor Assembly Replacement: step 9, image 2 of 2
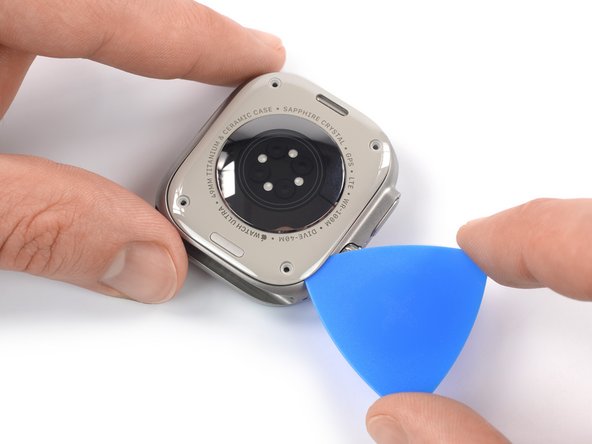
    • Slide the opening around the bottom left corner and along the left edge to slice the remaining adhesive.

  10. Apple Watch Ultra 2 Sensor Assembly Replacement, Band release button information: step 10, image 1 of 3 Apple Watch Ultra 2 Sensor Assembly Replacement, Band release button information: step 10, image 2 of 3 Apple Watch Ultra 2 Sensor Assembly Replacement, Band release button information: step 10, image 3 of 3
    • In the following steps, the band release buttons and springs may fall out. Be careful during the disassembly, as they are very easy to lose.

    • The band release buttons are equipped with a tiny spring on each end. The springs are mandatory for the buttons to function properly.

    • During reassembly, make sure each band release button has its two springs, and the buttons are repositioned in their recesses.

    • If a band release button falls out and the springs aren't on the button, they may have gotten stuck in the watch during disassembly. Use a pair of tweezers to remove them from the watch and place them upright into their recess on the button for reassembly.

  11. Apple Watch Ultra 2 Sensor Assembly Replacement, Lift the sensor assembly: step 11, image 1 of 2 Apple Watch Ultra 2 Sensor Assembly Replacement, Lift the sensor assembly: step 11, image 2 of 2
    • The sensor assembly is connected to the watch body with two cables. One of the cables is extremely short and its connector will automatically disconnect when lifting the sensor assembly.

    • To reconnect the short press connector during reassembly, line up the sensor assembly to the frame and squeeze gently.

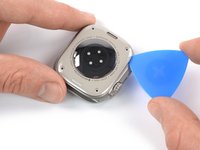
    • Carefully lift the top edge of the sensor assembly with your opening pick until you can get a good grip with your fingers.

    • Don't try to remove the sensor assembly all the way yet. It's still connected to the watch body.

  12. Apple Watch Ultra 2 Sensor Assembly Replacement, Swing open the sensor assembly: step 12, image 1 of 3 Apple Watch Ultra 2 Sensor Assembly Replacement, Swing open the sensor assembly: step 12, image 2 of 3 Apple Watch Ultra 2 Sensor Assembly Replacement, Swing open the sensor assembly: step 12, image 3 of 3
    • Be careful not to strain the sensor assembly cable when you lift the assembly up.

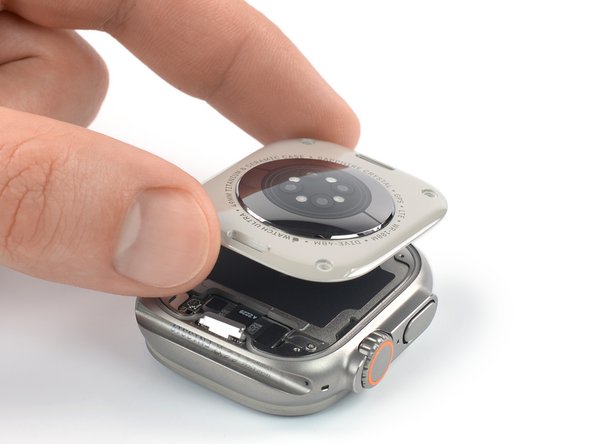
    • Lift the sensor assembly and carefully pull it towards the bottom edge of the watch.

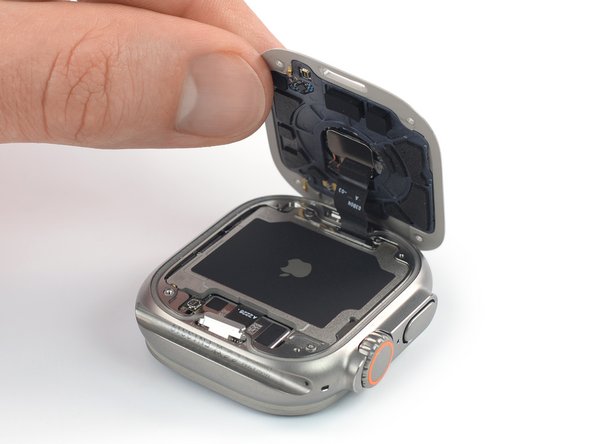
    • Swing the sensor assembly open to an upward position.

  13. Apple Watch Ultra 2 Sensor Assembly Replacement, Disconnect the sensor assembly cable: step 13, image 1 of 2 Apple Watch Ultra 2 Sensor Assembly Replacement, Disconnect the sensor assembly cable: step 13, image 2 of 2
    • The band release button near the sensor assembly cable is equipped with a tiny spring on each end. Be careful not to lose the button or its springs.

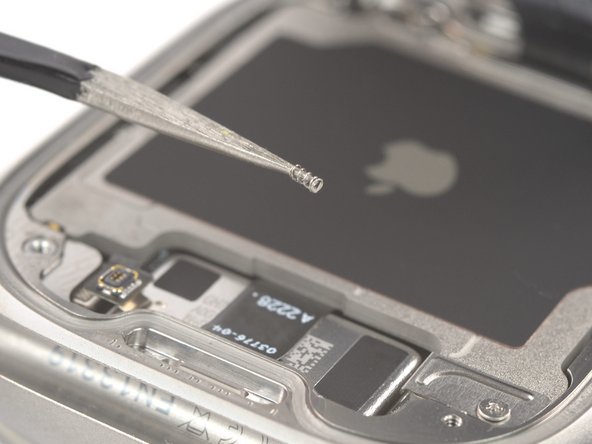
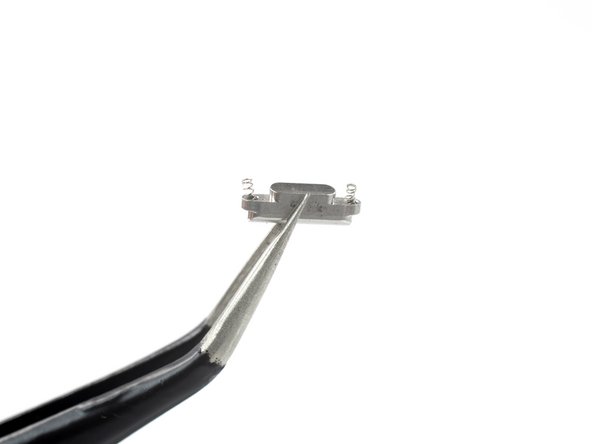
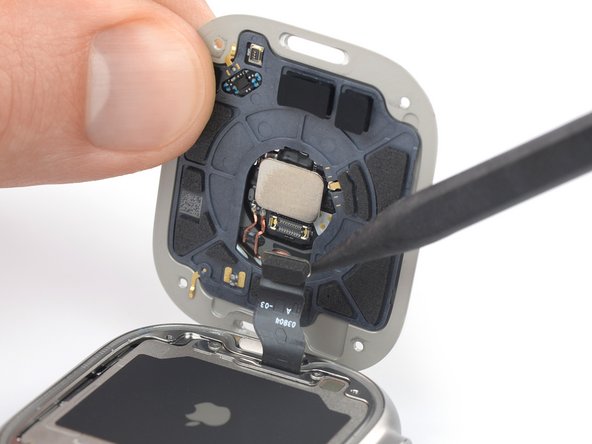
    • Use a spudger to pry and disconnect the sensor assembly cable from its socket.

  14. Apple Watch Ultra 2 Sensor Assembly Replacement, Remove the sensor assembly: step 14, image 1 of 1
    • Remove the sensor assembly.

Conclusion

To reassemble your device, follow these instructions in reverse order.

Take your e-waste to an R2 or e-Stewards certified recycler.

Repair didn’t go as planned? Try some basic troubleshooting, or ask our Answers community for help.

Arthur Shi

Member since: 01/03/18

252,884 Reputation

526 Guides authored

Team

iFixit Member of iFixit

Staff

135 Members

16,820 Guides authored

0 Comments

Add Comment

View Statistics:

Past 24 Hours: 0

Past 7 Days: 23

Past 30 Days: 73

All Time: 537