Introduction
With the iPhone 7 Plus in pieces, we continue our Tokyo teardown trifecta. Less one camera and with the same number of headphone jacks as the 7 Plus, it is our honor to bring you the iPhone 7 teardown!
With bravery comes responsibility! Fight the good battle and continue the repair journey with us on Facebook, Instagram, or Twitter.
What you need
Video Overview
-
-
Let's get into this iPhone 7! Before diving in, here are the tech specs:
-
Apple A10 Fusion processor with embedded M10 motion coprocessor
-
32, 128, or 256 GB onboard storage capacity
-
4.7-inch IPS multitouch Retina HD display with 1334 × 750 pixels (326 ppi)
-
12 MP camera with f/1.8 aperture, optical image stabilization, and 5x digital zoom
-
7 MP FaceTime HD camera with f/2.2 aperture and 1080p HD recording capability
-
Non-mechanical Touch ID home button driven by new Taptic Engine
-
802.11a/b/g/n/ac Wi‑Fi + MIMO Bluetooth 4.2 + NFC
-
-
-
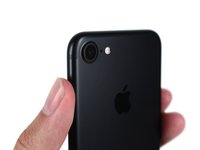
As we begin our journey through the iPhone 7, we spot a few new additions on the surface:
-
A 1334-by-750, LED-backlit IPS display with a P3 color gamut and 25% higher brightness than that of the 6s.
-
An ƒ/1.8, 12 MP camera with built-in optical image stabilization. Apple claims it's 60% faster and 30% more efficient than the previous generation's peeper.
-
A quad-LED True Tone flash that's 50% brighter than the iPhone 6s.
-
We also find a new model number—A1779—stamped on the rear case.
-
-
-
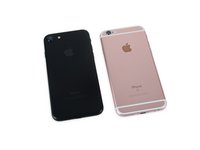
The iPhone 7 shares exact dimensions (138.3 mm × 67.1 mm × 7.1 mm) with its predecessor, the iPhone 6s—but has dropped a little weight, coming in at 138 grams compared to the 143 grams of the iPhone 6s.
-
Also of note, the iPhone 7 does a much better job at disguising those unsightly antenna lines—but not the camera bump. It looks like the mini optical mountain is here to stay.
-
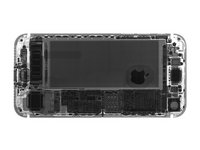
While we've been busy admiring this exterior, our friends at Creative Electron have been staring right through it with some X-rays. Check out those sweet internals.
-
-
-
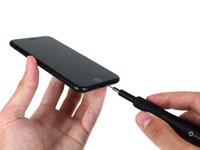
Peter Piper picked a pair of pesky proprietary Pentalobes...
-
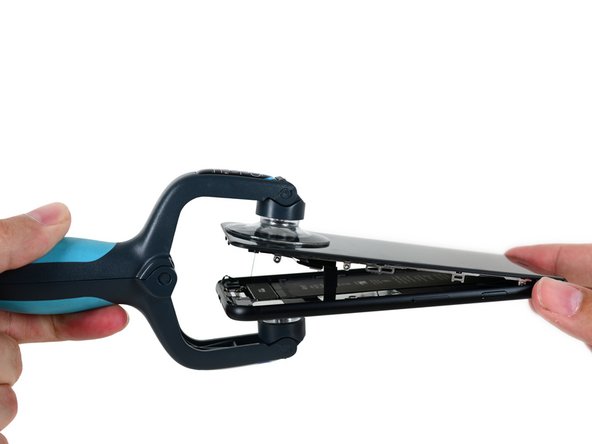
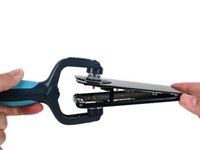
With a click and a clack, we break out the iSclack. Without a crack, the iPhone cuts us some slack.
-
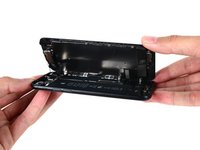
This iPhone 7 opens just like a storybook, along the side instead of at the top. And with no torn or tight cables, it looks like this story is going to have a fairytale ending.
-
But this story is far from over—and before we jump to conclusions, we're going to take this phone cover to cover, starting with the battery.
-
-
Tool used on this step:Mako Driver Kit - 64 Precision Bits$39.95
-
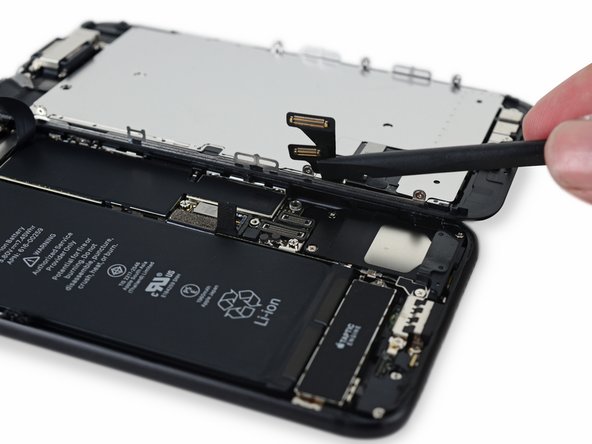
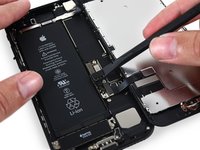
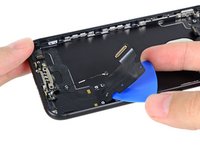
After briefly fighting through some sticky adhesives to open the case, we're faced with another set of repair obstacles—teeny tiny tri-point screws securing the cable bracket, just like in the 7's big brother, the 7 Plus.
-
With the front panel and strings of sticky glue out of the way, we whip out our trusty spudger and disconnect the battery. Next, it's time to set our spudger to the task of popping off display connectors.
-
-
-
Lights, camera, action!
-
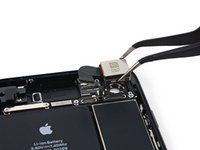
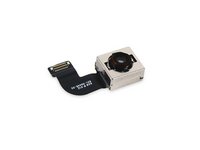
The iPhone 7 camera boasts a larger f/1.8 aperture, new 6-element lens and 12 MP sensor, four LEDs, and a flicker sensor that can sense flickering light and compensate for it in your photos and videos.
-
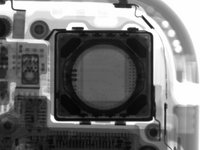
This camera is ready for paparazzi inside and out—X-ray images prove this camera looks just as good in a close-up.
-
-
-
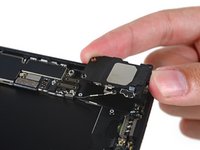
With the new camera out of the way, we work our way deeper into the 7.
-
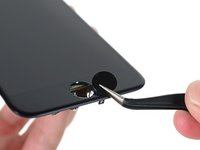
Next out: the audio baffle that thinks it's a headphone jack.
-
Teardown Update: According to Apple, this plastic component is a barometric vent. With the added ingress protection afforded by the watertight seal, the iPhone uses this baffle to equalize the internal and atmospheric pressures in order to have an accurate altimeter.
-
This Taptic Engine takes advantage of its extra legroom, sizing up for its home button haptic duties.
-
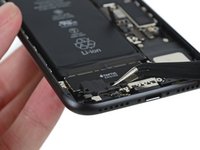
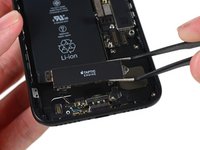
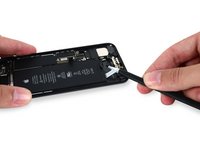
With the path cleared, we use our handy spudger to release the adhesive from beneath the battery. We wind up and peel out the three battery pull tabs.
-
-
-
-
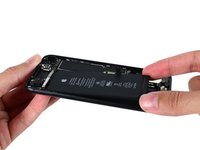
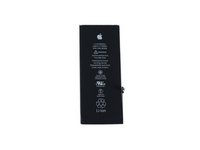
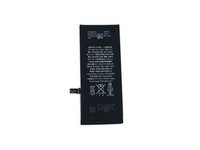
Finally, we've reached the iPhone 7's power source. What strange energies fuel this dark obelisk? Magic? The offal of a dying star?
-
Actually, it's a relatively benign Lithium-ion battery. This 3.8 V, 1960 mAh battery is rated for a capacity of 7.45 Wh—a notable increase from the 6.55 Wh battery in last year's model.
-
Apple claims that this upgraded cell will provide up to 14 hours of 3G talk time, 14 hours of Wi-Fi internet browsing, and 10 days of standby.
-
-
-
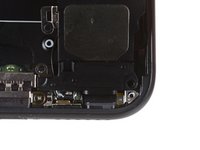
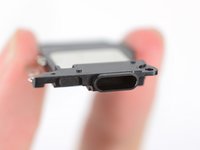
The iPhone 7 speaker ships with a
leashstick-on Wi-Fi diversity antenna that connects to the logic board. -
Waterproofing alert! The speaker's output duct fits over a rubber speaker grille gasket for an added layer of ingress protection.
-
This design is nigh identical to the one we unearthed in the iPhone 7 Plus a couple hours ago.
-
The duct also has a fine mesh—in case the speaker grille doesn't do its water-blocking job.
-
-
-
This seems less like a SIM eject hole and more like a Rube Goldberg machine. The SIM eject tool pushes on a plastic pin, that pushes a metal pin, which in turn, ejects the SIM tray.
-
...but really it's just one more defense against the inevitable toilet tumble.
-
And for extra credit, Apple added a rubber gasket around the SIM tray, too!
-
-
-
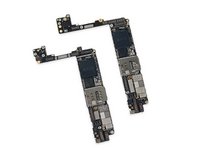
We quickly remove the logic board to take a closer look at some silicon.
-
But not before we do a quick side-by-side comparison with the iPhone 7 Plus logic board. The standard 7 and 7 Plus logic boards are surprisingly similar, despite the noticeable difference in housing size.
-
If you look closely, you'll see minor differences in connector sizes and locations, post holes, and screw locations.
-
-
-
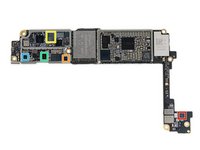
It wouldn't be a teardown without a ton of silicon! Here's what we uncover on the logic board:
-
Apple A10 Fusion APL1W24 SoC + Samsung 2 GB LPDDR4 RAM (as denoted by the markings K3RG1G10CM-YGCH)
-
Qualcomm MDM9645M LTE Cat. 12 Modem
-
Skyworks SKY78100-20 Power Amplifier Module
-
Avago AFEM-8065 Power Amplifier Module
-
Avago AFEM-8055 Power Amplifier Module
-
Murata 025 Antenna Switch Module (likely)
-
Invensense Accelerometer
-
-
-
And on the flip side:
-
SK Hynix H23QEG8VG2ACS 32 GB Flash
-
Murata 339S00199 Wi-Fi/Bluetooth Module
-
NXP PN67V NFC Controller w/ Secure Element
-
Apple/Dialog Semiconductor 338S00225 Power Management IC
-
Qualcomm PMD9645 Power Management IC
-
Qualcomm WTR4905 Multimode LTE Transceiver
-
Qualcomm WTR3925 RF Transceiver
-
-
-
Even more chips:
-
Bosch Sensortec BMP280 Barometric Pressure Sensor
-
Apple/Cirrus Logic 338S00105 Audio Codec
-
Cirrus Logic 338S00220 Audio Amplifier (x2)
-
Lattice Semiconductor ICE5LP4K iCE40 FPGA
-
Skyworks SKY13702-20 Diversity Receive Module
-
Skyworks SKY13703-21 Diversity Receive Module
-
Skyworks SKY77363-11 Power Amplifier (likely)
-
-
-
Just a few ICs remain:
-
Avago LFI626 200157 (likely an antenna tuner)
-
NXP Semiconductor CBTL1610A3 Display Port Multiplexer (likely)
-
TDK EPCOS D5315 Antenna Switch Module (likely)
-
Texas Instruments SN2400AB0 Battery Charger IC (likely)
-
Texas Instruments TPS65730A0P Power Management IC
-
Texas Instruments SN61200 DC-DC Converter (likely)
-
We'd like to extend a hearty thanks to Chipworks for their IC identification expertise. Head on over to their teardown page for an in-depth analysis of the iPhone 7 control hardware.
-
-
-
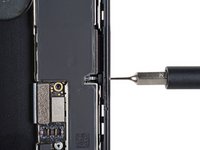
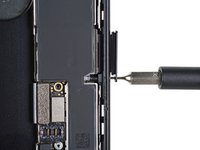
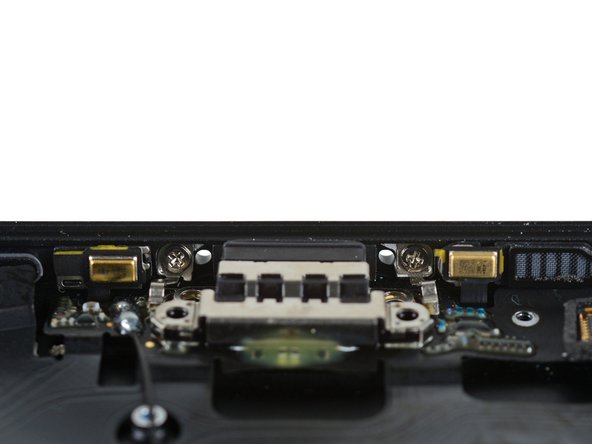
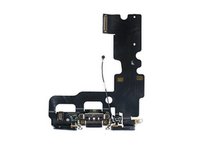
Now that the logic board is out, we're free to pick out the Lightning connector assembly.
-
Or can we!? Prying up the light adhesive went well, but our first tug was in vain. There are some extra screws in this port!
-
It seems like Apple has taken our warning to heart. Without a headphone jack to bear the burden of audio connections, this port will get a lot more wear, and it's been well reinforced.
-
Other denizens of the Lightning cable (a.k.a. the "everything cable"): an antenna, two microphones, two speaker grille plugs, and oh yeah...the Lightning port.
-
-
-
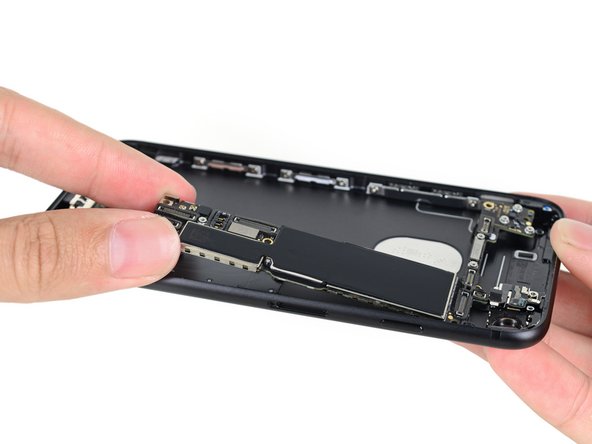
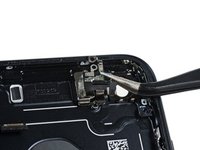
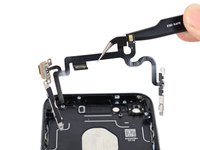
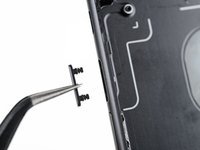
Scraping the bottom of the
barrelphone case, we snag an antenna flex cable. -
Also, a spidery mess of button cables. They're thin and fragile and tricky to remove intact, but they also snuggle up to a lot of waterproofed components. So hopefully this dangly assembly you see here won't be coming out all that often.
-
-
Tool used on this step:Tweezers$4.99
-
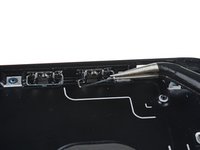
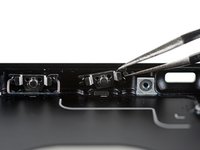
With the rear case nearly stripped, we turn our attention to the volume buttons that gave us some trouble in the 7 Plus.
-
Our persistent tugging with some tweezers rewards us with a broken retaining flap, but this button cover still won't come quietly.
-
Next out is this weird c-clip looking thing.
-
And the button finally comes off! With two tiny gaskets! Apple is serious about this waterproofing business.
-
-
-
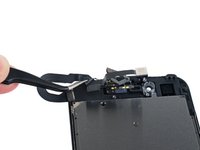
Returning to the display assembly, we still have several updated bits of tech to investigate.
-
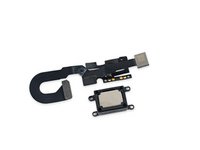
After some peeling, we free the earpiece speaker and an all-new 7 MP FaceTime HD camera with deep trench isolation and auto image stabilization.
-
The earpiece speaker is no slouch either, having been upgraded to serve as a second loudspeaker for legit stereo sound.
-
We also pluck out the solid state mini touch sensor—er, home "button."
-
- The battery is straightforward to access. Removing it requires specialty screwdrivers and knowledge of the adhesive removal technique, but is not difficult.
- The solid state home button eliminates a common point of failure.
- Improved water and dust protection greatly reduces the need for repairs associated with environmental damage and accidental spills (but also makes some repairs more difficult).
- The display assembly continues to be the first component out, simplifying screen repairs, but the procedure has grown more complicated with improved waterproofing measures.
- With the addition of tri-point screws, many iPhone 7 repairs will require up to four different types of drivers.


Final Thoughts
Repairability Score


(10 is easiest to repair)
78 Guide Comments
1960 mAh is a lot more than 1715 of 6s!
it is actually.
Yes, and the top connector plate.