iPhone 16 Pro Screen Removal

Last updated on Sep 30, 2025
Views: 1.1K
View statistics:
- Past 24 Hours:
- 2
- Past 7 Days:
- 15
- Past 30 Days:
- 42
- All Time:
- 1,090
Comments: 1
1 comment on steps.
Completed: 1 2
1 person has marked this guide "completed." Will you be next?
2 people have marked this guide "completed." Including you — great job!
Favorites: 0 1
No one has favorited (and subscribed to) this guide. Will you be the first?
1 person has favorited (and subscribed to) this guide — and that's you!
Prerequisite Only
This is a prerequisite-only guide! This guide is part of another procedure and isn’t meant to be used alone.
Introduction
Go to step 1 ↓Prerequisite only guide to remove the screen on an iPhone 16 Pro.
What you need
Tools
-
-
-
-
-
-
-
Spudger4.9
-
-


-
-
-
Before you begin:
-
Unplug any cables, and remove all cases, covers, and accessories (like portable chargers).
-
Hold the power and either volume button and slide to power off your phone.
 Ask FixBot
-
-
-
Apply packing tape to the cracked glass until it's completely covered—this will help keep the glass contained and allow the suction cup to stick.
-
-
-
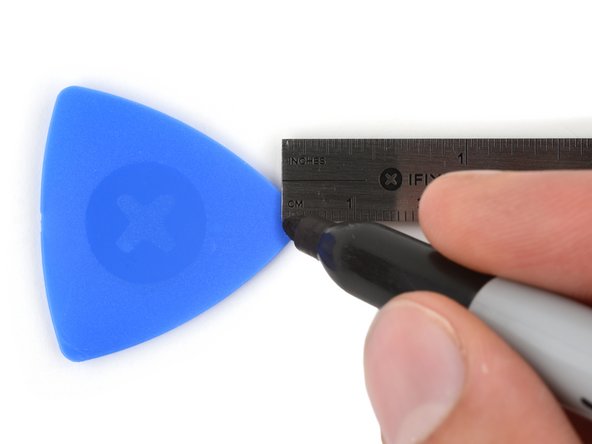
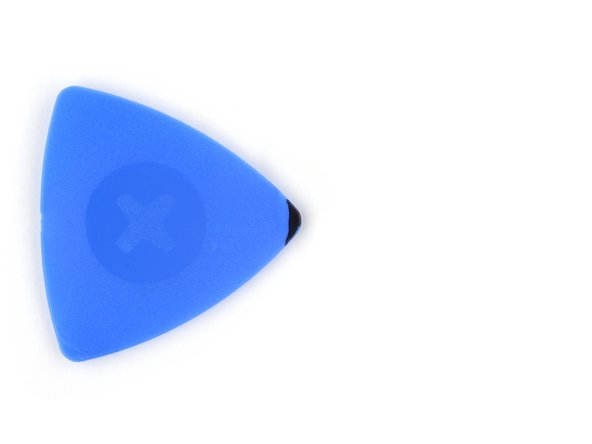
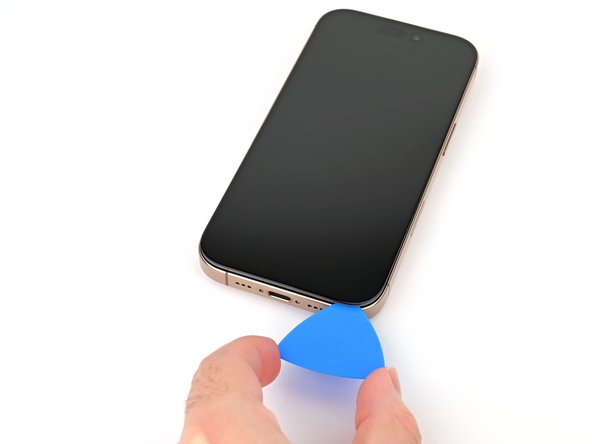
Measure 3 mm from the tip and mark the opening pick with a permanent marker.
-
On all edges, keep the opening pick at least 2 mm deep to avoid putting pressure on the glass itself.
-
-
-
Use a P2 pentalobe screwdriver to remove the two 7.4 mm‑long screws on either side of the USB-C port.
-
-
-
-
Tool used on this step:iOpener$14.95
-
Use a hair dryer or heat gun to heat the bottom edge of the screen until it's hot to the touch.
-
-
-
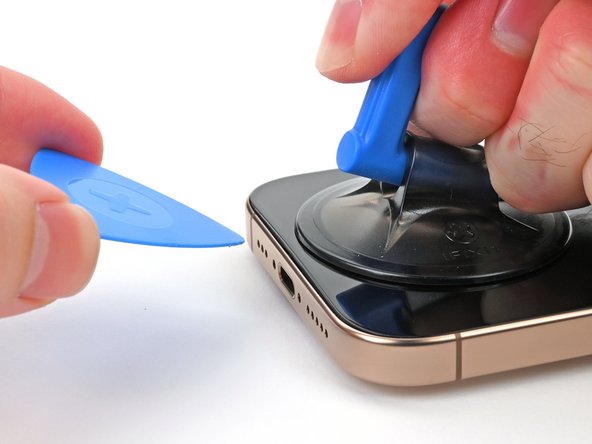
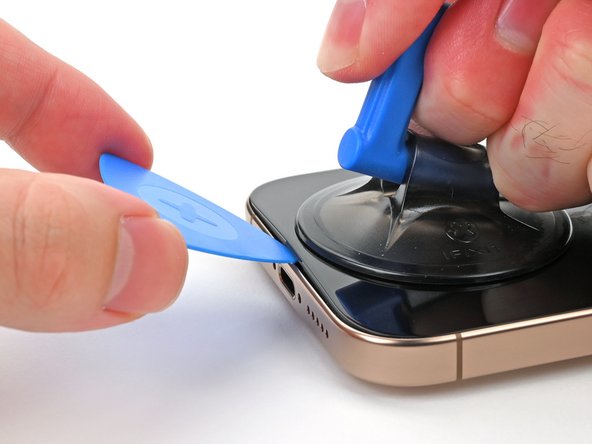
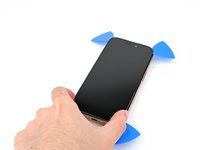
Apply a suction handle to the bottom edge of the screen.
-
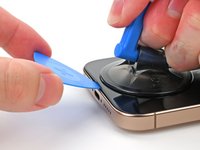
Pull up on the handle with a strong, steady force to create a gap between the screen and the frame.
-
Insert the tip of an opening pick into the gap.
-
-
-
-
Two delicate cables connecting the screen to the iPhone—one just above the Action button and the other about halfway along the left edge of the iPhone
-
Multiple spring contacts around the perimeter of the iPhone
-
-
-
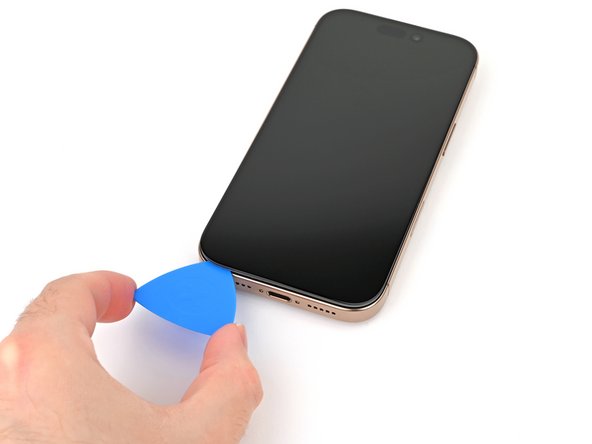
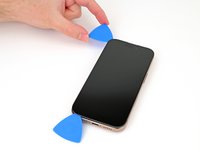
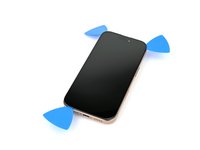
Slide the opening pick along the bottom edge to release the adhesive.
-
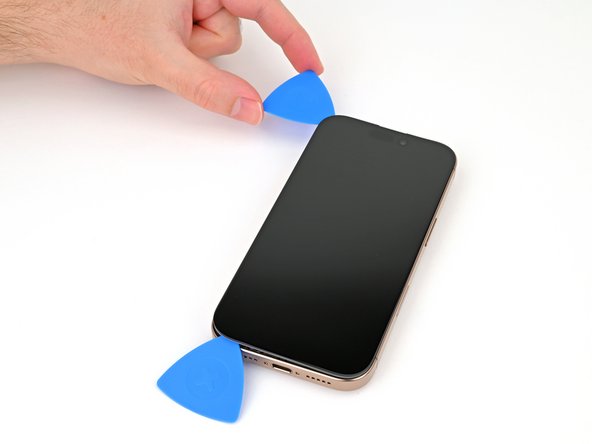
Leave the opening pick in the bottom-left corner to prevent the adhesive from resealing.
-
-
-
Use a hair dryer or heat gun to heat the left edge of the screen until it's hot to the touch.
-
-
-
Insert a second opening pick in the bottom-left corner, close to the existing pick.
-
Slide the opening pick along the left edge of the screen to separate the adhesive and release the metal clips.
-
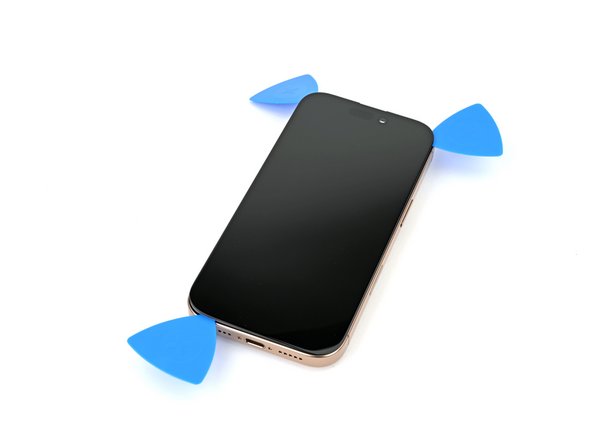
Leave the opening pick in the top-left corner to prevent the adhesive from resealing.
-
-
-
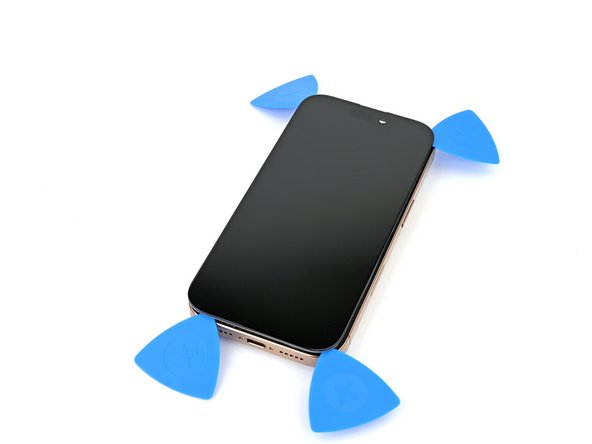
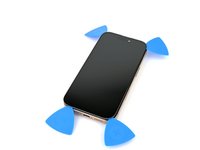
Repeat the heating and slicing procedure along the remaining screen edges.
-
-
-
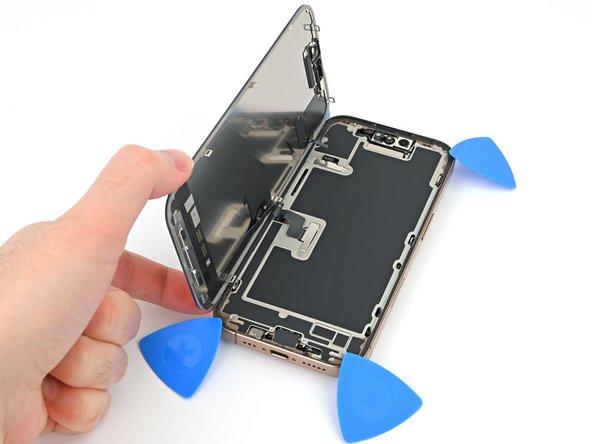
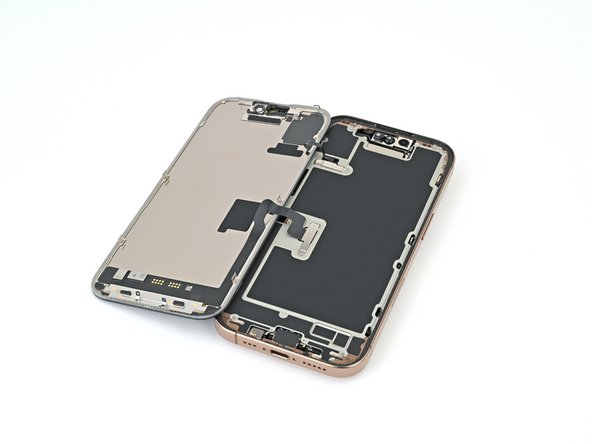
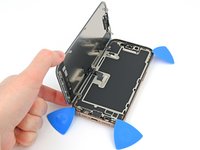
Carefully lift the screen upwards until the clips along the long edges clear the frame.
-
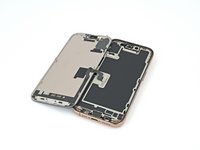
Swing open the screen over the left edge of the iPhone and lay it flat on your work surface.
-
-
-
Use a tri-point Y000 driver to remove the two 1.3 mm‑long screws securing the front sensor and display connector covers.
-
-
-
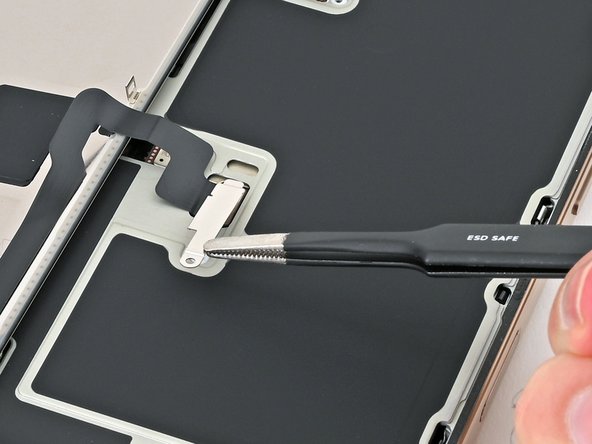
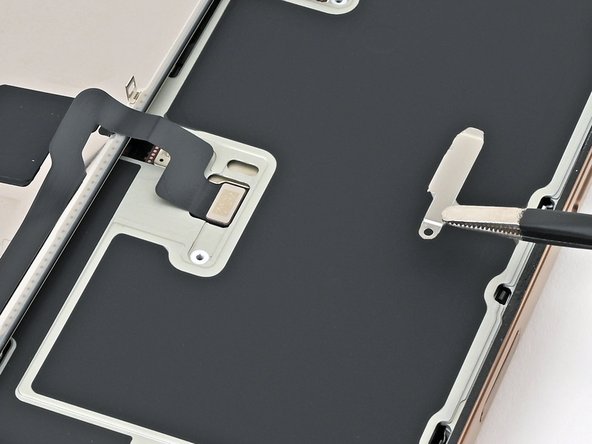
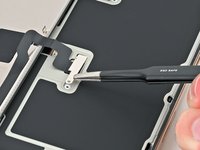
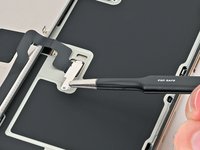
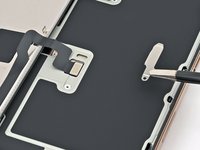
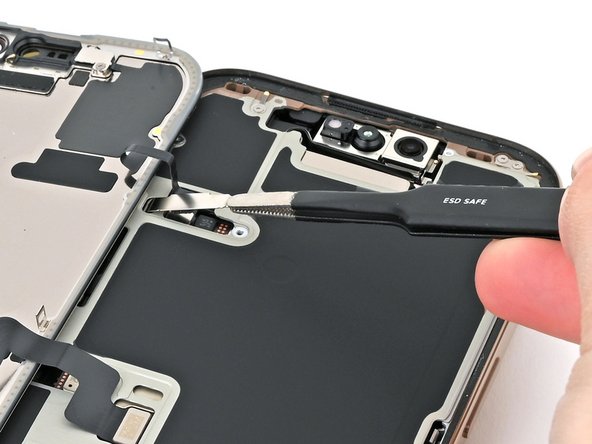
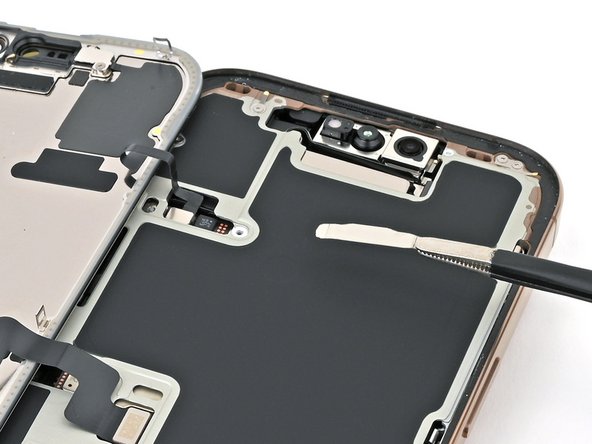
Use tweezers to grasp the front sensor connector cover near the screw hole.
-
Lift and remove the cover.
-
-
-
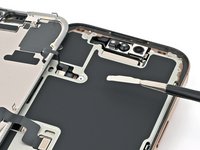
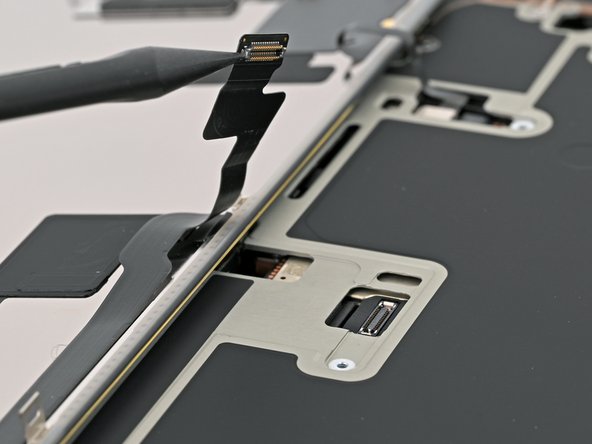
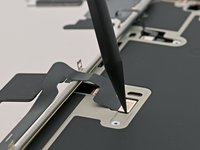
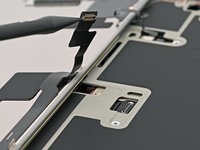
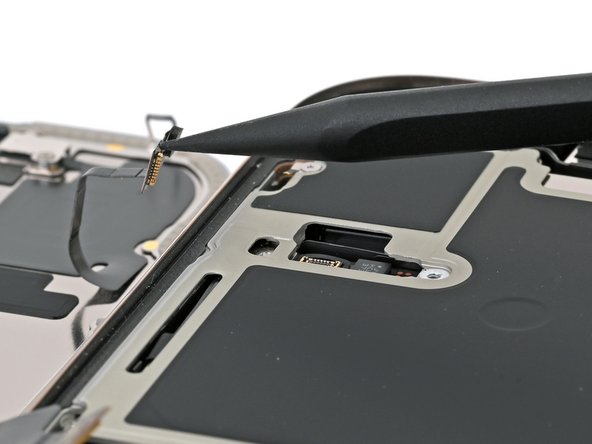
Use the tip of a spudger to pry up and disconnect the display press connector.
-
-

















To reassemble your iPhone, follow these instructions in reverse order.
After your repair, calibrate a genuine replacement screen using Apple's Repair Assistant. Navigate to Settings → General → About → Parts & Service History, tap Restart & Finish Repair, and follow the onscreen prompts.
Take your e-waste to an R2 or e-Stewards certified recycler.
Repair didn’t go as planned? Try some basic troubleshooting, or ask our iPhone 16 Pro Answers community for help.
Cancel: I did not complete this guide.
One other person completed this guide.