Introduction
Prerequisite guide to remove the battery in an iPhone 16 Pro.
What you need
-
-
-
Unplug any cables from the phone.
-
Hold the power and either volume buttons and slide to power off the phone.
 Ask FixBot
-
-
-
If the screen or back glass is badly cracked, lay overlapping strips of packing tape over the glass to protect yourself and make disassembly easier.
-
-
-
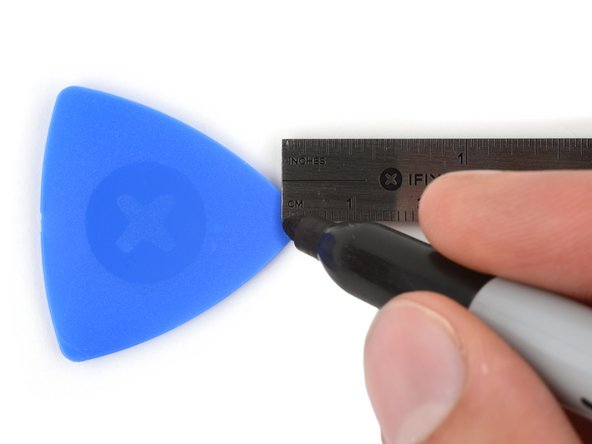
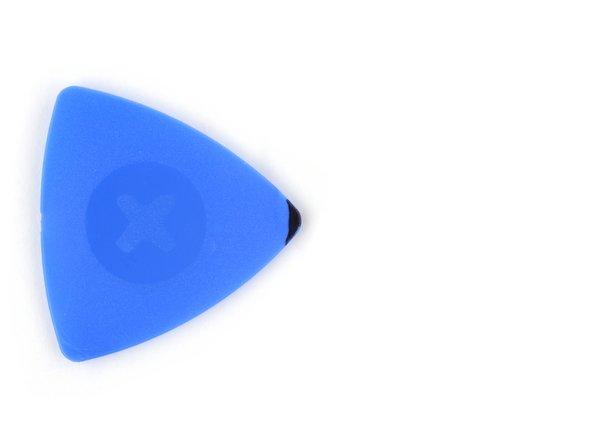
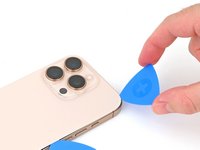
Measure 3 mm from the tip and mark the opening pick with a permanent marker.
-
-
-
Use a P2 pentalobe screwdriver to remove the two 7.4 mm‑long screws on either side of the USB-C port.
-
-
-
-
-
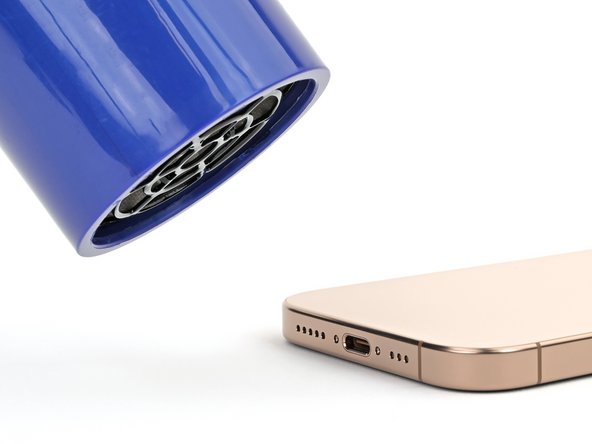
Apply a heated iOpener to the bottom edge of the back glass for two minutes.
-
-
-
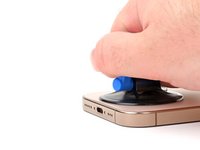
Apply a suction handle to the bottom edge of the back glass, above the USB-C port.
-
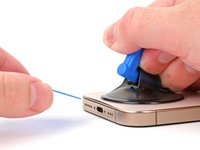
Pull up on the handle with a strong, steady force to create a gap between the back glass and the frame.
-
Insert the tip of an opening pick into the gap.
-
-
-
There's a delicate cable connecting the back glass to the phone, right next to the volume up button. Don't insert your pick here to avoid slicing the cable.
-
There are multiple spring contacts around the perimeter of the phone. Be extra careful not to insert your pick deeper than suggested in each step to avoid bending these contacts.
-
-
-
Slide your pick back and forth along the bottom edge to separate the adhesive.
-
Leave your pick inserted in the bottom right corner to prevent the adhesive from resealing.
-
-
-
Heat the right edge of the back glass until it's hot to the touch.
-
-
-
Slide your pick around the bottom right corner and halfway up the right edge, or until you feel a hard stop at a clip securing the back glass.
-
Leave this pick inserted to prevent the adhesive from resealing.
-
-
-
Heat the left edge of the back glass until it's hot to the touch.
-
-
-
Insert a second opening pick at the bottom edge.
-
Slide the second pick around the bottom left corner and along the left edge of the screen to separate the adhesive and release the metal clips.
-
Leave this pick inserted at the top left corner to prevent the adhesive from resealing.
-
-
-
Heat the top edge of the back glass, including the area around the volume buttons, until it's hot to the touch.
-
-
-
Slide your opening pick across the top edge and around the top right corner to the volume up button to separate the adhesive.
-
-
-
-
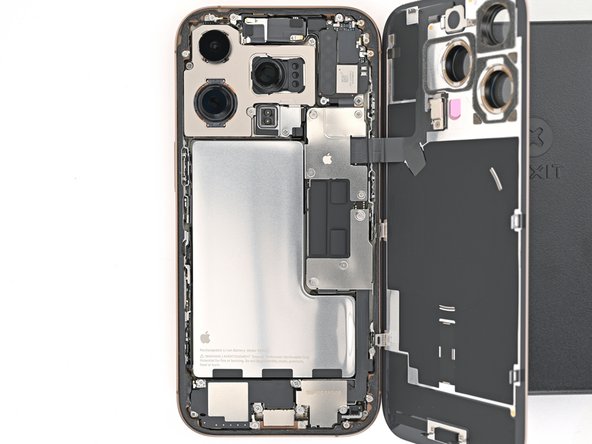
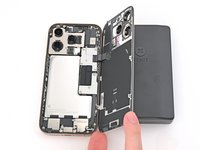
Gently swing open the back glass towards the volume buttons.
-
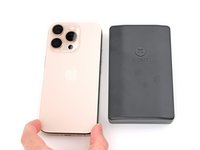
Support the back glass with a clean, sturdy object like a small box to avoid straining the cable.
-
Remove the opening picks.
-
-
-
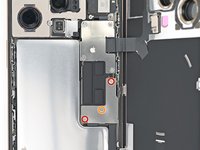
Use a tri-point Y000 screwdriver to remove the three screws securing the lower connector cover:
-
Two 1.2 mm‑long screws
-
One 1.0 mm‑long screw
-
-
-
Use tweezers or your fingers to pick up and remove the lower connector cover.
-
-
-
Use the point of a spudger to pry up and disconnect the battery press connector.
-
-
-
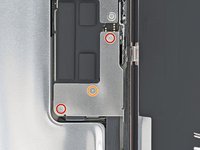
Use a tri-point Y000 screwdriver to remove the four screws securing the upper connector cover:
-
Two 1.0 mm‑long screws
-
One 1.2 mm‑long screw
-
One 1.6 mm‑long screw
-
-
-
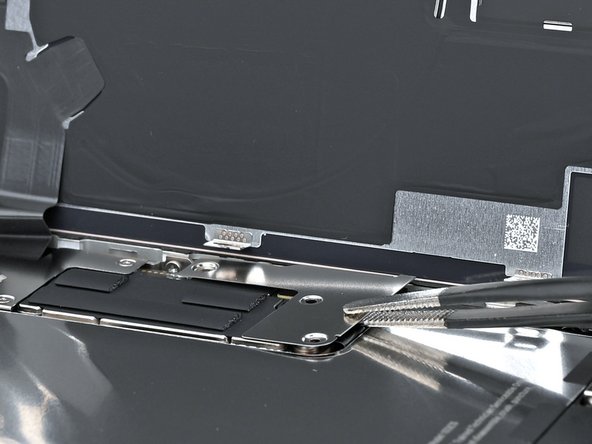
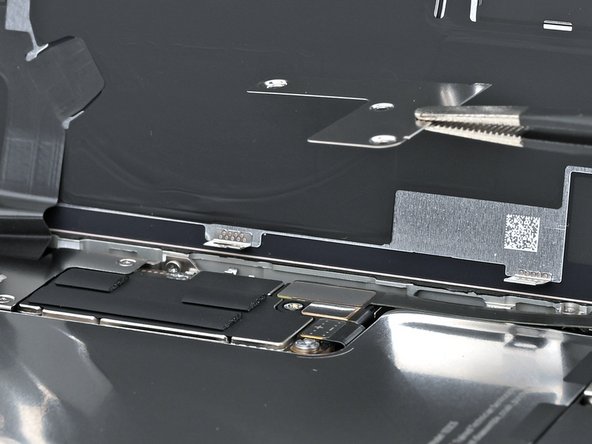
Use tweezers or your fingers to pick up and remove the upper connector cover.
-
-
-
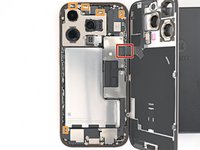
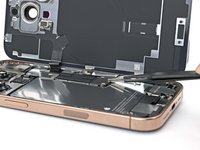
Use the point of a spudger to pry up and disconnect the back glass press connector.
-
-
-
-
-
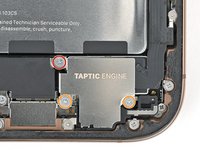
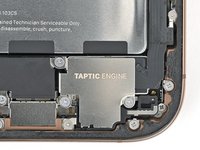
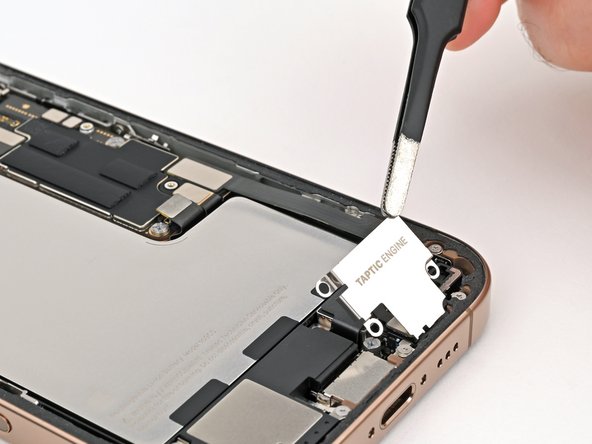
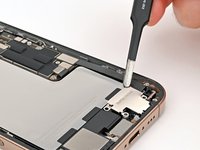
Use a Phillips screwdriver to remove the three screws securing the Taptic Engine cover:
-
One 3.0 mm‑long screw
-
Two 1.7 mm‑long screws
-
-
-
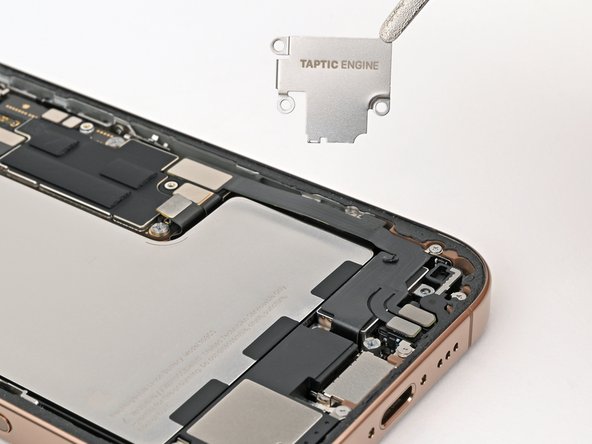
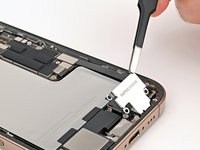
Use tweezers or your fingers to lift the top edge of the Taptic Engine cover.
-
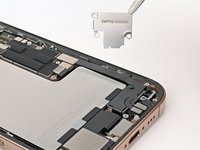
Once the bottom edge unlatches from the frame, remove the Taptic Engine cover.
-
-
-
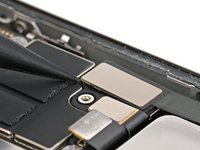
Use the point of a spudger to pry up and disconnect the lower assembly cable press connector from the logic board.
-
-
-
Use the point of a spudger to pry up and disconnect the two press connectors near the bottom right edge of the frame.
-
-
-
Use a tri-point Y000 screwdriver to remove the 1.0 mm‑long screw securing the lower assembly cable.
-
-
-
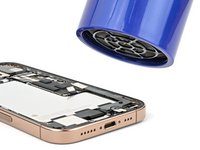
Use an iOpener or hair dryer to heat up the lower assembly cable section on top of the Taptic Engine until it's hot to the touch.
-
-
-
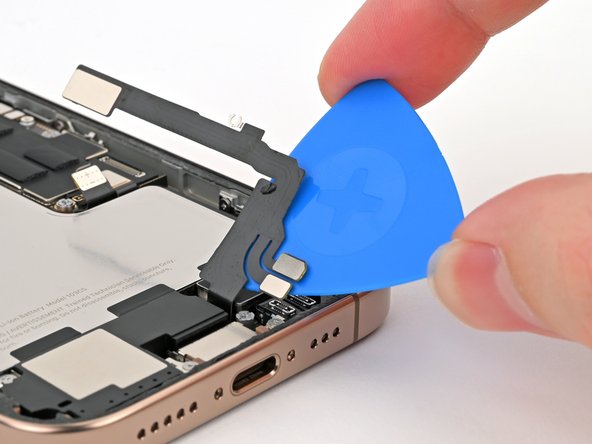
Slide an opening pick under the lower assembly cable to separate it from the Taptic Engine.
-
Carefully bend the cable out of the way so you can access the Taptic Engine.
-
-
-
Use a Phillips screwdriver to remove the 1.9 mm‑long screw securing the Taptic Engine.
-
-
-
Slide the tip of an opening pick along the top edge of the Taptic Engine to separate the plastic buffer strip adhered to it.
-
-
-
Use the point of a spudger to pry up the Taptic Engine from its top-right corner.
-
Remove the Taptic Engine.
-
-
-
-
-
Remove the four screws securing the loudspeaker:
-
Two 1.6 mm‑long Phillips screws
-
One 2.0 mm‑long Phillips screw
-
One 1.3 mm‑long tri-point Y000 screw
-
-
-
Insert the point of a spudger underneath the loudspeaker's bottom-right screw hole.
-
Pry up and remove the loudspeaker.
-
-
-
-
-
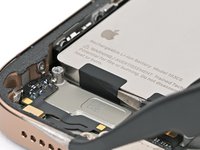
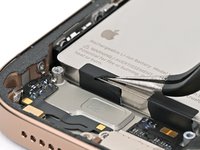
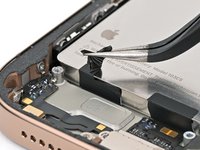
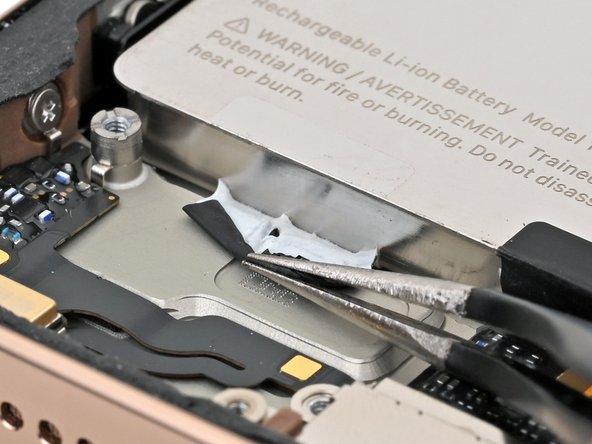
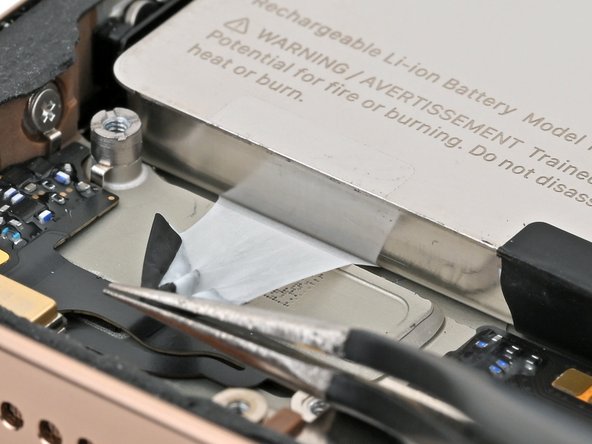
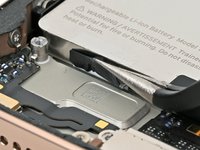
Insert the tip of angled tweezers under one of the black pull tabs.
-
-
-
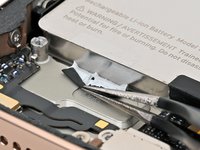
Use your tweezers to slice through the black tab and peel the tab off the top of the battery.
-
-
-
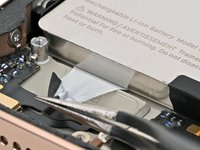
Use tweezers or your fingers to grab the pull tab and pull it down so it's flat against the frame.
-
Slowly pull the adhesive out from under the battery at as low of an angle as possible.
-
-
-
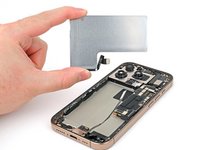
If you removed all three stretch release adhesive strips, congratulations! Lift and remove the battery.
-
-
-
Lift the bottom edge of the frame to tilt the phone.
-
Use a pipette or a syringe to apply 2–3 drops of high concentration (>90%) isopropyl alcohol along the bottom edge of the battery, close to where each broken adhesive strip came out.
-
Wait one minute for the isopropyl alcohol to flow under the battery and soften the adhesive.
-
-
-
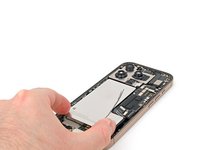
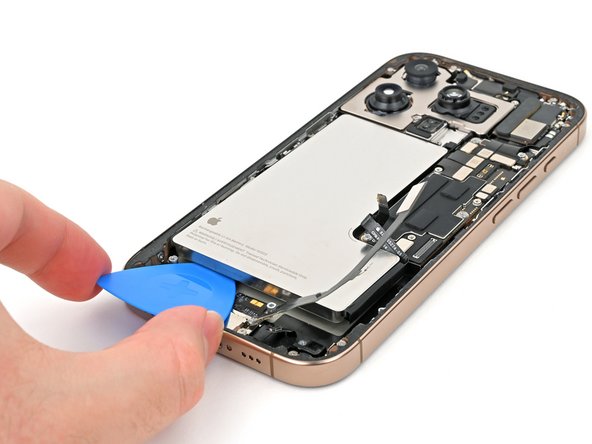
Insert the tip of an opening pick between the bottom of the battery and the frame.
-
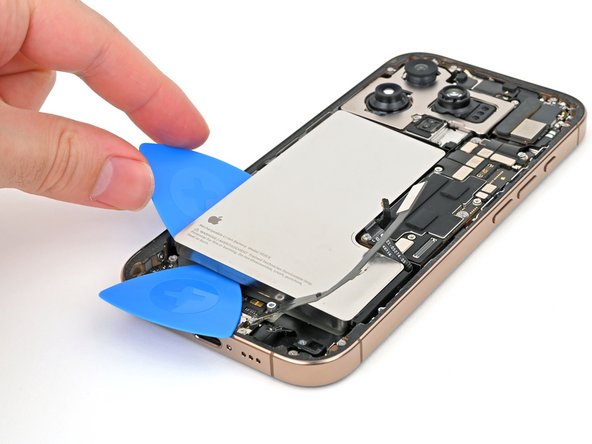
Insert a second opening pick between the left edge of the battery and the frame. Use this pick to pry the battery upwards slowly with steady force. Work your way up the edge of the battery, giving the adhesive time to release.
-
Once the adhesive loosens, grab and remove the battery.
-












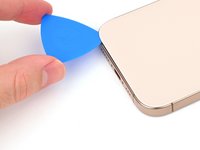
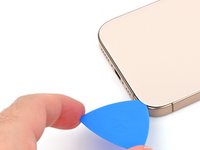


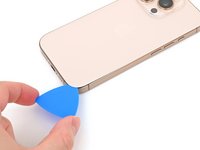
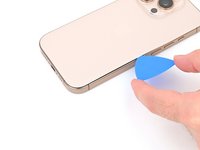


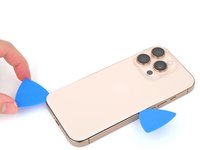
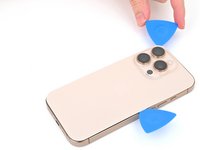


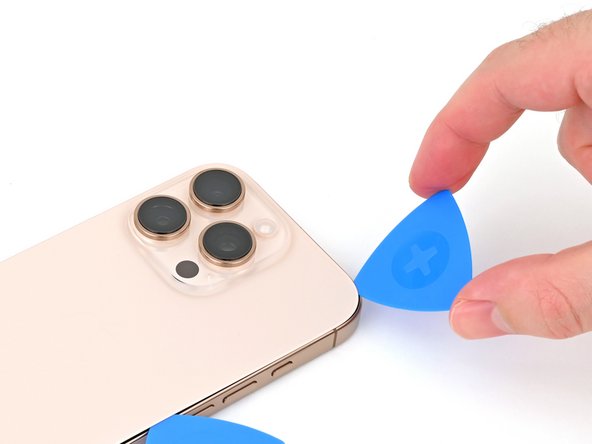
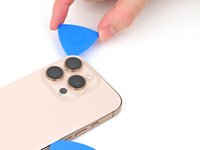





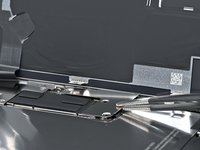
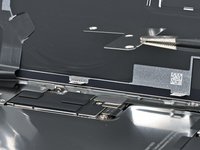


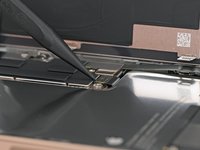
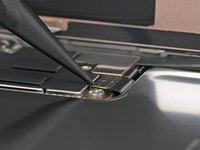



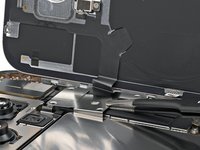
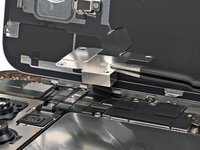

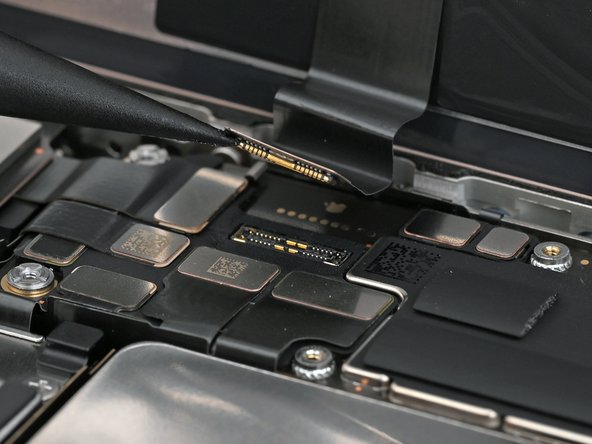

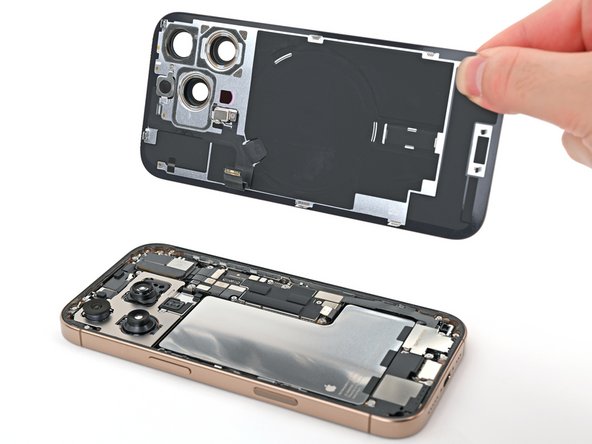





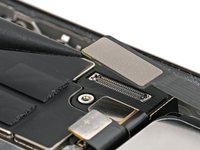


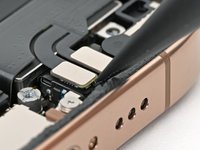
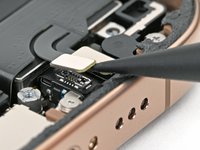
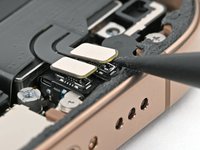

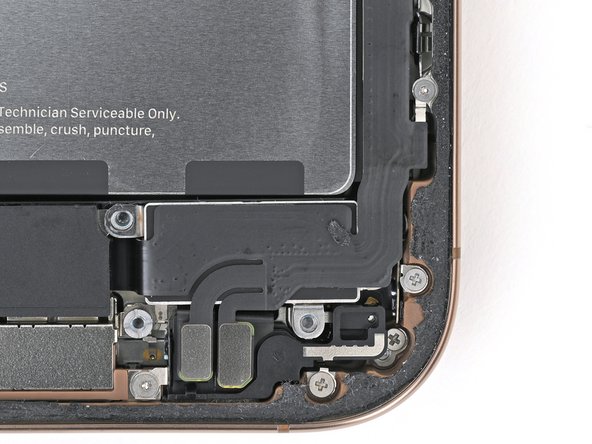





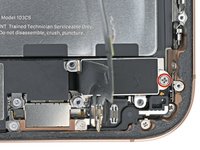
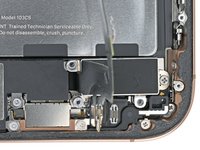

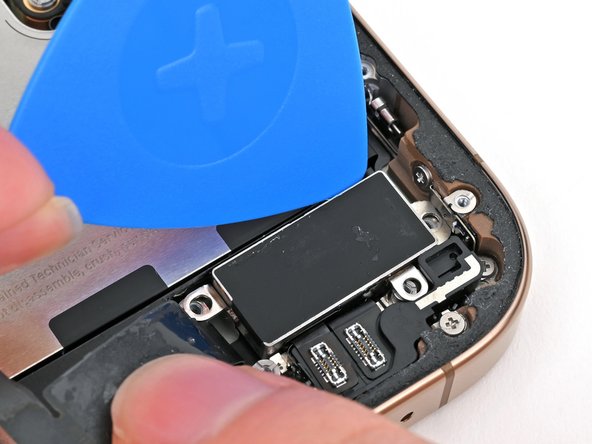
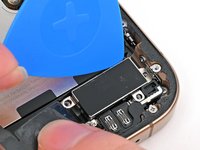


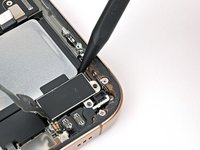
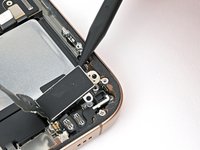
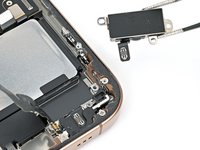

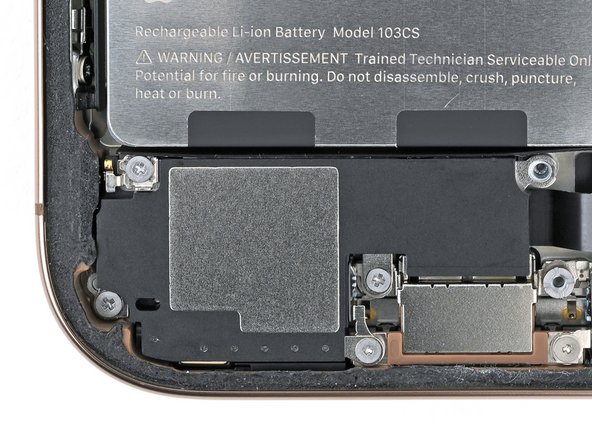


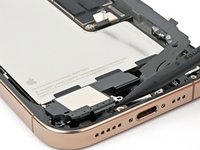
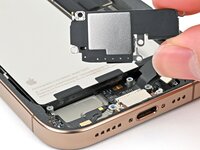


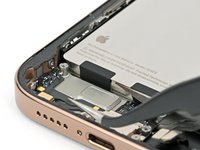
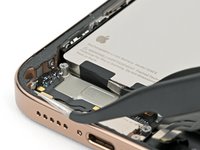




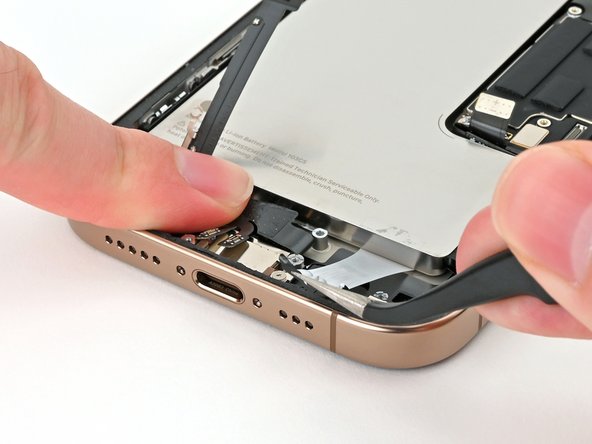

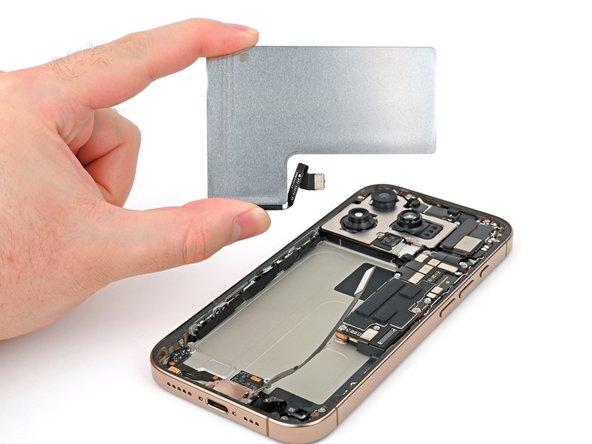


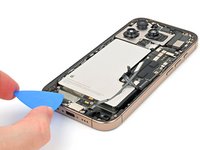
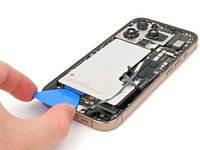
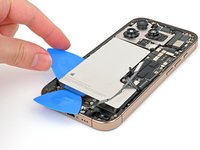
To reassemble your iPhone, follow these instructions in reverse order, starting with this step.
After your repair, run Apple's Repair Assistant. Navigate to Settings → General → About → Parts & Service History, tap Restart & Finish Repair, and follow the onscreen prompts.
Calibrate your newly installed battery after completing this guide.
Take your e-waste to an R2 or e-Stewards certified recycler.
Repair didn’t go as planned? Try some basic troubleshooting, or ask our iPhone 16 Pro Answers community for help.


