What you need
-
-
-
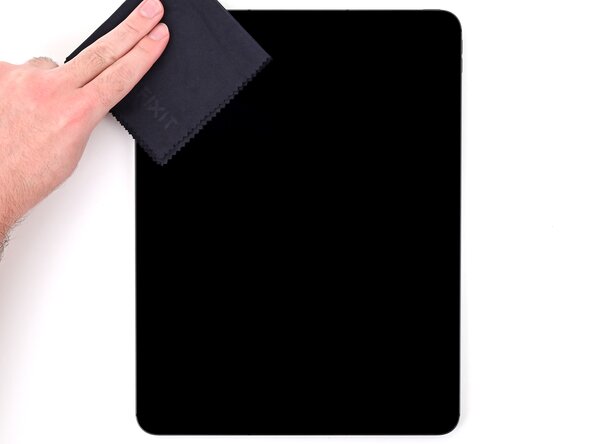
Don't touch the ambient light sensor near the middle of the left edge or TrueDepth camera near the middle of the top edge while cleaning the frame.
-
Use the tip of a spudger to lift a section of adhesive. Look for an edge or overhang where you can get underneath the adhesive strip.
 Ask FixBot
-
-
-
Use tweezers or your fingers to lift and remove the old screen adhesive. Apply a little heat to make the removal easier.
-
-
Tool used on this step:Adhesive Cleanup Kit (Set of 12)$7.99
-
Apply a bit of isopropyl alcohol to a cotton swab or lint-free cloth and clean the frame until it's free of adhesive residue.
-
-
-
Repeat this process to clean the adhesive off the screen bezel.
-
-
-
Align the adhesive with the frame of the iPad. It's easiest to align it above the USB‑C port.
-
-
-
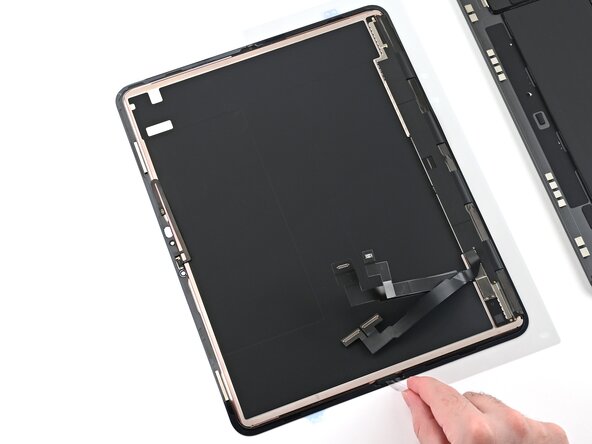
Flip the adhesive over so it's aligned with the back of the screen.
-
-
-
Lift the adhesive off the back of the screen and set it to the side. Keep it in the same orientation as the screen.
-
-
-
Use scissors to cut the adhesive vertically in half. Be careful not to crease or pull the adhesive itself.
-
-
-
Peel and remove the topmost plastic cling layer from the left adhesive strip.
-
-
-
Flip the left adhesive over.
-
Peel the clear liner with the blue line off the back of the left adhesive. The adhesive is now exposed.
-
-
-
Flip the left adhesive and align it to the left edge of the display assembly.
-
Set the left adhesive in place aligned with the left edge of the screen.
-
Press the top and bottom sections of the left adhesive onto the back of the screen.
-
-
-
Remove the clear liner on the left adhesive. Leave the final blue liner in place.
-
-
-
-
Peel and remove the topmost (clear) cling layer from the strip.
-
Peel and remove the bottom liner layer (clear with a blue line) from the strip.
-
-
-
Flip the right adhesive and set it in place, aligned with the right edge of the screen.
-
Press the top and bottom sections of the right adhesive onto the back of the screen.
-
-
-
Remove the clear liner off the right adhesive. Leave the final blue liner in place.
-
-
-
Use the flat end of a spudger to gently press all the adhesive into place around the entire perimeter of the iPad. Be careful not to press on the delicate ribbon cables across the bottom of the screen.
-
-
-
Place a clean cloth over the left battery cell in the iPad.
-
Set the screen on the iPad, so the screen cable connectors can reach their respective sockets in the iPad.
-
-
-
Align one of the display power cable press connectors over its socket on the logic board.
-
Press down with the flat end of a spudger or your fingertip—first on one of the short sides, then the other—until it clicks into place.
-
Repeat this process to connect the second display power cable press connector.
-
-
-
Repeat the same procedure to connect the two remaining display cables.
-
-
-
Set the display connectors cover onto the logic board so it's aligned with its screw holes.
-
-
-
Use a JCIS or JIS 00 screwdriver to install the six screws securing the display connectors cover:
-
Four 2.1 mm‑long screws towards the center of the iPad
-
Two 1.6 mm‑long screws near the edge of the iPad
-
-
-
Use tweezers or your fingers to remove the final, blue liners off the iPad screen adhesive.
-
-
-
Without touching the adhesive, slightly lift the iPad screen and remove the cloth between it and the iPad.
-
-
-
Flip the iPad screen over and set it down at a slight angle on top of the iPad frame.
-
-
-
Hover the top of the screen over the microphone connector's socket on the board.
-
Use the flat end of a spudger or your finger to connect the microphone press connector to its socket on the board (located next to the front camera assembly).
-
-
-
Use tweezers to install the microphone connector cover into its slot beneath the front camera assembly bracket.
-
Set the cover down so it's aligned with its screw hole.
-
-
-
Use a JCIS or JIS 00 screwdriver to install the 1.3 mm‑long screw securing the microphone connector cover.
-
-
-
Carefully align the bottom edge of the screen with the bottom edge of the iPad.
-
Position the screen so it sits into the lip on the edge of the iPad.
-
-
-
Lower the screen into place, ensuring the screen's bottom edge stays flush with the bottom edge of the iPad.
-
-
-
Press down across the bottom edge, then across the entire perimeter of the screen so it sits flush.
-
-
-
To help the adhesive bond, apply heat to all four edges of the screen using an iOpener, hair dryer, or heat gun until it's hot to the touch.
-
-
-
Place the iPad screen-side-down on a soft, flat surface.
-
Apply tape to the back to protect its finish.
-
-
-
Place evenly spaced layers of coins or similarly thick objects on the tape along the edges of the back glass.
-
Stack them to a consistent height taller than the camera bump.
-
-
-
Stack multiple books or other heavy objects on the iPad.
-
Leave the objects in place for at least thirty minutes. The lighter the objects, the longer they should be left. Ideally, leave them stacked overnight.
-
-