Introduction
Follow the steps in this guide to replace the Home Button Assembly, including the gasket and cable, in your iPad Air 2 LTE. Note that home buttons are paired with their respective logic board, so Touch ID will no longer work after you replace the Home Button Assembly.
Parts of this guide were shot with a Wi-Fi model and as such the internals may look slightly different from the LTE model. The procedure is the same for both models except where noted.
Warning: the battery isolation method in this guide is outdated, and may result in irreversible damage to the battery pins of the logic board, effectively destroying it. If you choose to isolate the battery this way, heed all warnings and work extremely carefully. If you choose to complete the guide without isolating the battery, avoid using metal tools except when completely necessary (like when removing screws) to prevent shorting the battery and damaging sensitive circuit components.
What you need
-
-
Fill a pot or pan with enough water to fully submerge an iOpener.
-
Heat the water to a boil. Turn off the heat.
-
Place an iOpener into the hot water for 2-3 minutes. Make sure the iOpener is fully submerged in the water.
-
Use tongs to extract the heated iOpener from the hot water.
-
Thoroughly dry the iOpener with a towel.
-
Your iOpener is ready for use! If you need to reheat the iOpener, heat the water to a boil, turn off the heat, and place the iOpener in the water for 2-3 minutes.
-
-
-
If your display glass is cracked, keep further breakage contained and prevent bodily harm during your repair by taping the glass.
-
Lay overlapping strips of clear packing tape over the iPad's display until the whole face is covered.
-
Do your best to follow the rest of the guide as described. However, once the glass is broken, it will likely continue to crack as you work, and you may need to use a metal prying tool to scoop the glass out.
-
-
-
Elevate the iPad enough for the Anti-Clamp's arms to rest above and below the screen.
-
Pull the blue handle towards the hinge to disengage opening mode.
-
Position the suction cups near the top edge of the iPad—one on the front, and one on the back.
-
Push down on the cups to apply suction to the desired area.
-
-
-
Push the blue handle away from the hinge to engage opening mode.
-
Turn the handle clockwise until you see the cups start to stretch.
-
Wait one minute to give the adhesive a chance to release and present an opening gap.
-
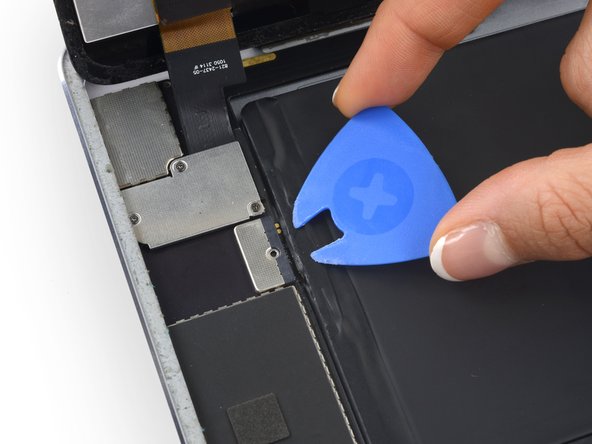
Insert an opening pick under the screen when the Anti-Clamp creates a large enough gap.
-
Skip the next two steps.
-
-
-
-
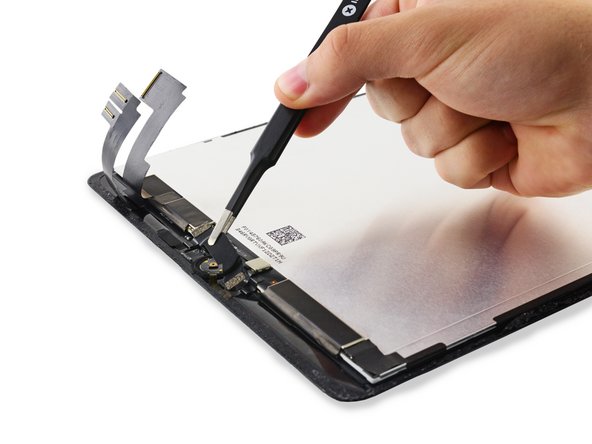
Slide a battery isolation pick underneath the battery connector area of the logic board, and leave it in place while you work.
-
Alternatively, make a battery blocker using a playing card and slide it underneath the logic board connector to disconnect the battery.
-
-
-
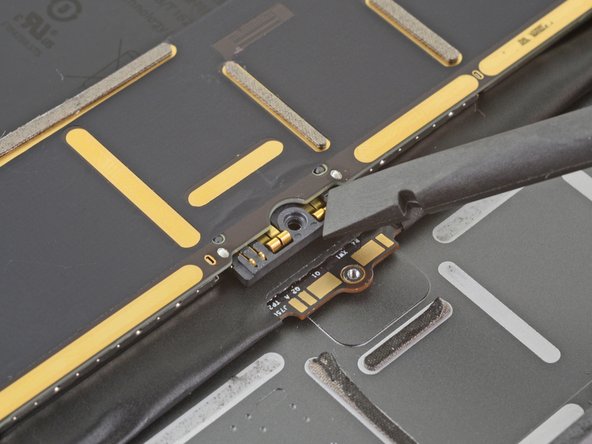
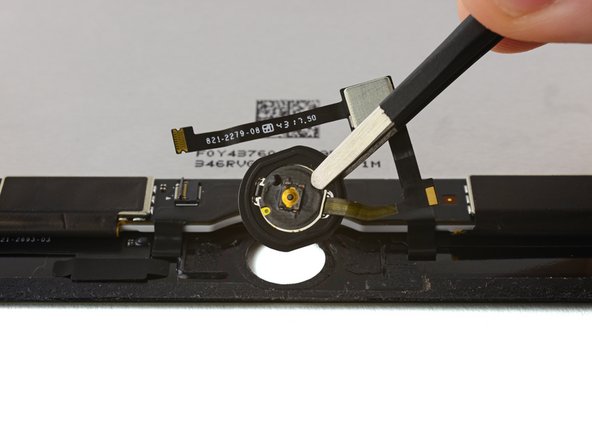
Use a plastic opening tool to pry the bracket off the back of the Home Button.
-
-
-
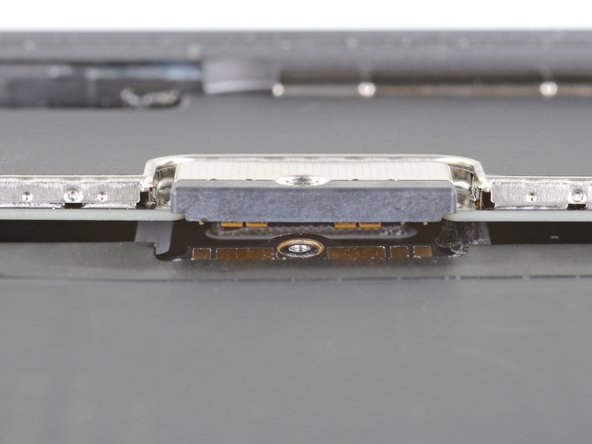
Remove the Home Button bracket and peel up the tape connected to it.
-
Scrape off as much of the old adhesive residue from the bracket as you can, then clean it with acetone or high-concentration (90% or greater) isopropyl alcohol.
-
Secure the bracket with hot-melt glue, superglue, or high-strength double-sided tape. Make sure the bracket is aligned correctly before allowing your adhesive to cure, or the home button will not click when pressed.
-


To reassemble your device, follow these instructions in reverse order.
To reassemble your device, follow these instructions in reverse order.
Cancel: I did not complete this guide.
12 other people completed this guide.

3 Comments
No you don't. You can use any old tape lying around. The tape does not have to be brand new or unopened
I somehow glued the home button to my scrotum. What can I do to release it. I really need help!