Introduction
Use this guide to replace a broken rear glass on your Xiaomi Redmi Note 8T.
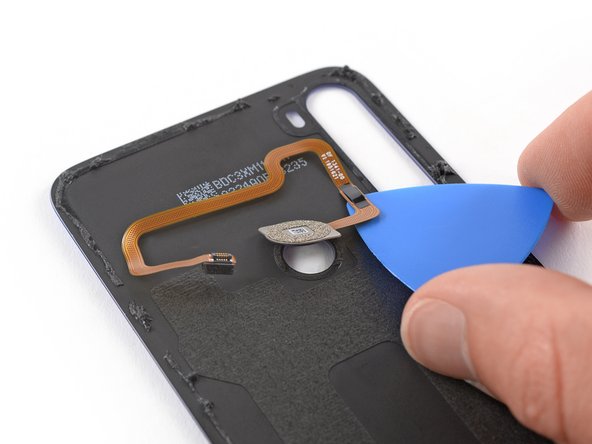
In order to replace the rear glass you need to transfer the finger print reader from your old rear glass to the new one. In case your replacement part has a new fingerprint reader installed this is not necessary.
You’ll need replacement adhesive to reattach components when reassembling the device.
What you need
-
-
Before you begin, switch off your phone.
-
Apply a heated iOpener to the back of the phone to loosen the adhesive beneath the back cover. Apply the iOpener for at least two minutes.
-
-
-
-
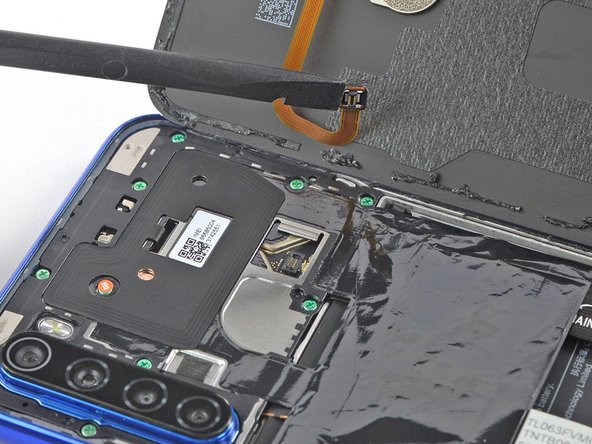
Apply a heated iOpener to the back of the phone where the fingerprint reader is located to loosen the adhesive underneath. Apply the iOpener for at least two minutes.
-


To reassemble your device, follow these instructions in reverse order. Apply new adhesive where necessary after cleaning the relevant areas with isopropyl alcohol (>90%).
Secure the rear glass and the fingerprint reader with pre-cut adhesive or double-sided adhesive tape during reassembly.
Removal didn’t go as planned? Try some basic troubleshooting, or ask our Answers community for help.
Cancel: I did not complete this guide.
7 other people completed this guide.


1 Guide Comment
Hi, I need a tip for buying a Back Glass Cover Adhesive for redmi note 8t. Can anyone help me please?