
Xiaomi Redmi Note 6 Pro Opening Procedure

What you need

  1. Xiaomi Redmi Note 6 Pro Opening Procedure, Eject the SIM tray: step 1, image 1 of 3 Xiaomi Redmi Note 6 Pro Opening Procedure, Eject the SIM tray: step 1, image 2 of 3 Xiaomi Redmi Note 6 Pro Opening Procedure, Eject the SIM tray: step 1, image 3 of 3
    • Insert a SIM card eject tool, a SIM eject bit, or a straightened paper clip into the hole on the SIM tray located at the left edge of the phone.

    • Press directly into the hole to eject the SIM card tray.

    • Remove the SIM card tray.

  2. Xiaomi Redmi Note 6 Pro Opening Procedure, Insert an opening pick: step 2, image 1 of 2 Xiaomi Redmi Note 6 Pro Opening Procedure, Insert an opening pick: step 2, image 2 of 2
    • The back cover is held in place by plastic clips.

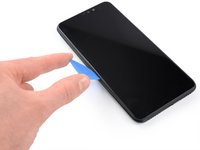
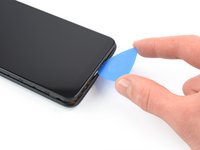
    • Insert an opening pick between the screen and the back cover on the left edge of the phone where the SIM card tray was located.

  3. Xiaomi Redmi Note 6 Pro Opening Procedure, Release the plastic clips: step 3, image 1 of 3 Xiaomi Redmi Note 6 Pro Opening Procedure, Release the plastic clips: step 3, image 2 of 3 Xiaomi Redmi Note 6 Pro Opening Procedure, Release the plastic clips: step 3, image 3 of 3
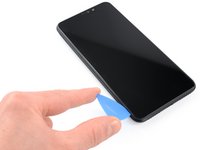
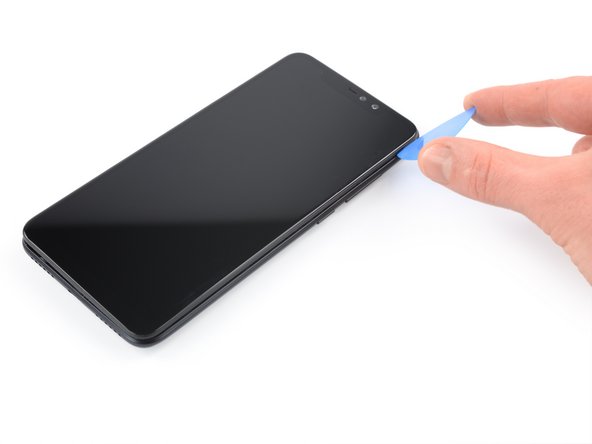
    • Slide the opening pick along the left edge to the bottom left corner to release the plastic clips.

  4. Xiaomi Redmi Note 6 Pro Opening Procedure: step 4, image 1 of 3 Xiaomi Redmi Note 6 Pro Opening Procedure: step 4, image 2 of 3 Xiaomi Redmi Note 6 Pro Opening Procedure: step 4, image 3 of 3
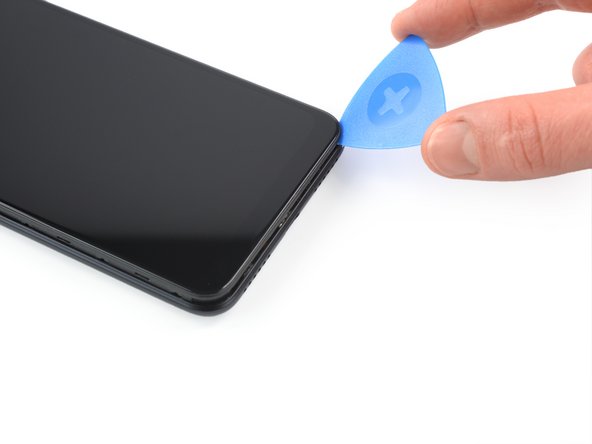
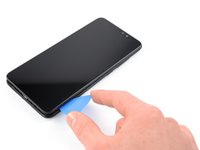
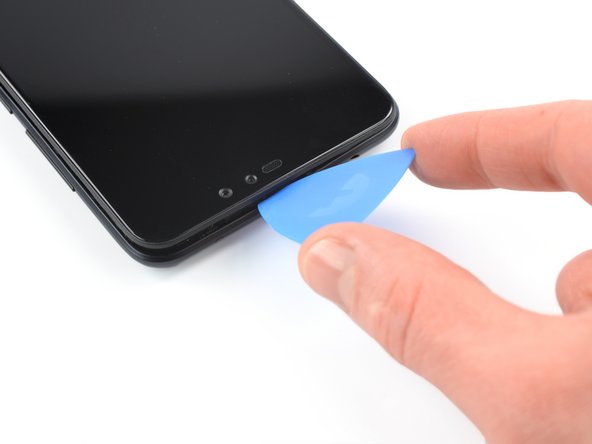
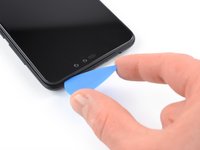
    • Slide the opening pick along the bottom edge to the bottom right corner to release the plastic clips.

  5. Xiaomi Redmi Note 6 Pro Opening Procedure: step 5, image 1 of 3 Xiaomi Redmi Note 6 Pro Opening Procedure: step 5, image 2 of 3 Xiaomi Redmi Note 6 Pro Opening Procedure: step 5, image 3 of 3
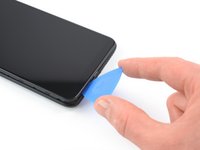
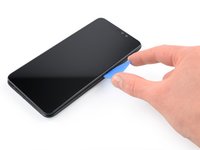
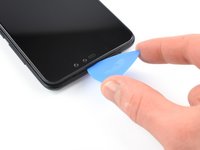
    • Slide the opening pick along the right edge of your phone to the top right corner to release the plastic clips.

  6. Xiaomi Redmi Note 6 Pro Opening Procedure, Release the remaining plastic clips: step 6, image 1 of 3 Xiaomi Redmi Note 6 Pro Opening Procedure, Release the remaining plastic clips: step 6, image 2 of 3 Xiaomi Redmi Note 6 Pro Opening Procedure, Release the remaining plastic clips: step 6, image 3 of 3
    • Slide the opening pick along the top edge to release the remaining plastic clips.

    • Don't try to remove the back cover all the way yet! It's still connected to the motherboard!

  7. Xiaomi Redmi Note 6 Pro Opening Procedure, Swing open the phone assembly: step 7, image 1 of 3 Xiaomi Redmi Note 6 Pro Opening Procedure, Swing open the phone assembly: step 7, image 2 of 3 Xiaomi Redmi Note 6 Pro Opening Procedure, Swing open the phone assembly: step 7, image 3 of 3
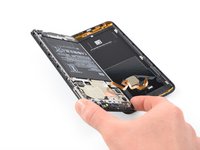
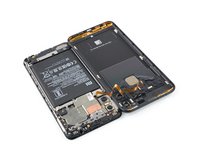
    • Carefully fold the phone assembly to the left side of the back cover like you'd open a book.

  8. Xiaomi Redmi Note 6 Pro Opening Procedure, Unscrew the fingerprint cable connector cover: step 8, image 1 of 1
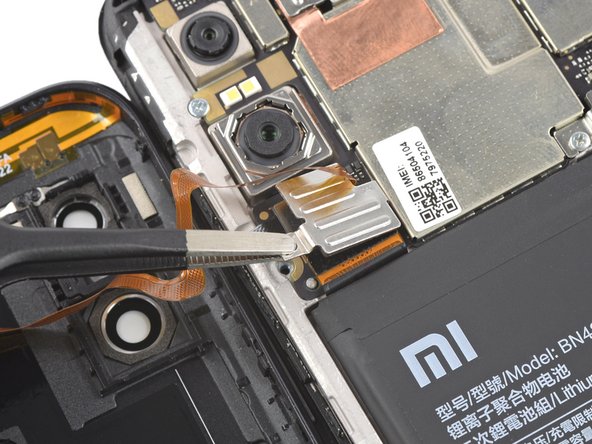
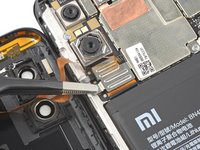
    • Use a Phillips screwdriver to remove the 2.9 mm-long screw securing the fingerprint cable connector cover.

  9. Xiaomi Redmi Note 6 Pro Opening Procedure, Remove the metal cover: step 9, image 1 of 3 Xiaomi Redmi Note 6 Pro Opening Procedure, Remove the metal cover: step 9, image 2 of 3 Xiaomi Redmi Note 6 Pro Opening Procedure, Remove the metal cover: step 9, image 3 of 3
    Tool used on this step:
    Tweezers
    $4.99
    Buy
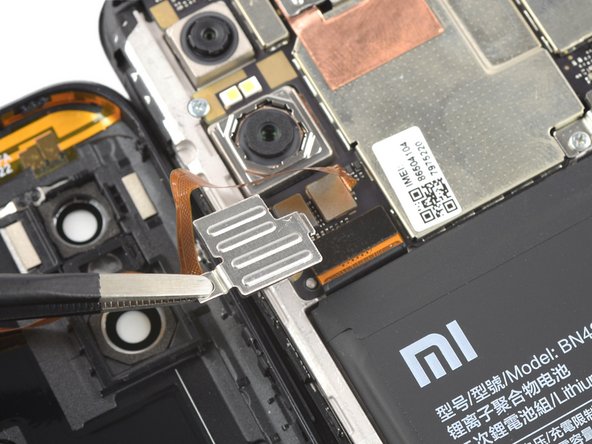
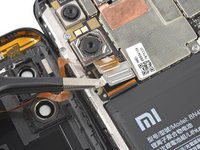
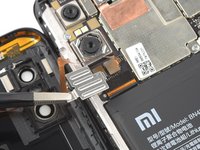
    • Use a pair of blunt nose tweezers to remove the metal cover.

  10. Xiaomi Redmi Note 6 Pro Opening Procedure, Disconnect the fingerprint sensor: step 10, image 1 of 2 Xiaomi Redmi Note 6 Pro Opening Procedure, Disconnect the fingerprint sensor: step 10, image 2 of 2
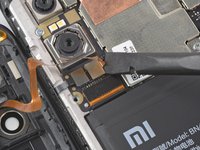
    • Use the flat end of a spudger to disconnect the fingerprint sensor cable.

  11. Xiaomi Redmi Note 6 Pro Opening Procedure, Remove the back cover: step 11, image 1 of 1
    • Remove the back cover.

Conclusion

Compare your new replacement part to the original part. You may need to transfer remaining components or remove adhesive backings from the new part before you install it.

To reassemble your device, follow these instructions in reverse order.

Take your e-waste to an R2 or e-Stewards certified recycler.

Repair didn’t go as planned? Try some basic troubleshooting, or ask our Answers community for help.

Adriana Zwink

Member since: 12/18/19

48,586 Reputation

167 Guides authored

Team

iFixit Member of iFixit

Staff

135 Members

17,277 Guides authored

0 Comments

Add Comment

View Statistics:

Past 24 Hours: 1

Past 7 Days: 11

Past 30 Days: 84

All Time: 1,083