Introduction
This guide will instruct you, step by step, in how to remove and replace the disk drive in your Vaio VGRFS640.
What you need
-
-
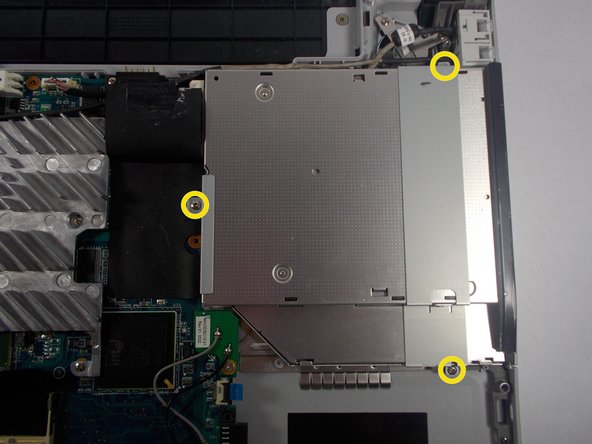
Remove the highlighted screws from the panels in the bottom right-hand corner of the laptop using the Phillips #0 Screwdriver.
-
-
-
Remove the two panels in the bottom right-hand corner by sliding in the direction of the arrows imprinted on the panels.
-
-
-
-
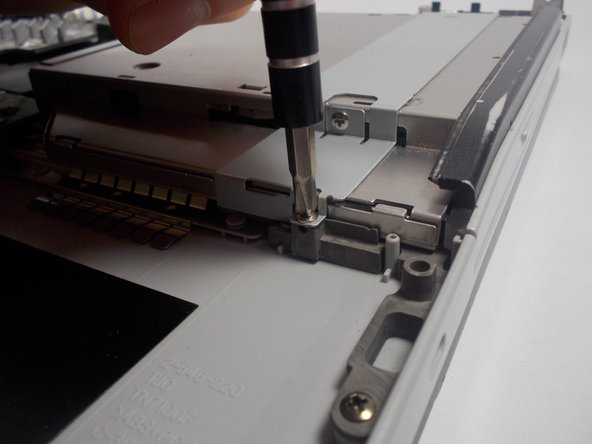
Remove the highlighted screws underneath the removed panels using the Phillips #0 Screwdriver.
-
-
-
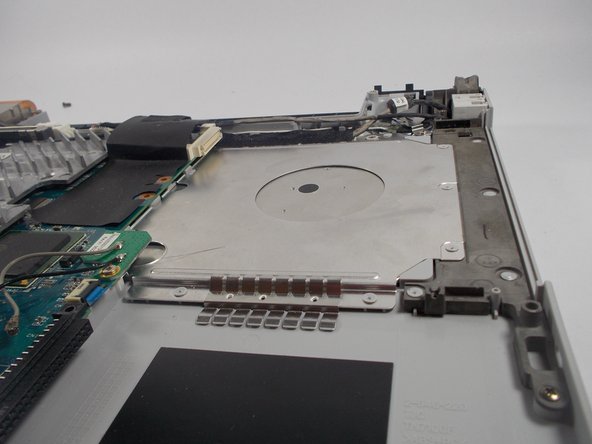
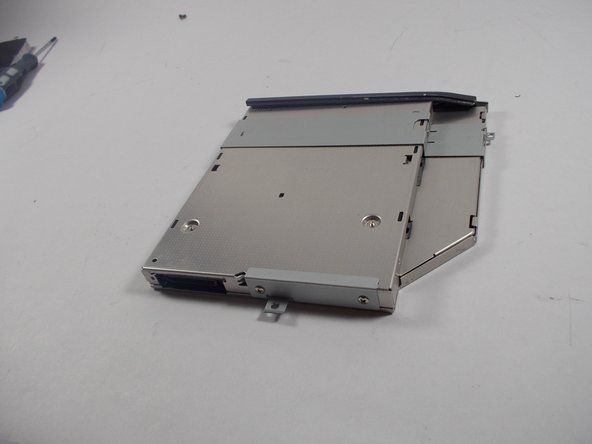
Carefully remove the hard drive from the panel in the bottom right-hand corner of the laptop.
-
-
-
Locate the battery, located on the top side of the laptop to the right of the Service Tag .
-
Remove the battery by pressing inwards on the tabs on either side of the battery.
-


Team

UMass Dartmouth, Team 2-6, Vijaybhaskar Spring 2014 Member of UMass Dartmouth, Team 2-6, Vijaybhaskar Spring 2014
UMASSD-VIJAYBHASKAR-S14S2G6
4 Members
3 Guides authored