What you need
-
-
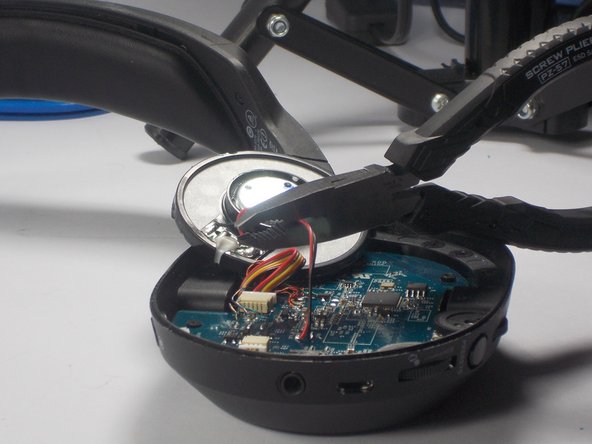
Using metal prying tool, gently slide the tool between the speaker and the blue plastic holder to break up the adhesive.
-
-
-
Depending on how much of the adhesive was able to be removed, you should be able to pry up the speaker assembly using plastic pry tool. If unsuccessful, use metal tool by gently working around speaker using small twisting motions until free.
-
-
-
Using wire cutters, cut the red and black wires connecting the speaker to the circuit board. Be careful to leave at least one inch of wire to use reconnect wires to new speaker.
-
-
-
Use wire strippers to strip a portion of the rubber colored coating on the wires about a quarter inch long from both the wires connected to the circuit board and the two red and blacks wires connected to the new speaker.
-
-
-
-
Twist together the matching pairs of un-shielded copper wire (black on black and red on red) and cover with wire connectors to prevent shorting.
-
-
-
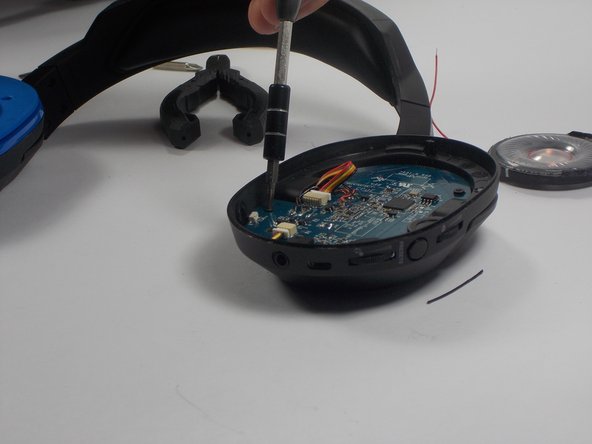
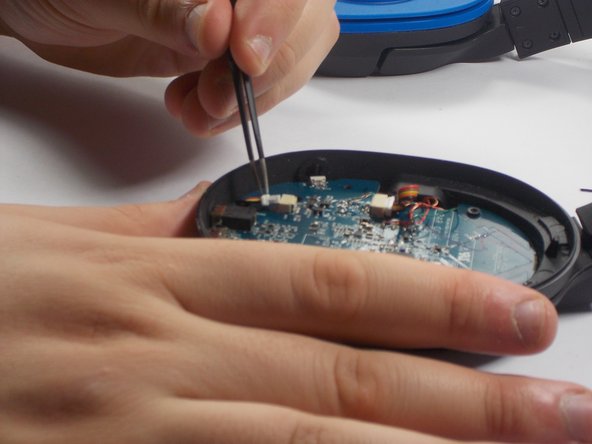
Circuit board will be free to be removed by hand. Use plastic pry tool to slide between casing and circuit board if needed.
-
-
-
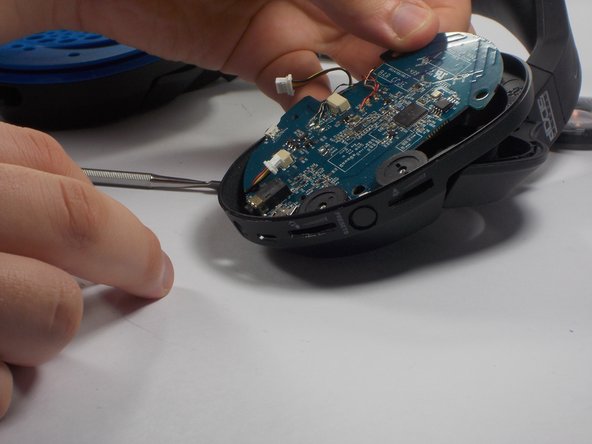
Gently removed and flip over circuit board to reveal battery pack attached to the underside. Careful not to pull out wires running through headband.
-
-
-
Use metal pry tool to slide between battery and circuit board to break up adhesive. Ensure the battery wire connector plug has been removed on front side.
-


Team

UMass Dartmouth, Team 2-3, Shastany Fall 2015 Member of UMass Dartmouth, Team 2-3, Shastany Fall 2015
UMASSD-SHASTANY-F15S2G3
3 Members
10 Guides authored