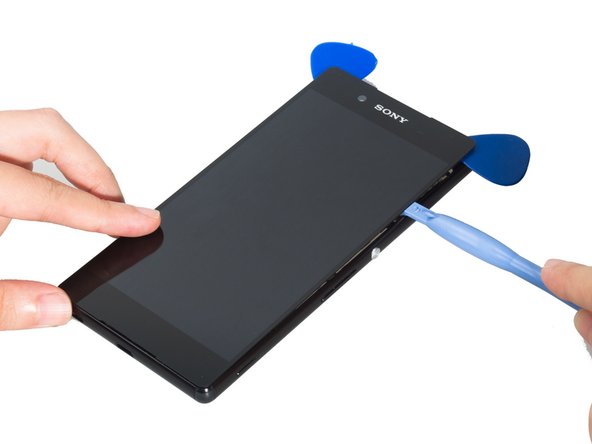
What you need

Video Overview

This teardown is not a repair guide. To repair your Sony Xperia Z4, use our service manual.

  1. Sony Xperia Z4の分解, Sony Xperia Z4の分解: step 1, image 1 of 2 Sony Xperia Z4の分解, Sony Xperia Z4の分解: step 1, image 2 of 2
    • 背面カバーを取り外します。

  2. Sony Xperia Z4の分解: step 2, image 1 of 3 Sony Xperia Z4の分解: step 2, image 2 of 3 Sony Xperia Z4の分解: step 2, image 3 of 3
    • バッテリーを取り外します。

  3. Sony Xperia Z4の分解: step 3, image 1 of 2 Sony Xperia Z4の分解: step 3, image 2 of 2
    • 基板に接続されているすべてのコネクター、ねじを外します。

  4. Sony Xperia Z4の分解: step 4, image 1 of 2 Sony Xperia Z4の分解: step 4, image 2 of 2
    • 小さな固定ブラケットを取り外します。

  5. Sony Xperia Z4の分解: step 5, image 1 of 3 Sony Xperia Z4の分解: step 5, image 2 of 3 Sony Xperia Z4の分解: step 5, image 3 of 3
    • リアカメラとフロントカメラを取り外します。

  6. Sony Xperia Z4の分解: step 6, image 1 of 2 Sony Xperia Z4の分解: step 6, image 2 of 2
    • マザーボードを取り外します。

  7. Sony Xperia Z4の分解: step 7, image 1 of 3 Sony Xperia Z4の分解: step 7, image 2 of 3 Sony Xperia Z4の分解: step 7, image 3 of 3
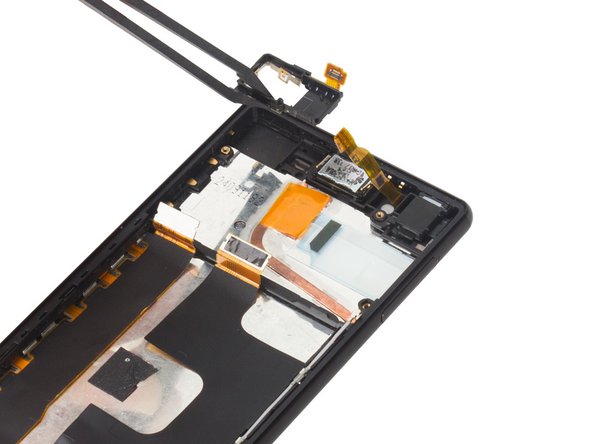
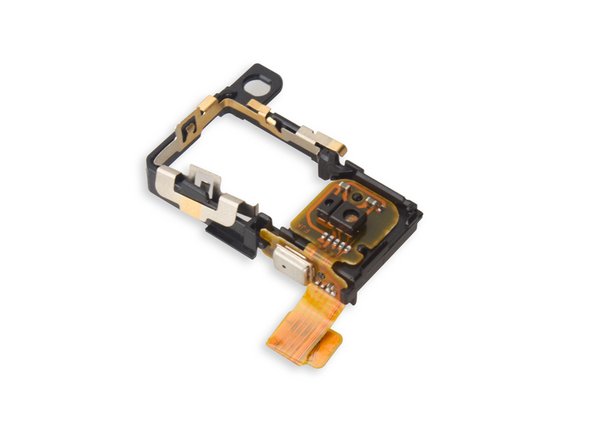
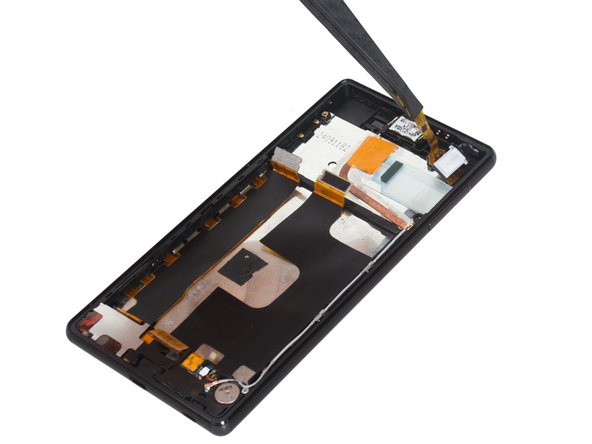
    • センサーのフレックスを取り外します。

  8. Sony Xperia Z4の分解: step 8, image 1 of 3 Sony Xperia Z4の分解: step 8, image 2 of 3 Sony Xperia Z4の分解: step 8, image 3 of 3
    • オーディオジャックのカバーブラケット2個を取り外します。

  9. Sony Xperia Z4の分解: step 9, image 1 of 2 Sony Xperia Z4の分解: step 9, image 2 of 2
    • オーディオジャックの上部にある接着剤を切断し、オーディオジャックアセンブリを取り外します。

  10. Sony Xperia Z4の分解: step 10, image 1 of 1
    • 信号ケーブルを取り外します。

  11. Sony Xperia Z4の分解: step 11, image 1 of 3 Sony Xperia Z4の分解: step 11, image 2 of 3 Sony Xperia Z4の分解: step 11, image 3 of 3
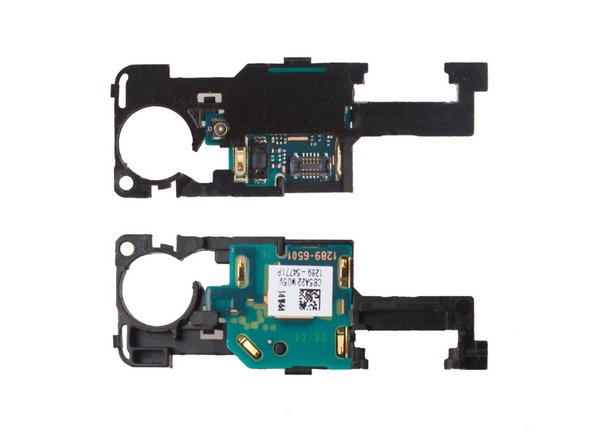
    • アンテナロジックボード上のコネクタの接続を外し、ボードを取り外します。

  12. Sony Xperia Z4の分解: step 12, image 1 of 2 Sony Xperia Z4の分解: step 12, image 2 of 2
    • LCDコネクターを外し、フレックス全体の底を緩めます。

  13. Sony Xperia Z4の分解: step 13, image 1 of 3 Sony Xperia Z4の分解: step 13, image 2 of 3 Sony Xperia Z4の分解: step 13, image 3 of 3
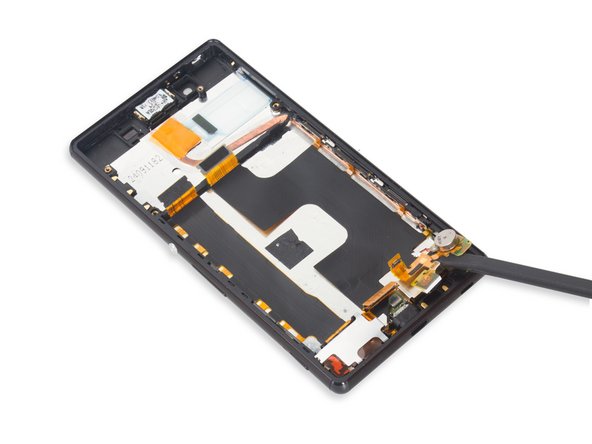
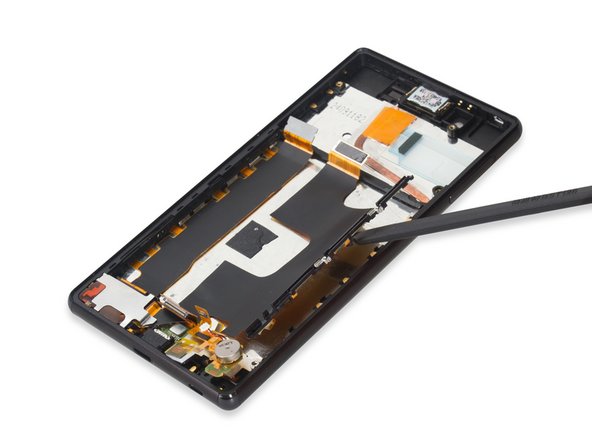
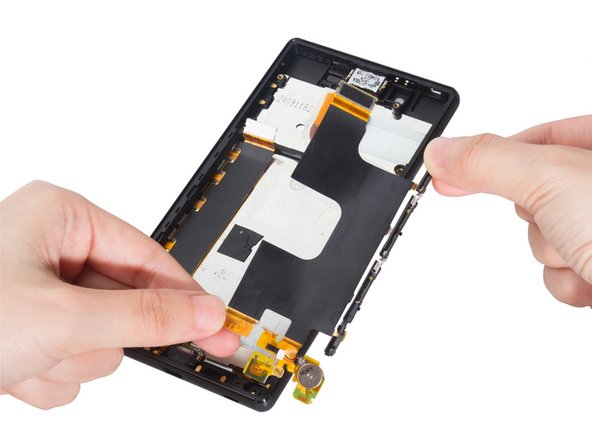
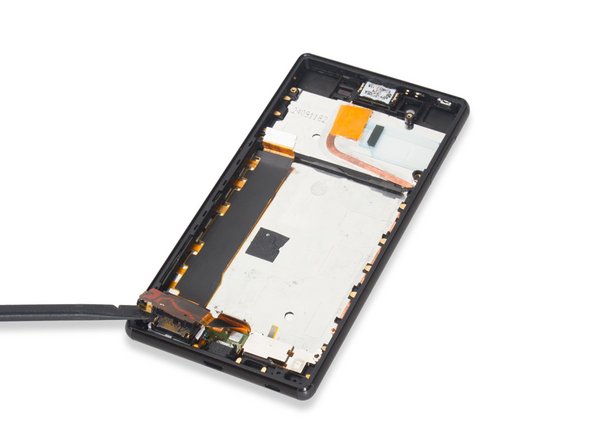
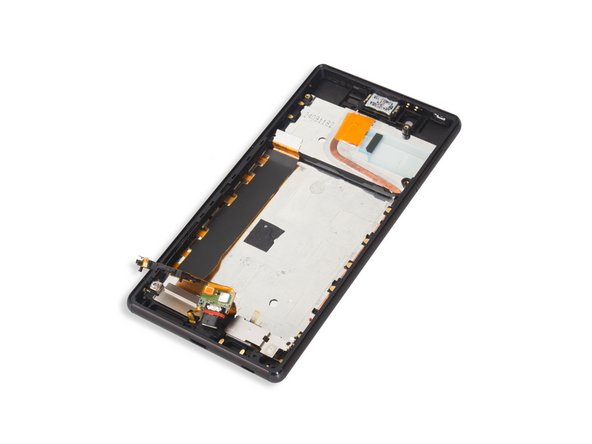
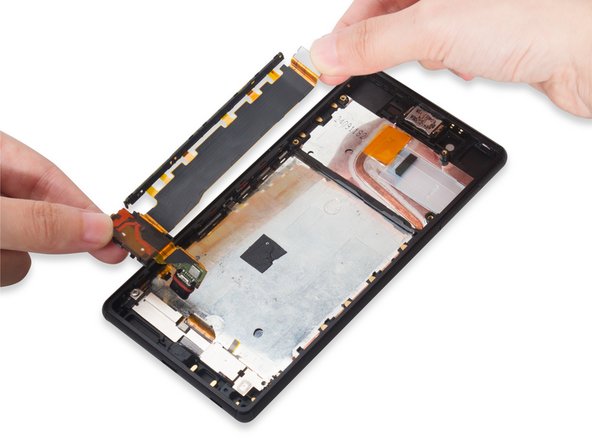
    • メインフレックスを取り外します。

  14. Sony Xperia Z4の分解: step 14, image 1 of 2 Sony Xperia Z4の分解: step 14, image 2 of 2
    • スピーカーを固定しているブラケットを取り外します。

  15. Sony Xperia Z4の分解: step 15, image 1 of 2 Sony Xperia Z4の分解: step 15, image 2 of 2
    • フレックスの下に隠れたスピーカーを取り外します。

  16. Sony Xperia Z4の分解: step 16, image 1 of 2 Sony Xperia Z4の分解: step 16, image 2 of 2
    • USBポートをスロットから押し出します。

  17. Sony Xperia Z4の分解: step 17, image 1 of 2 Sony Xperia Z4の分解: step 17, image 2 of 2
    • USB充電フレックスのアセンブリを取り外します。

  18. Sony Xperia Z4の分解: step 18, image 1 of 2 Sony Xperia Z4の分解: step 18, image 2 of 2
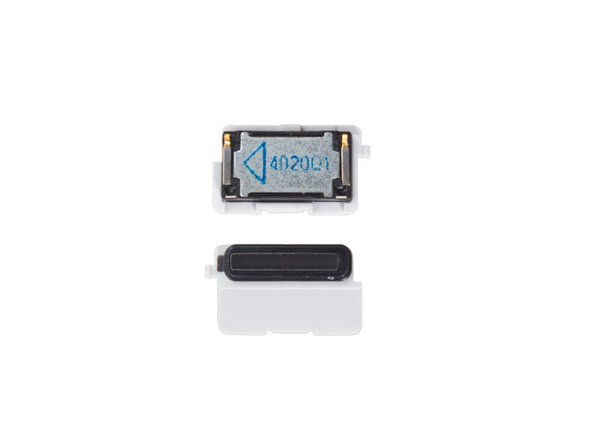
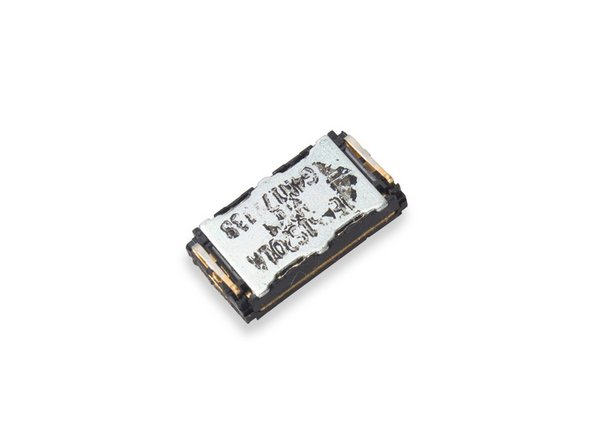
    • イヤースピーカーを取り外します。

  19. Sony Xperia Z4の分解: step 19, image 1 of 2 Sony Xperia Z4の分解: step 19, image 2 of 2
    • スクリーン上の金属ブラケットを取り外します。

  20. Sony Xperia Z4の分解: step 20, image 1 of 3 Sony Xperia Z4の分解: step 20, image 2 of 3 Sony Xperia Z4の分解: step 20, image 3 of 3
    • 注意しながらLCD画面を取り外します。

  21. Sony Xperia Z4の分解: step 21, image 1 of 1
    • 完了。

Special thanks to these translators:

en jp

100%

These translators are helping us fix the world! Want to contribute?
Start translating ›

Sophia

Member since: 03/25/14

43,810 Reputation

62 Guides authored

2 Comments

Is it possible to replace the nylon corners? I've heard it was possible in the previous xperia z devices like z2 and z3. Unfortunately I couldn't find the replacement corners for z3+ or z4 anywhere. Anyone has any idea about it?

Sanket - Reply

Late answer, but it seems like there’s replacement parts for the corners now. I don’t know how to replace them, though.

Farie Indriawan -

Add Comment

View Statistics:

Past 24 Hours: 0

Past 7 Days: 7

Past 30 Days: 51

All Time: 35,786