
PlayStation 5 (2021 revision) Fan Replacement

What you need

  1. PlayStation 5 (2021 revision) Fan Replacement, Remove the stand screw: step 1, image 1 of 1
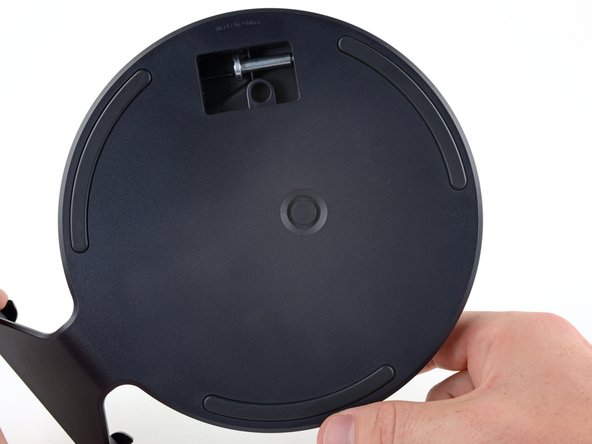
    • If your PlayStation 5 is in its vertical orientation, flip it upside down so the stand is facing up.

    • If your PlayStation 5 is in its horizontal orientation, skip to Step 6.

    • Work on a flat surface to prevent your PlayStation from falling over.

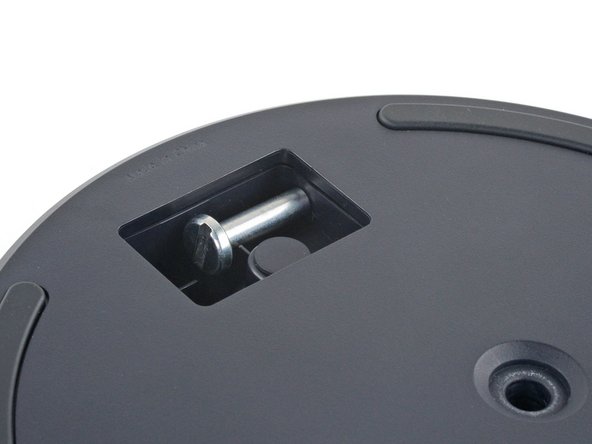
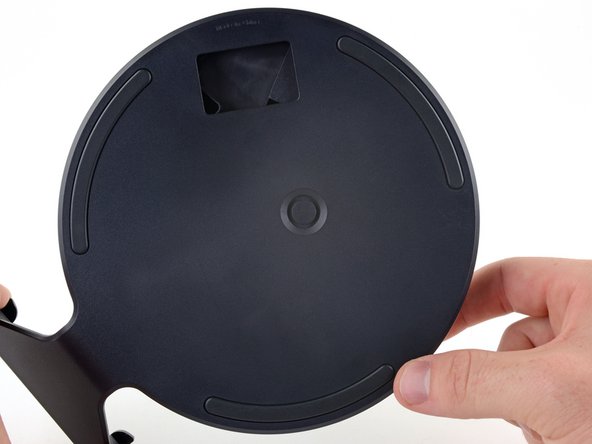
    • Use a coin or a flathead screwdriver to remove the 26.5 mm-long stand screw.

  2. PlayStation 5 (2021 revision) Fan Replacement, Remove the vertical stand: step 2, image 1 of 2 PlayStation 5 (2021 revision) Fan Replacement, Remove the vertical stand: step 2, image 2 of 2
    • Lift straight up to remove the stand.

  3. PlayStation 5 (2021 revision) Fan Replacement, Store the stand screw: step 3, image 1 of 2 PlayStation 5 (2021 revision) Fan Replacement, Store the stand screw: step 3, image 2 of 2
    • Insert the screw into the cubby on the bottom of the stand.

  4. PlayStation 5 (2021 revision) Fan Replacement, Cap the screw hole: step 4, image 1 of 3 PlayStation 5 (2021 revision) Fan Replacement, Cap the screw hole: step 4, image 2 of 3 PlayStation 5 (2021 revision) Fan Replacement, Cap the screw hole: step 4, image 3 of 3
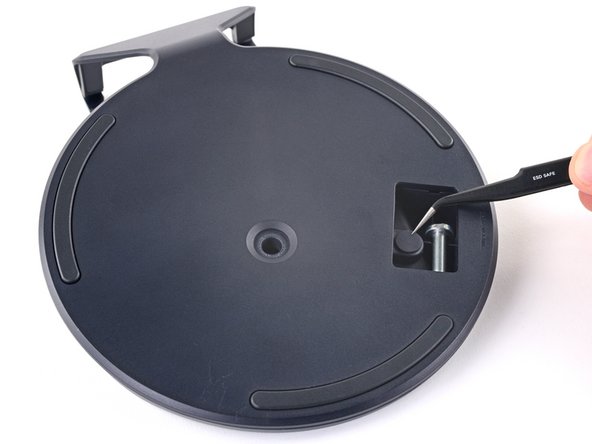
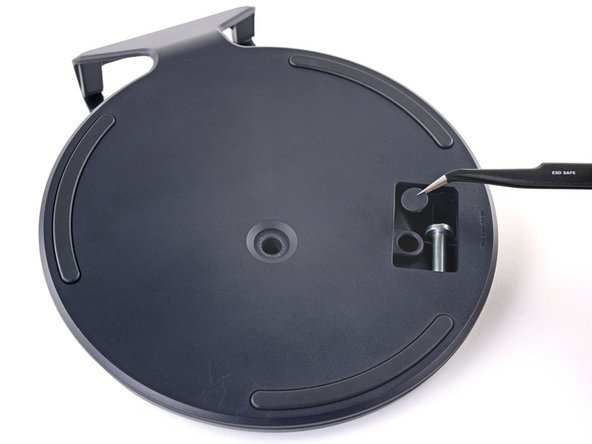
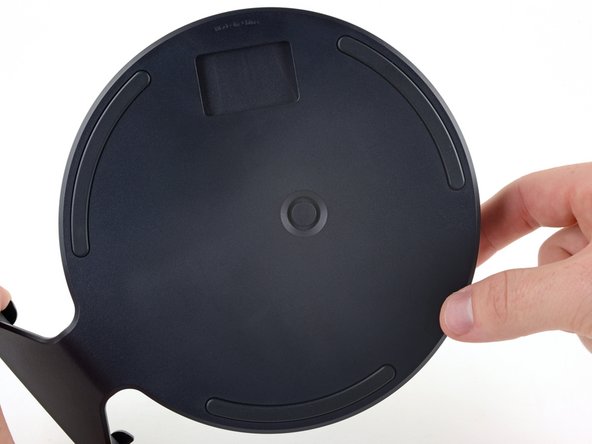
    • Use a pair of tweezers or your fingernail to remove the cap from the cubby.

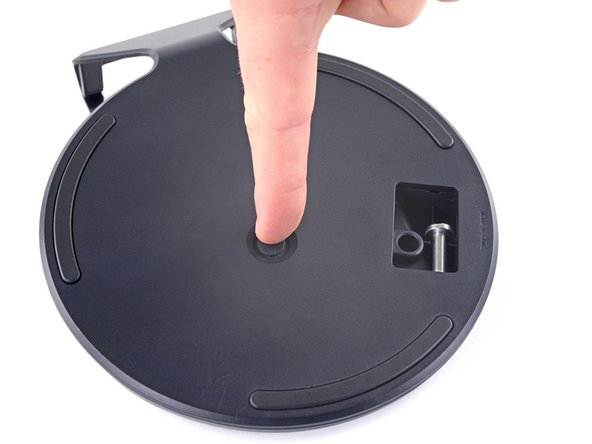
    • Use your finger to press the cap into the screw hole.

  5. PlayStation 5 (2021 revision) Fan Replacement, Close the cubby: step 5, image 1 of 3 PlayStation 5 (2021 revision) Fan Replacement, Close the cubby: step 5, image 2 of 3 PlayStation 5 (2021 revision) Fan Replacement, Close the cubby: step 5, image 3 of 3
    • Twist the stand counterclockwise to close the cubby.

  6. PlayStation 5 (2021 revision) Fan Replacement, Remove the horizontal stand: step 6, image 1 of 2 PlayStation 5 (2021 revision) Fan Replacement, Remove the horizontal stand: step 6, image 2 of 2
    • If your PlayStation 5 is in its horizontal orientation, rest it on its face with the charging port facing up.

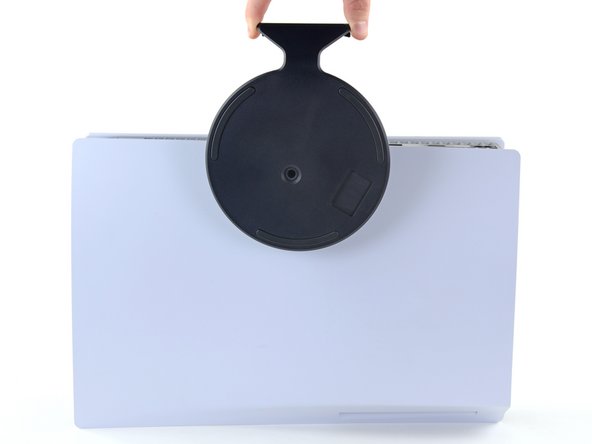
    • Lift the stand straight up to remove it.

    • Flip the device over so that the USB and ethernet ports are on the left side from your perspective.

    • Lift up the corner of the faceplate to unclip it from the case.

Conclusion

To reassemble your device, follow these instructions in reverse order.

Take your e-waste to an R2 or e-Stewards certified recycler.
Repair didn’t go as planned? Try some basic troubleshooting, or ask our PlayStation 5 Answers community for help.

One other person completed this guide.

David Fear

Member since: 09/08/11

4,457 Reputation

8 Guides authored

Team

Pickle IT - Gadget Repair Member of Pickle IT - Gadget Repair

Business

2 Members

14 Guides authored

One Comment

This guide has nothing to do with what its title says - fan replacement.

Obsy - Reply

Add Comment

View Statistics:

Past 24 Hours: 1

Past 7 Days: 12

Past 30 Days: 53

All Time: 442