Free Shipping on Domestic Orders $75+

Pixel 10 Back Glass Installation

Prerequisite Only
This is a prerequisite-only guide! This guide is part of another procedure and isn’t meant to be used alone.

What you need

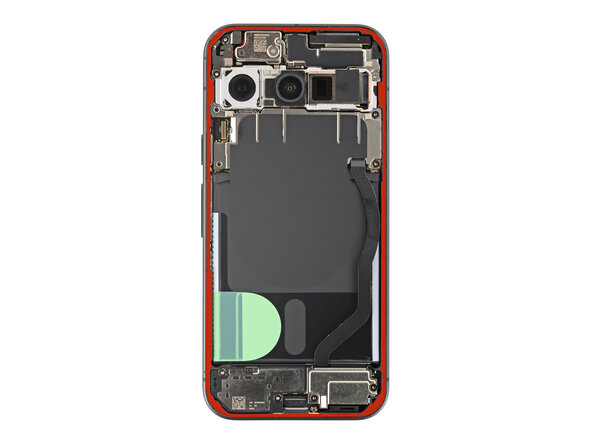
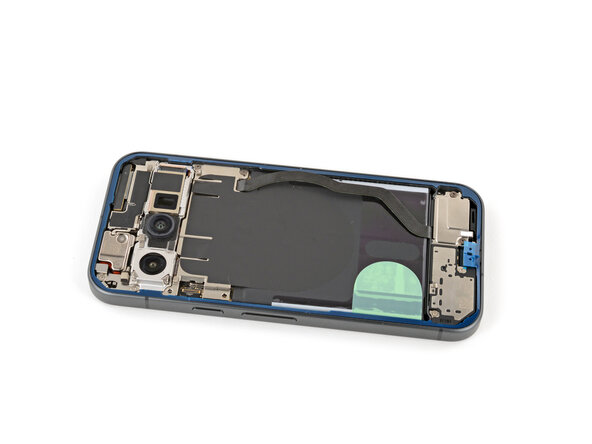
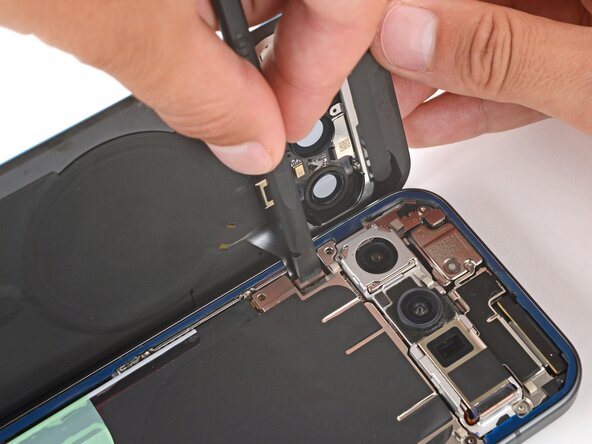
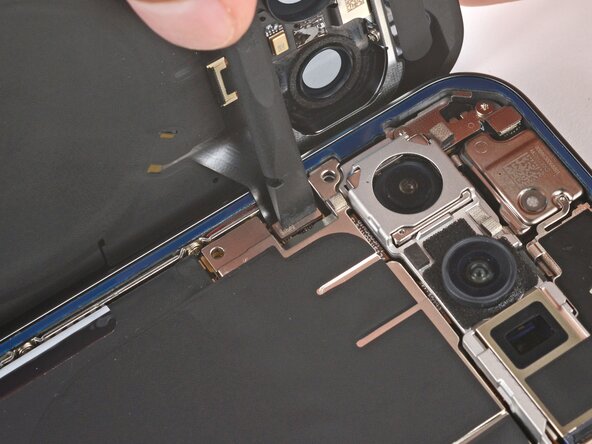
    1. Pixel 10 Back Glass Installation, Remove the old back glass adhesive: step 1, image 1 of 2 Pixel 10 Back Glass Installation, Remove the old back glass adhesive: step 1, image 2 of 2
      • Before installing new adhesive, all the old adhesive and its residue must be completely removed from the frame.

      • Take your time during the next two steps. A clean frame allows replacement adhesive to lay totally flat, ensuring a better seal for your back glass.

      Ask FixBot

      Add Comment

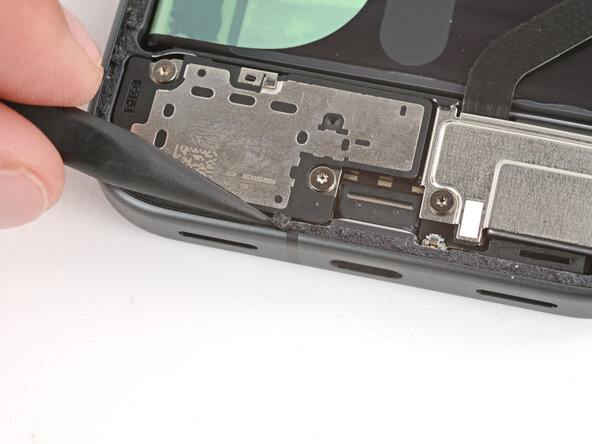
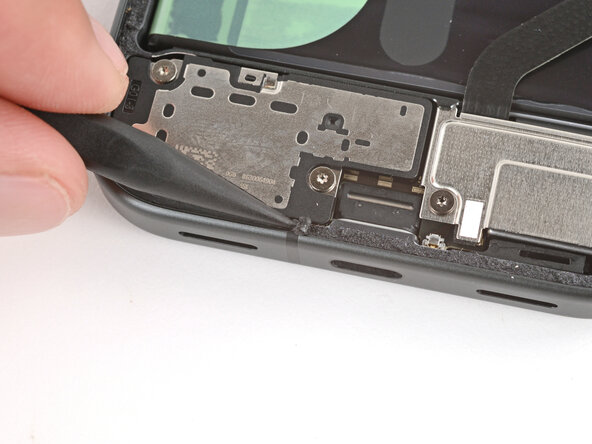
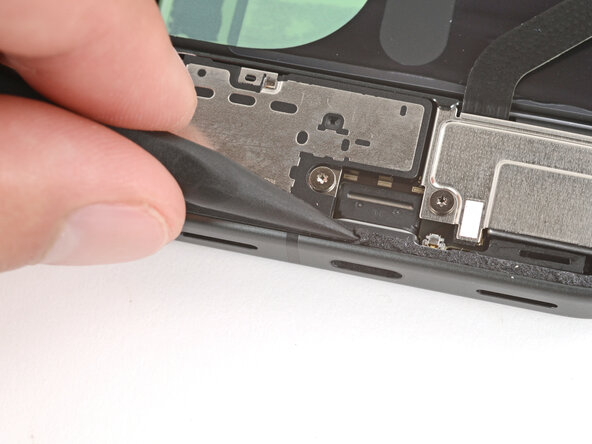
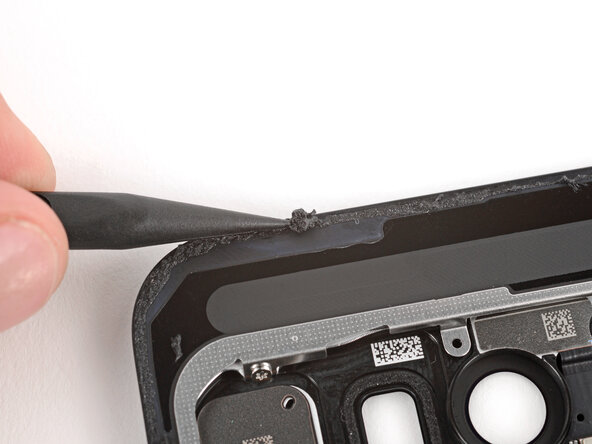
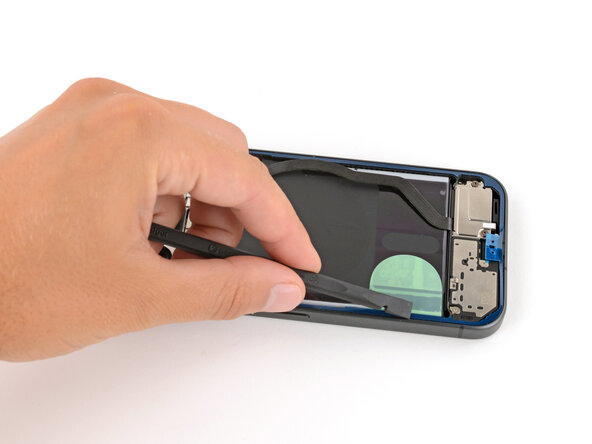
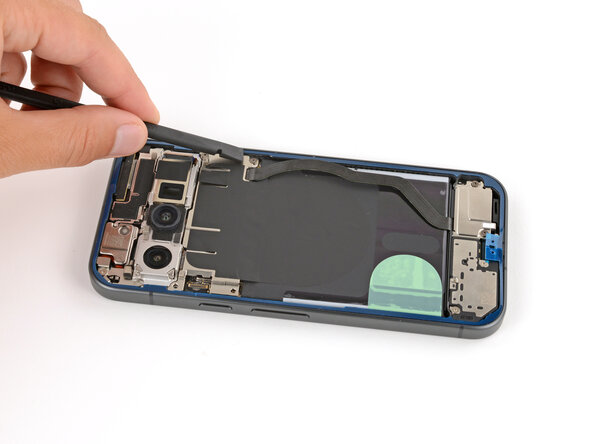
    2. Pixel 10 Back Glass Installation: step 2, image 1 of 3 Pixel 10 Back Glass Installation: step 2, image 2 of 3 Pixel 10 Back Glass Installation: step 2, image 3 of 3
      • Removing all the old adhesive can be very tricky and time‑consuming.

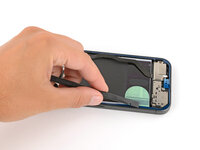
      • When removing the back glass adhesive during this step, be very careful not to damage the battery or any of the fragile components near the perimeter of the frame.

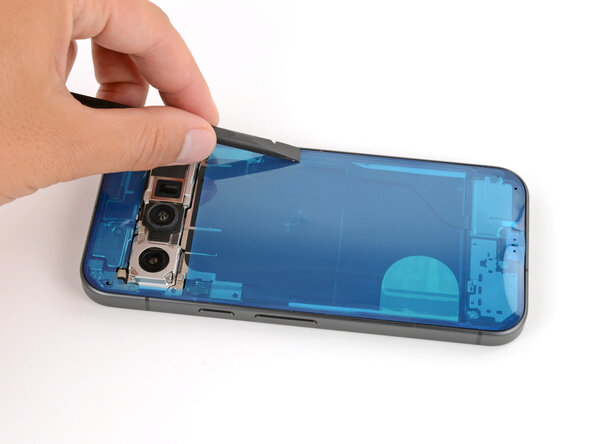
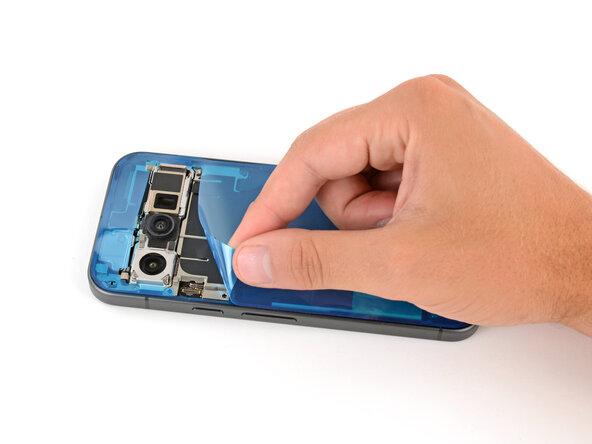
      • Use the point of a spudger to remove all the old screen adhesive from the frame. Try to "roll" the adhesive onto itself so it balls up, making it easier to remove.

      • If you're having trouble removing smaller chunks, apply a single drop of high‑concentration (>90%) isopropyl alcohol and scrape them up with your spudger.

      Ask FixBot

      Add Comment

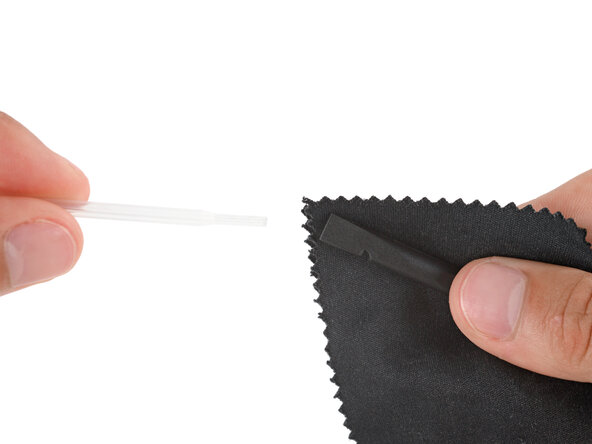
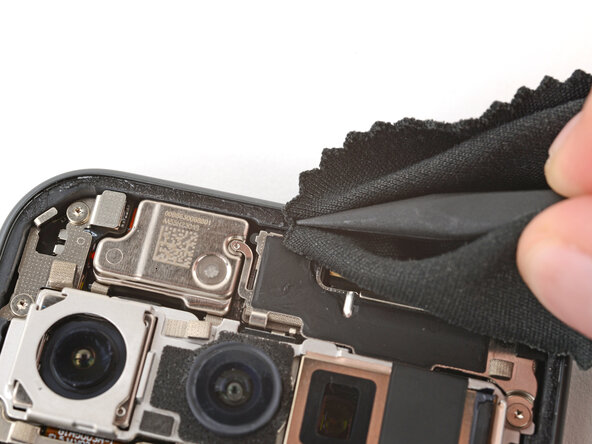
    3. Pixel 10 Back Glass Installation: step 3, image 1 of 2 Pixel 10 Back Glass Installation: step 3, image 2 of 2
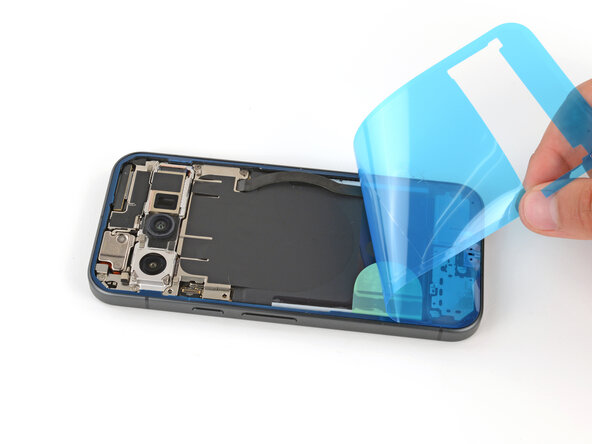
      • Wrap a microfiber or lint‑free cloth around a spudger and apply a single drop of high‑concentration (>90%) isopropyl alcohol to the end.

      • Use the spudger to clean up all the remaining adhesive residue from the frame, applying more drops of alcohol as necessary.

      • Let the alcohol dry completely before continuing.

      Ask FixBot

      Add Comment

    4. Pixel 10 Back Glass Installation: step 4, image 1 of 2 Pixel 10 Back Glass Installation: step 4, image 2 of 2
      • If you're reinstalling your original back glass, repeat the procedures in the previous two steps on the back glass to clean it.

      Ask FixBot

      Add Comment

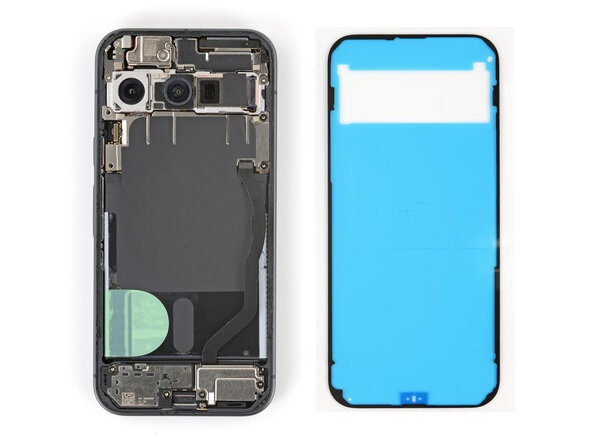
    5. Pixel 10 Back Glass Installation, Orient the adhesive: step 5, image 1 of 2 Pixel 10 Back Glass Installation, Orient the adhesive: step 5, image 2 of 2
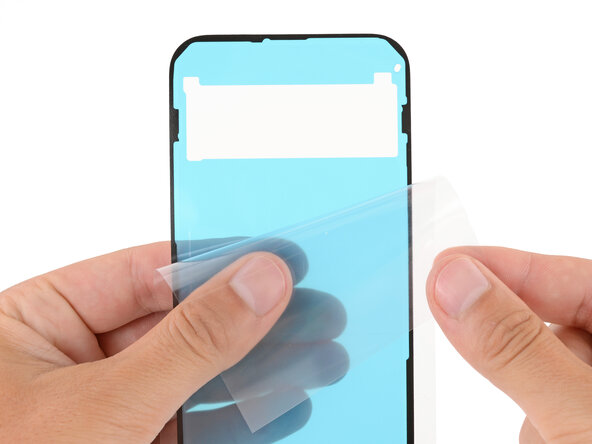
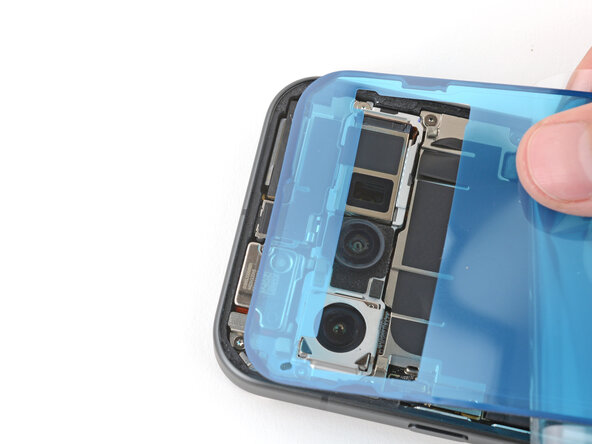
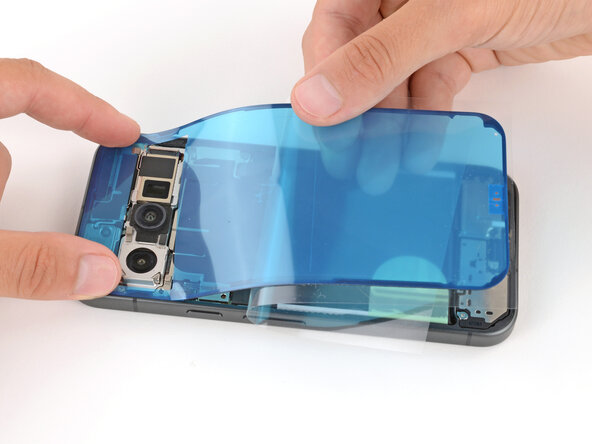
      • Before applying the back glass adhesive, make sure you know how it will sit on the frame. If you apply the adhesive incorrectly, you'll need to restart with new adhesive.

      • Hold the adhesive above the frame to find its orientation. Use the rear camera cutout in the liner to help visualize how it will lay in the frame.

      Ask FixBot

      Add Comment

    6. Pixel 10 Back Glass Installation: step 6, image 1 of 1
      • Peel down the top half of the large, clear liner to expose the adhesive—don't fully remove the liner yet.

      Ask FixBot

      Add Comment

    7. Pixel 10 Back Glass Installation, Install the back glass adhesive: step 7, image 1 of 3 Pixel 10 Back Glass Installation, Install the back glass adhesive: step 7, image 2 of 3 Pixel 10 Back Glass Installation, Install the back glass adhesive: step 7, image 3 of 3
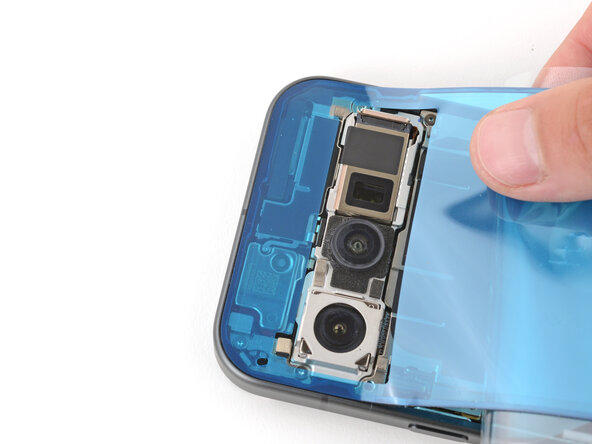
      • Take your time aligning the adhesive with the frame—it's very sticky and can't be moved after you apply it.

      • With the larger, clear liner folded towards the bottom of the phone, lay the exposed top edge of the adhesive onto the frame.

      • Use the lip of the frame to help align the adhesive.

      • Once the top edge is properly aligned, gently press down on the top corners to secure the adhesive.

      Ask FixBot

      Add Comment

    8. Pixel 10 Back Glass Installation: step 8, image 1 of 3 Pixel 10 Back Glass Installation: step 8, image 2 of 3 Pixel 10 Back Glass Installation: step 8, image 3 of 3
      • Slowly lay the rest of the adhesive onto the frame, pressing it into place and peeling away the larger liner as you go.

      Ask FixBot

      Add Comment

    9. Pixel 10 Back Glass Installation: step 9, image 1 of 3 Pixel 10 Back Glass Installation: step 9, image 2 of 3 Pixel 10 Back Glass Installation: step 9, image 3 of 3
      • Use a spudger to press down firmly on the adhesive to secure it to the frame.

      Ask FixBot

      Add Comment

    10. Pixel 10 Back Glass Installation, Remove the larger liner: step 10, image 1 of 3 Pixel 10 Back Glass Installation, Remove the larger liner: step 10, image 2 of 3 Pixel 10 Back Glass Installation, Remove the larger liner: step 10, image 3 of 3
      • Slowly peel up and remove the large colored liner, gripping it from the cutout near the top edge.

      • If the adhesive starts to peel up with the liner, check that you’ve pushed all of it into place with your spudger. If it continues to peel up, hold it down with the point of your spudger as you go.

      Ask FixBot

      Add Comment

    11. Pixel 10 Back Glass Installation: step 11, image 1 of 3 Pixel 10 Back Glass Installation: step 11, image 2 of 3 Pixel 10 Back Glass Installation: step 11, image 3 of 3
      • Use a spudger to press down firmly on the adhesive to secure it to the frame.

      Ask FixBot

      Add Comment

    12. Pixel 10 Back Glass Installation, Remove any liners from the back glass: step 12, image 1 of 2 Pixel 10 Back Glass Installation, Remove any liners from the back glass: step 12, image 2 of 2
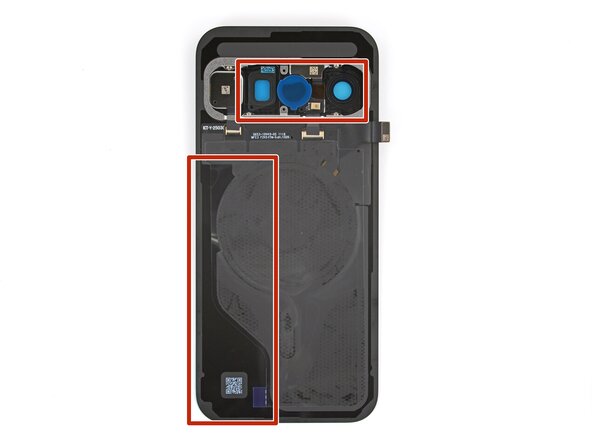
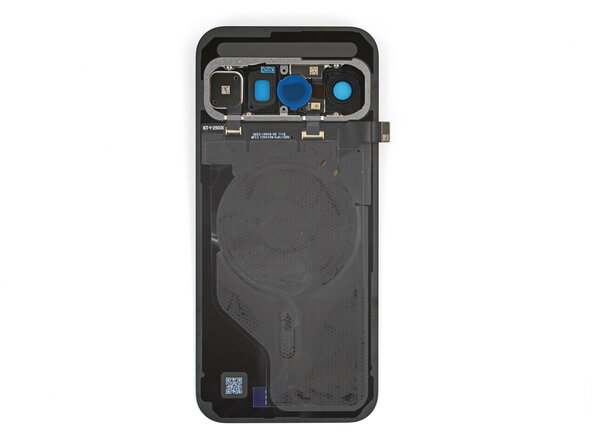
      • If you're installing a new back glass, your replacement will have various protective liners and pieces of tape on the underside that must be removed. Your part may have different pieces in different locations, so make sure to check carefully!

      • Remove all liners from the underside of the back glass, paying special attention to the front camera cutouts and bottom edge.

      • Usually, you can identify the liners by their pull tabs.

      Ask FixBot

      Add Comment

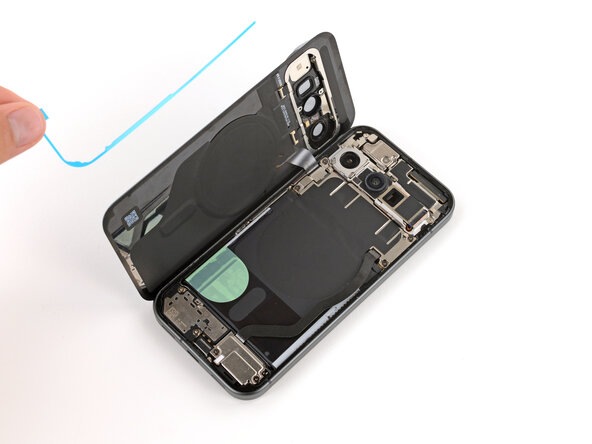
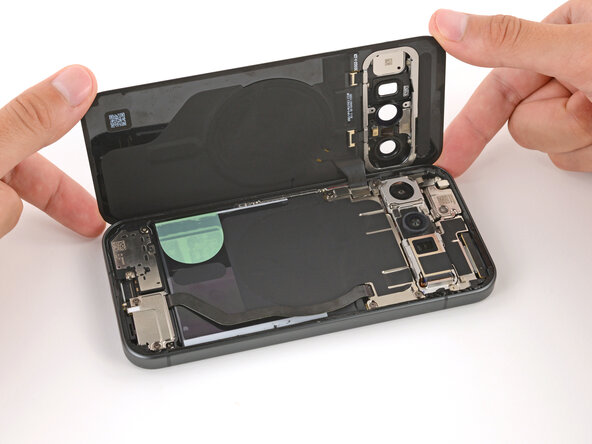
    13. Pixel 10 Back Glass Installation, Prop up the back glass: step 13, image 1 of 1
      • Apply a suction handle to the back glass and prop it up on the left side of your phone, so the cable is near its connector.

      • Alternatively, you can use a sturdy object (such as a stack of books) to prop up the back glass.

      Ask FixBot

      Add Comment

    14. Pixel 10 Back Glass Installation, Connect the back glass cable: step 14, image 1 of 2 Pixel 10 Back Glass Installation, Connect the back glass cable: step 14, image 2 of 2
      • Use the flat end of a spudger to connect the back glass press connector to its socket.

      • This can be tricky, as there's very little play in the cable. Move the back glass as necessary to help, and don't try to force the connector into place—reposition it and try again.

      Ask FixBot

      Add Comment

    15. Pixel 10 Back Glass Installation, Install the bracket: step 15, image 1 of 3 Pixel 10 Back Glass Installation, Install the bracket: step 15, image 2 of 3 Pixel 10 Back Glass Installation, Install the bracket: step 15, image 3 of 3
      • Put the cable's bracket back in place, making sure the tab on the right edge goes under its groove.

      Ask FixBot

      Add Comment

    16. Pixel 10 Back Glass Installation: step 16, image 1 of 2 Pixel 10 Back Glass Installation: step 16, image 2 of 2
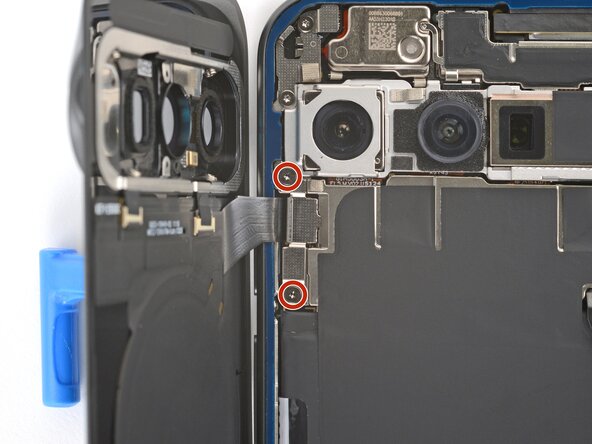
      • Use a Torx Plus 3IP screwdriver to install the two 5.0 mm‑long screws securing the bracket.

      • This is a good point to power on your device and test all functions before sealing it up. If you have trouble, try some basic troubleshooting. Be sure to power back down completely before you continue working.

      Ask FixBot

      Add Comment

    17. Pixel 10 Back Glass Installation, Remove the remaining liners: step 17, image 1 of 3 Pixel 10 Back Glass Installation, Remove the remaining liners: step 17, image 2 of 3 Pixel 10 Back Glass Installation, Remove the remaining liners: step 17, image 3 of 3
      • Remove the remaining liners from the back glass adhesive.

      • If the adhesive starts to peel up with the liner, check that you’ve pushed all of it into place with your spudger. If it continues to peel up, hold it down with the point of your spudger as you go.

      Ask FixBot

      Add Comment

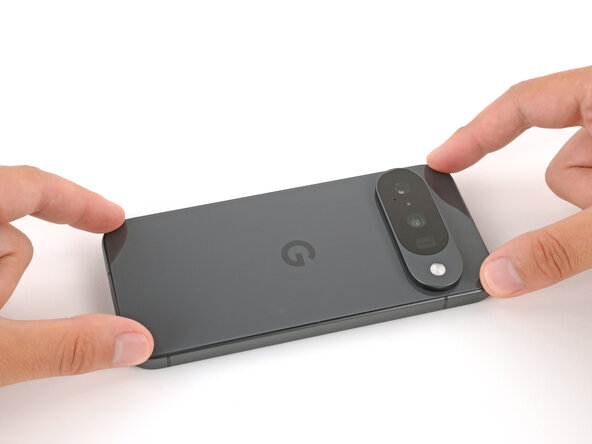
    18. Pixel 10 Back Glass Installation, Install the back glass: step 18, image 1 of 3 Pixel 10 Back Glass Installation, Install the back glass: step 18, image 2 of 3 Pixel 10 Back Glass Installation, Install the back glass: step 18, image 3 of 3
      • Flip the back glass onto the frame and press it firmly into place.

      • Hold your phone up and squeeze firmly around the perimeter to strengthen the bond.

      • For an even stronger bond, you can stack books on the back glass or use screen vise clamps.

      Ask FixBot

      Add Comment

Finish Line

Cancel: I did not complete this guide.

Spencer Day

Member since: 09/14/22

205,851 Reputation

1,267 Guides authored

0 Guide Comments

Add Comment

View Statistics:

Past 24 Hours: 0

Past 7 Days: 1

Past 30 Days: 9

All Time: 138