Introduction
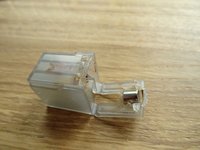
The magnet for the water level sensor floats up in the water tank and switches off the machine when there is no water in it. This magnet is always in the water and corrodes over the years. The sensor then no longer works and the status LED flashes quickly, even though there is water. Now it's time to replace the magnet.
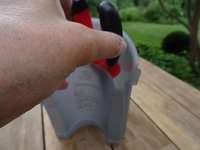
To make the repair much easier, you can make yourself a Mounting tool for the retaining clip with a 3D printer.
What you need
-
-
Lift off the small lid on top of the water tank.
-
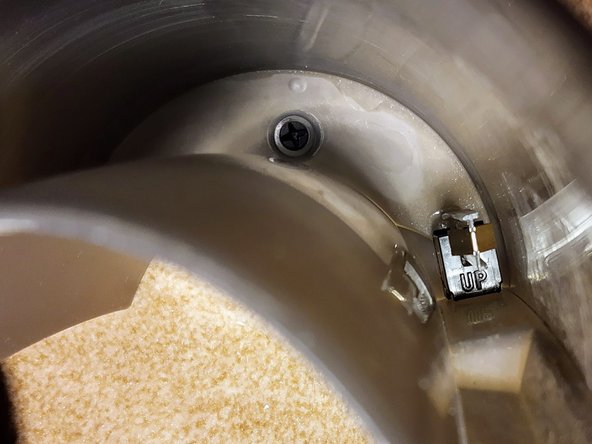
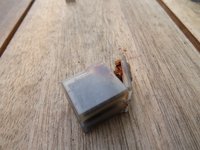
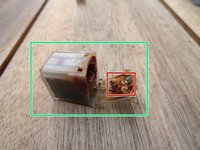
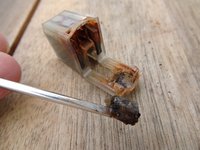
The magnet in the float bowl can be seen from above.
-
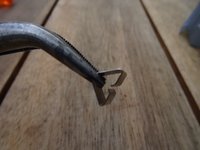
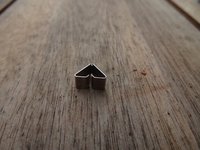
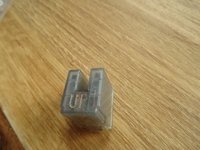
The float is secured by a metal clip.
-
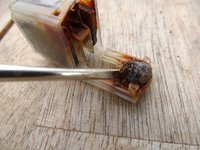
The metal clamp is placed from above in the center of the plastic bar inside the container and must be pulled up.
-
It may also be possible to loosen the clamp by turning the container upside down and hitting it on a firm surface. The weight of the magnet will pull the clamp up.
-
-
-
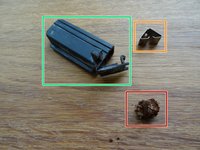
Use needle nose pliers (or the mounting tool) to pull out the clip.
-
The water tank is very narrow, so it takes effort and patience to get to the clip. The clip may break, then you will have to secure the magnet later, e.g. with a dab of hot glue.
-
It may also be possible to insert the clip roughly using the needle nose pliers. A wooden chopstick can be used to press it down into its final, locked position. However, the force must be applied exactly in the centre of the pointed part of the clip.
-
-


Follow the steps in reverse order to reassemble your device.
Cancel: I did not complete this guide.
9 other people completed this guide.
Special thanks to these translators:
100%


These translators are helping us fix the world! Want to contribute?
Start translating ›
6 Guide Comments
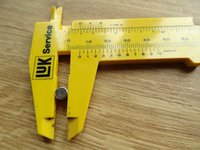
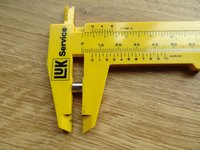
Thanks for the tutorial. You can also use a magnet with a 5mm diameter — in my case, I used two 5x3 magnets. It's a bit loose, but it still works. By the way, there's also a tool available for removing the clip that you can 3D print yourself.
https://www.thingiverse.com/thing:214888...
(I am not the creator of this Tool)
@florianh67306 Thank you for the link. The tool was unknown to me - until now. I will use it for sure!
VauWeh -