Introduction
Follow this guide to remove and replace the Windows Hello face authentication camera on a Microsoft Surface Pro X.
Warning: Make sure to remove the SSD from the Surface before starting any repairs. This will disconnect the battery and prevent damage to the Surface.
For this repair, you’ll need to apply new thermal paste to the CPU during reassembly. Make sure you have new thermal paste and either high-concentration isopropyl alcohol or a specialized thermal paste cleaner.
For your safety, discharge the battery below 25% before disassembling your Surface. This reduces the risk of a dangerous thermal event if the battery is accidentally damaged during the repair. If your battery is swollen, take appropriate precautions.
What you need
-
-
-
Lift the kickstand to at least a 90° angle, so that it is perpendicular to the Surface's screen. The further you open the hinge, the easier it is to access the SSD and SIM card door.
 Ask FixBot
-
-
-
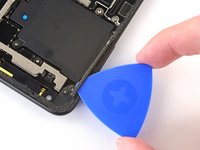
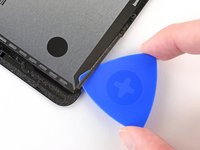
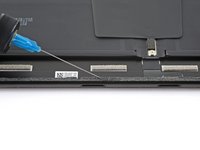
Insert a SIM card eject tool or a paperclip into the small hole in the bottom right corner of the SSD and SIM card door, located near the bottom right corner of the Surface.
-
Press firmly to open the door.
-
-
-
Lift the SSD and SIM card door and remove it from the Surface.
-
-
-
-
-
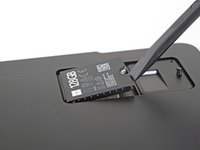
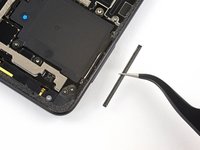
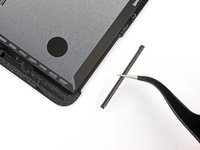
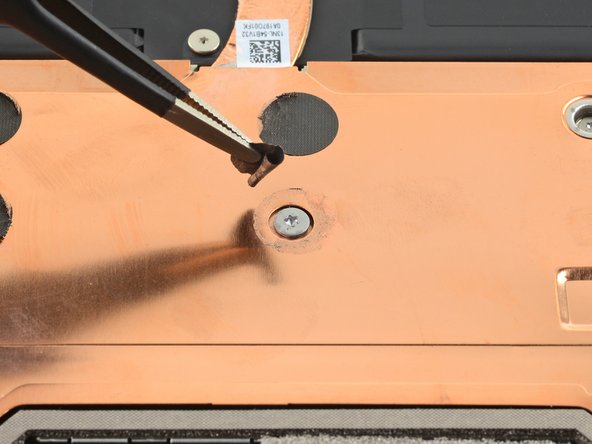
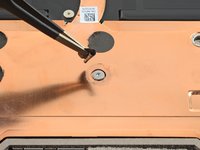
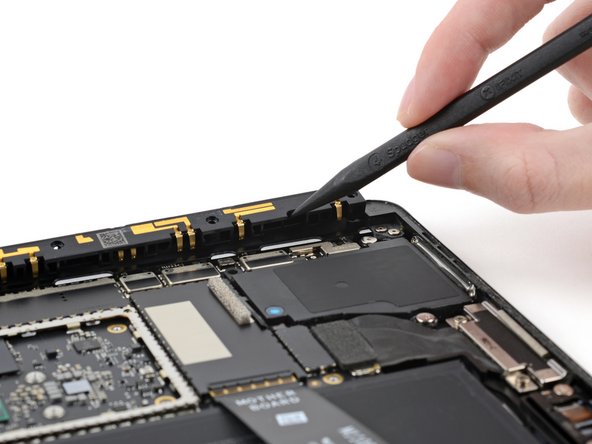
Use a T3 Torx screwdriver to remove the 2.4 mm screw securing the SSD.
-
-
-
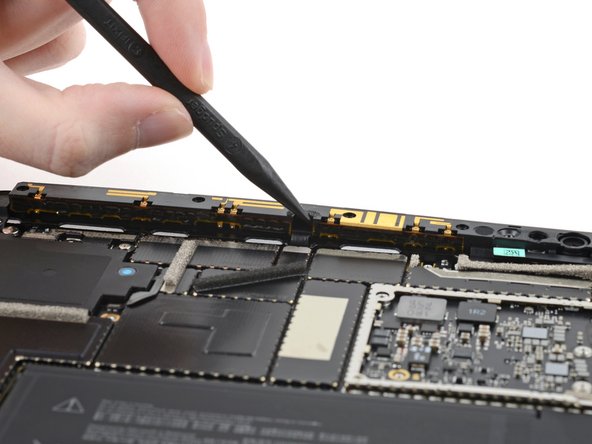
Use your finger or a spudger to lift the SSD just enough that it clears the edges of its recess.
-
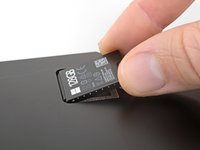
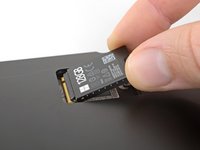
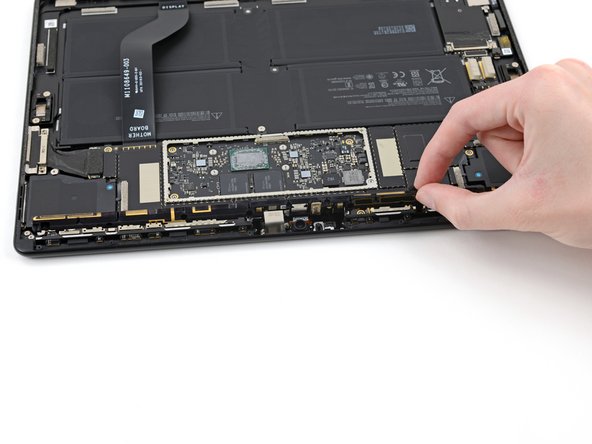
Gently pull the SSD straight out of its socket.
-
-
-
-
-
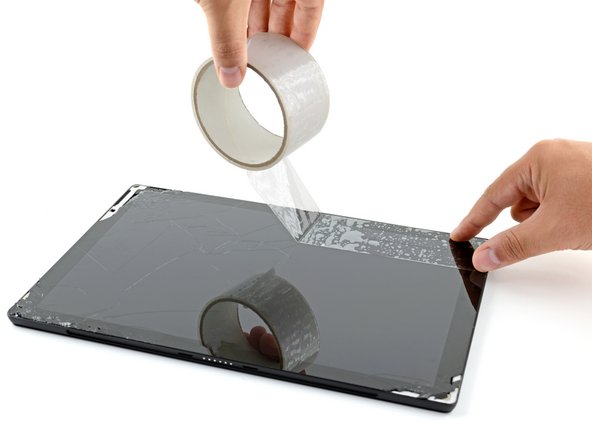
If your display glass is cracked, keep further breakage contained and prevent bodily harm during your repair by taping the glass.
-
Lay overlapping strips of clear packing tape over the Surface’s display until the whole face is covered.
-
Do your best to follow the rest of the guide as described. However, once the glass is broken, it will likely continue to crack as you work, and you may need to use a metal prying tool to scoop the glass out.
-
-
-
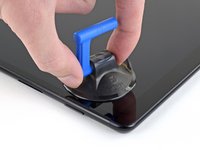
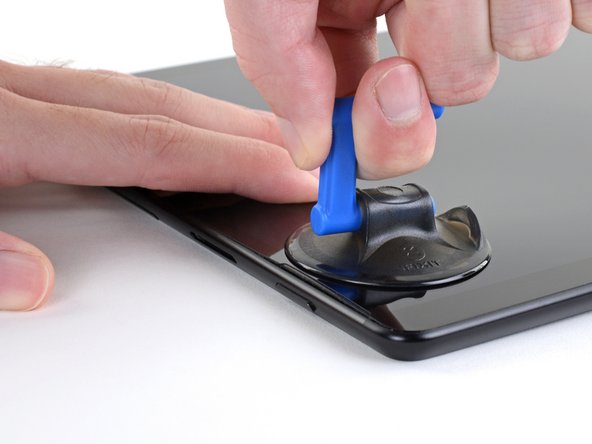
Place your tablet on your work surface so that the screen is facing up.
-
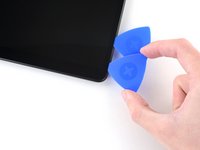
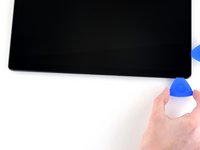
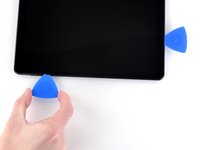
Apply a suction cup to the screen next to the right speaker grille.
-
-
-
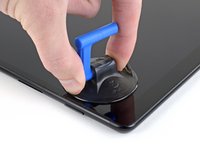
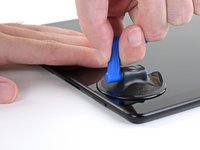
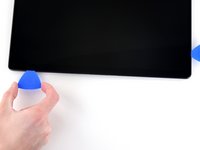
Place your hand on the screen next to the suction cup to secure the Surface while you lift up the screen.
-
-
-
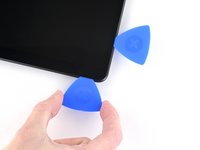
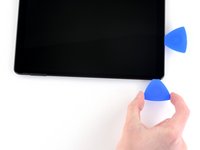
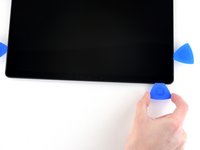
Lift up on the suction cup to create a gap between the screen and the frame.
-
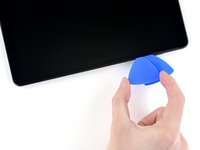
Insert an opening pick about 2 mm into the gap. Leave the opening pick in the gap to prevent it from resealing.
-
-
-
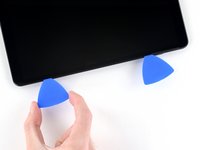
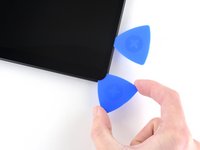
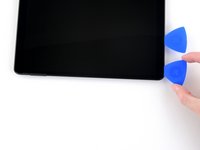
Insert a second opening pick into the gap between the screen and the frame.
-
Slide the pick down the right edge of the Surface to slice through the adhesive under the screen.
-
Leave this opening pick in the right edge to prevent the adhesive from resealing.
-
-
-
Insert a third opening pick into the bottom right corner and slide it around the corner toward the bottom edge.
-
-
-
Slide the pick along the bottom edge of the Surface to cut through the screen adhesive.
-
Leave this pick in the bottom edge to prevent the adhesive from resealing.
-
-
-
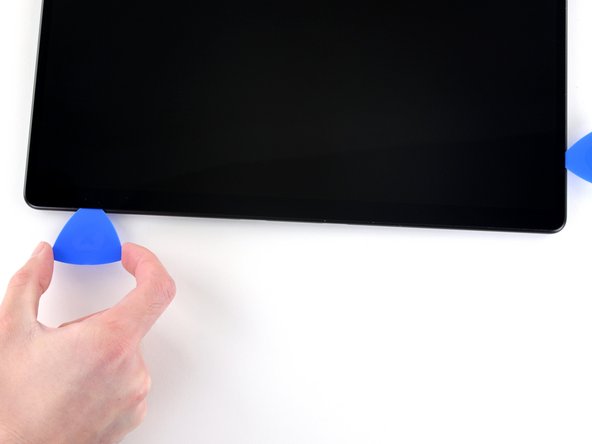
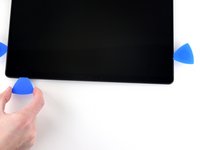
Insert a fourth opening pick into the bottom left corner and slide it around the corner toward the left edge.
-
Slide the pick along the left edge of the Surface to cut through the screen adhesive.
-
Leave this pick in the left edge to prevent the adhesive from resealing.
-
-
-
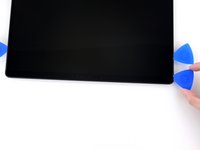
Insert a fifth opening pick into the top left corner and slide it around the corner toward the top edge.
-
Slide the pick along the top edge of the Surface to cut through the screen adhesive.
-
-
-
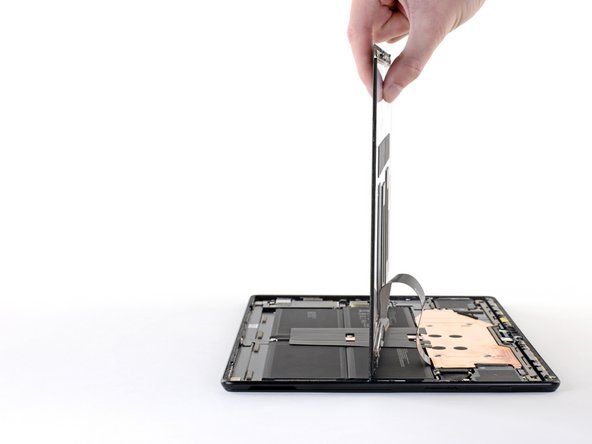
Lift up the top edge of the screen so that it is at a 30° angle with the frame.
-
Rotate the screen so that its bottom edge is in the middle of the frame. The screen should be perpendicular to the frame.
-
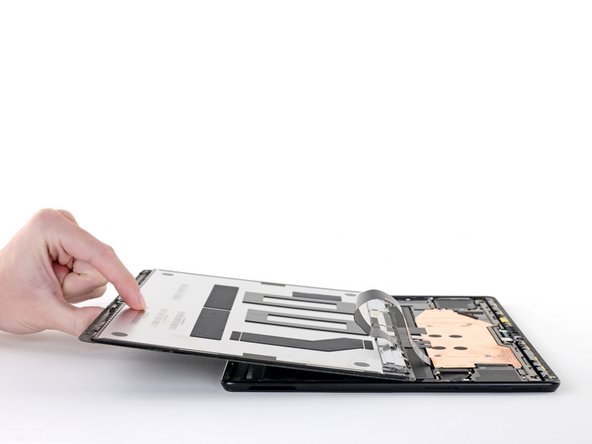
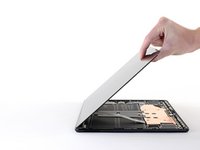
Rotate the screen 90° so that it is facing down. Place the screen on the frame.
-
-
-
-
Tool used on this step:Tweezers$4.99
-
Lift up the corner to detach it from the screen.
-
-
-
-
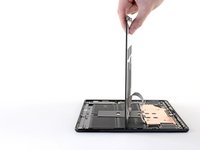
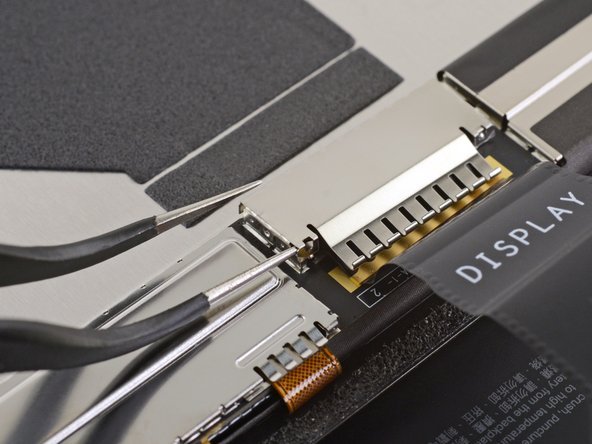
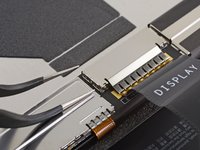
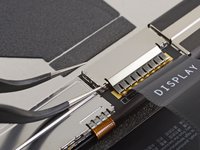
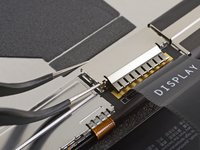
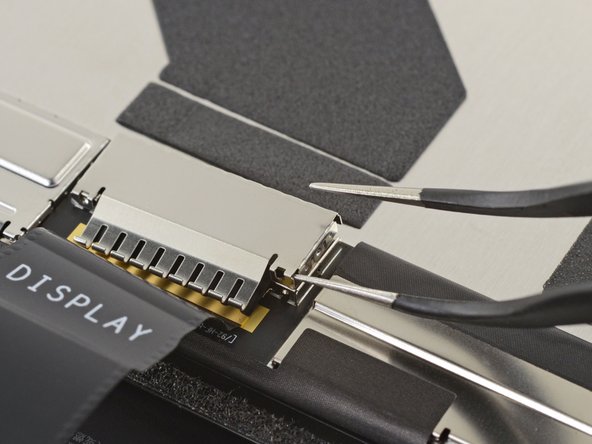
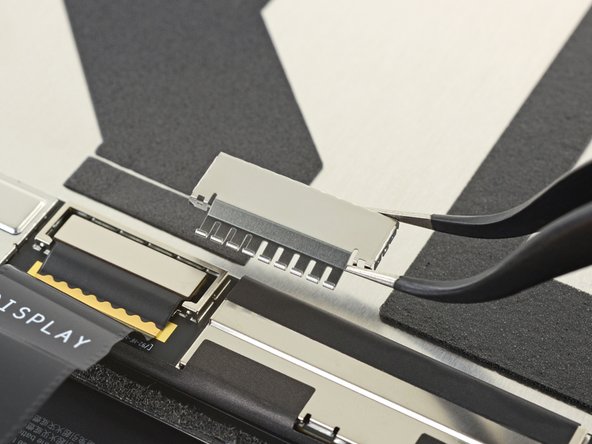
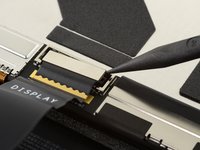
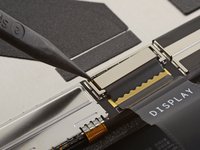
Insert the pointed end of a spudger under the right side of the display cable press connector.
-
Lift up the right side of the press connector to detach it from the display cable socket on the screen.
-
-
-
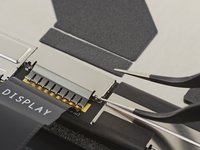
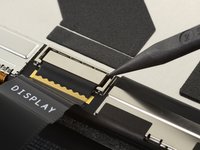
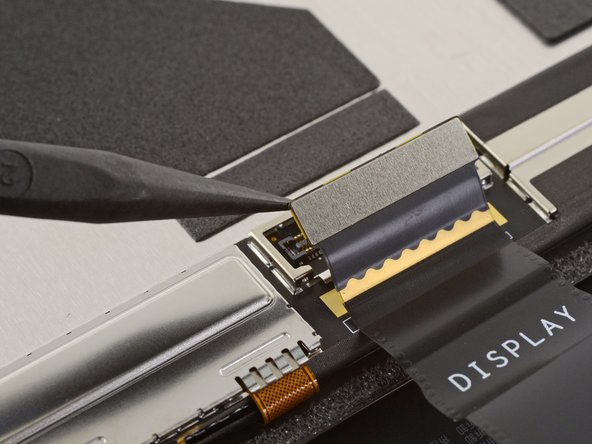
Repeat the previous step on the left side of the display cable connector to fully disconnect it from the screen.
-
-
-
Use an opening pick to cut through the adhesive under the grille.
-
Remove the speaker grille.
-
Repeat for the other speaker grille.
-
-
-
Use an opening pick to cut through the adhesive under the grille.
-
Remove the speaker grille.
-
Repeat for the other speaker grille.
-
-
-
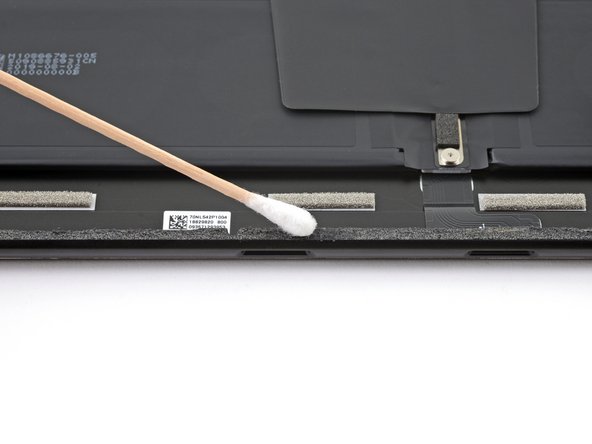
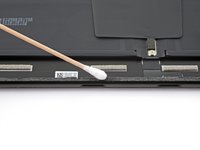
Apply a few drops of high-concentration (90% or higher) isopropyl alcohol to the adhesive.
-
Use a cotton swab or the flat end of a spudger to scrape away the adhesive.
-
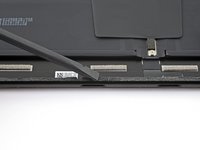
Use a lint-free cloth or coffee filter to wipe away any remaining adhesive.
-
Allow the surface to dry completely before applying replacement adhesive.
-
Apply new adhesive strips or pre-cut adhesive to the frame where the old screen adhesive was located.
-
-
-
-
-
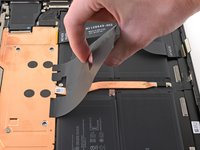
Lift up the edge of the heat sink sticker closest to the bottom edge of the Surface.
-
-
-
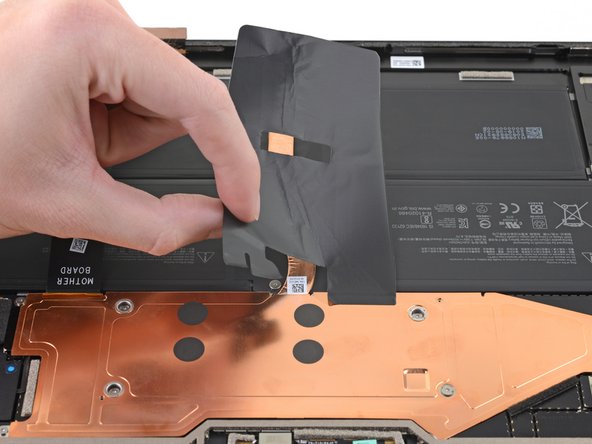
Lift up one side of the sticker attached to the heat sink.
-
Repeat for the other side. The sticker should now be fully detached.
-
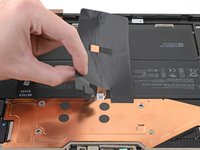
Remove the sticker.
-
-
Tool used on this step:Tweezers$4.99
-
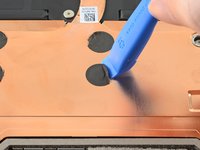
Use an opening tool to lift up the edge of one of the small black stickers covering the four screws in the center of the heat sink.
-
-
-
Use a pair of blunt tweezers to remove the sticker covering the heat sink screw.
-
Repeat this process for the other three stickers.
-
-
-
Remove the 14 screws securing the heat sink:
-
Eight 2.2 mm T3 Torx screws
-
One 2.0 mm T3 Torx screw
-
One 3.2 mm T3 Torx screw
-
Four 2.5 mm T6 screws
-
-
-
Insert an opening pick about 2 mm under the heat sink at its bottom edge directly to the left of the display cable.
-
Slide the opening pick to the left toward the heat pipe to detach the heat sink from the CPU.
-
-
-
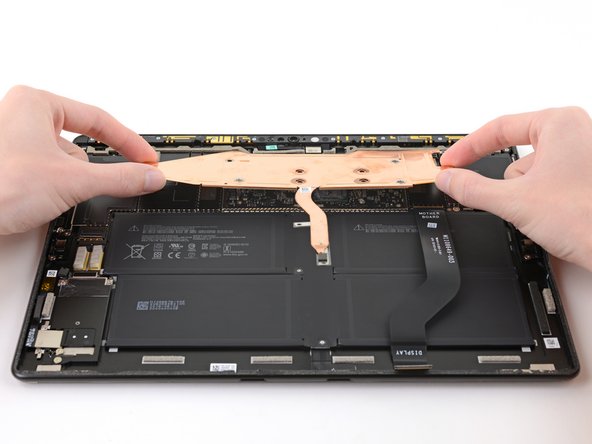
Swing the bottom edge of the heat sink up so that it is at about a 10° angle with the frame.
-
-
-
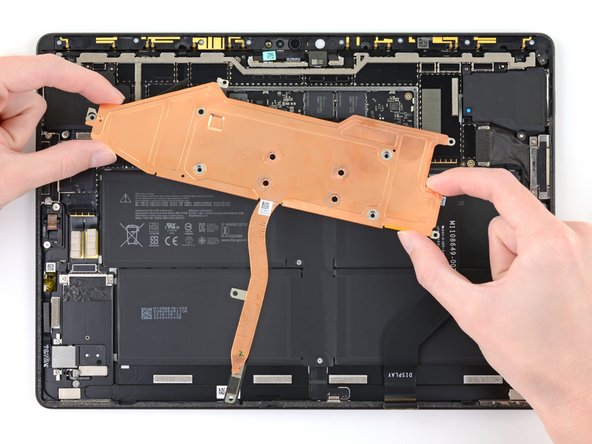
Rotate the heat sink about 10° clockwise so that it can be removed from the foam adhesive strip covering the top left screw hole.
-
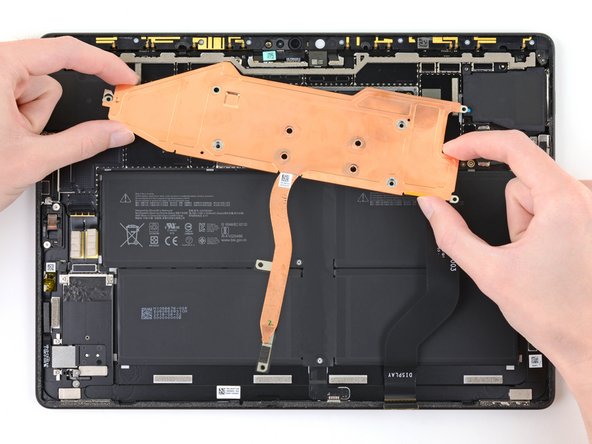
Remove the heat sink from the Surface.
-
-
-
-
-
Tool used on this step:Tweezers$4.99
-
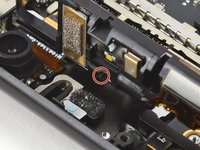
Insert one tine of a pair of pointed tweezers under one corner of the shield covering the front camera connector.
-
Lift up the corner to detach it from the frame.
-
-
-
Slide one tine of a pair of pointed tweezers under the left edge of the shield to further detach it from the frame.
-
Repeat this for the right edge of the shield.
-
-
-
Slide one tine of a pair of pointed tweezers under the bottom left edge of the shield to further detach it from the frame.
-
Repeat for the bottom right edge.
-
-
-
Insert one tine of a pair of pointed tweezers into the divot in one of the tabs on the bottom edge of the shield.
-
Lift up the bottom edge to detach it from the frame.
-
-
-
Use a pair of tweezers to lift up the bottom edge of the shield so that it is at a 30° angle with the frame.
-
Remove the front camera shield from the frame.
-
-
-
-
Tool used on this step:Tweezers$4.99
-
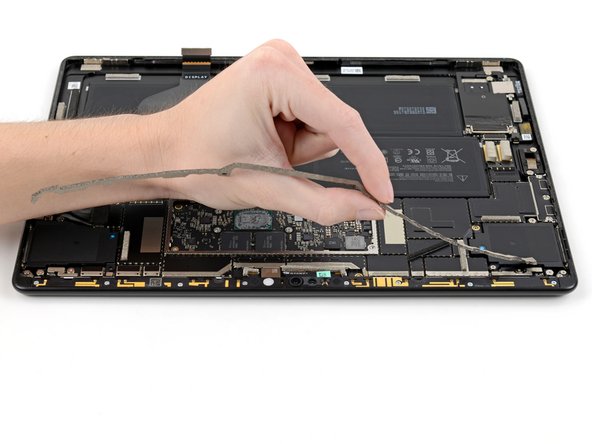
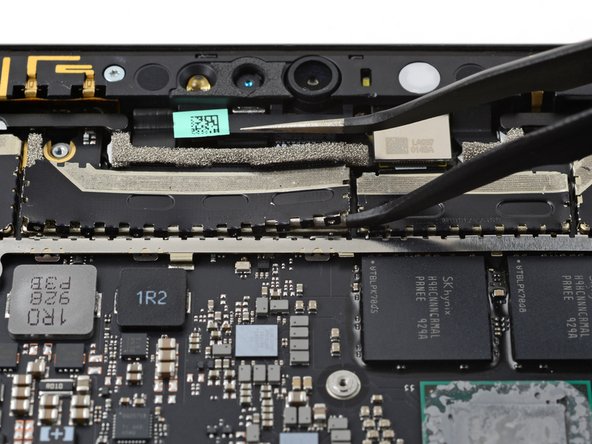
Use a pair of tweezers to remove the foam strip adhered to the front camera, Windows Hello face camera, and left microphone cables.
-
-
-
-
-
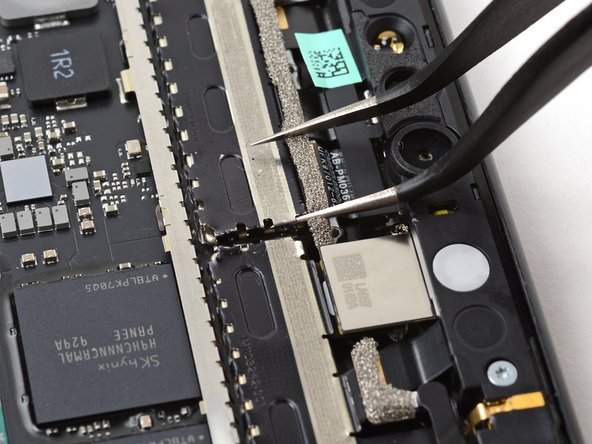
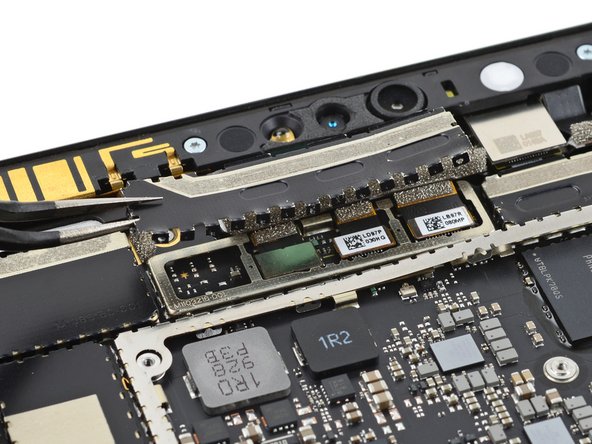
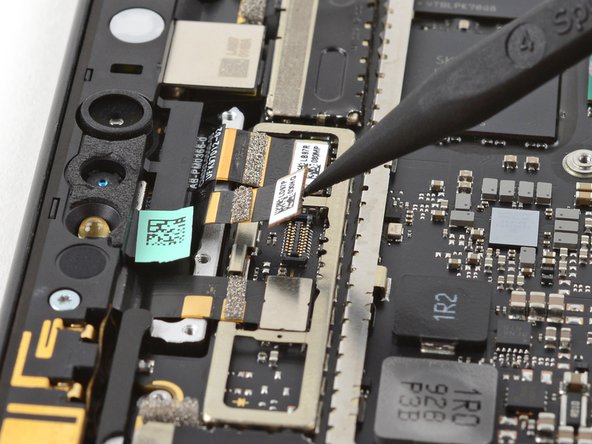
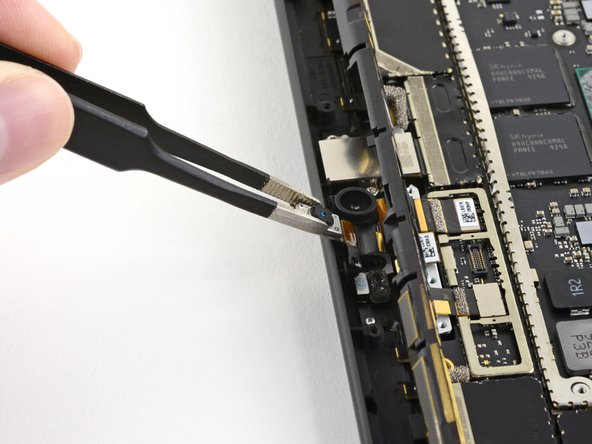
Use the pointed end of a spudger to disconnect the Windows Hello face camera press connector from its socket.
-
-
-
-
-
Use a T3 Torx screwdriver to remove the eight 5.5 mm screws securing the front-facing sensor bar.
-
-
-
Insert the pointed end of a spudger into the gap on the right side of the sensor bar between the rightmost screw hole and the adjacent screw hole.
-
Lift up the right side of the sensor bar to dislodge it from the frame.
-
-
-
Repeat the last step for the gap in the sensor bar between the second and third screw hole from the left.
-
-
-
Lift the sensor bar 90° so that it's perpendicular to the frame.
-
-
-
-
-
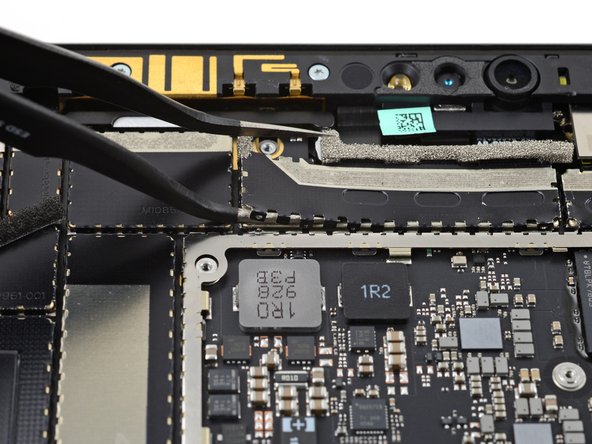
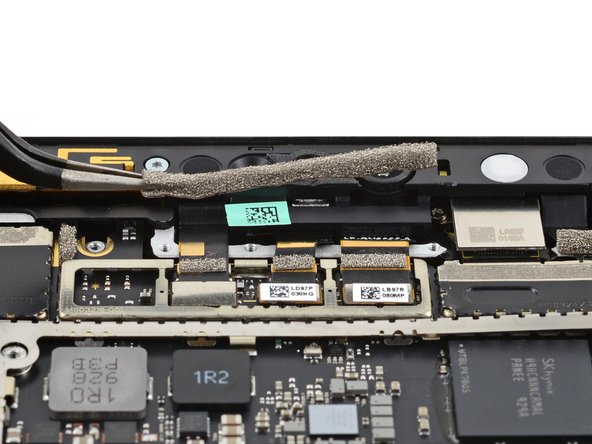
Use the pointed end of a spudger to flip down the top edge of the Windows Hello face camera and detach it from the sensor bar.
-
The peg is adjacent to the left microphone.
-
-
Tool used on this step:Tweezers$4.99
-
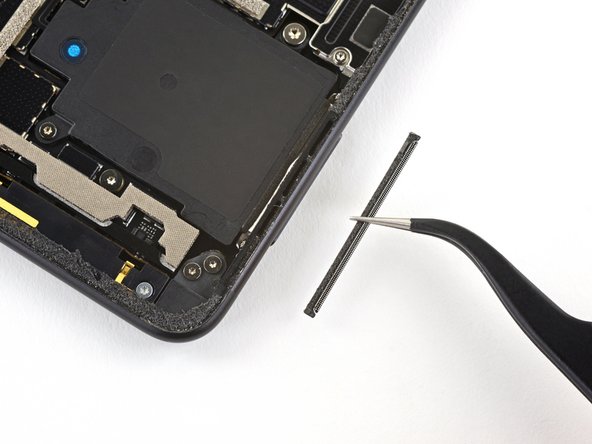
Use a pair of blunt tweezers to lift and remove the Windows Hello face camera.
-
-


Compare your new replacement part to the original part—you may need to transfer remaining components or remove adhesive backings from the new part before installing.
To reassemble your device, follow these instructions in reverse order.
Take your e-waste to an R2 or e-Stewards certified recycler.
Repair didn’t go as planned? Try some basic troubleshooting, or ask our Microsoft Surface Pro X Answers community for help.
