Introduction
Follow this guide to remove and replace a worn slip ring in your Logitech RS50 base.
The slip ring connects the steering wheel controls to the base while allowing the wheel to turn freely. If your steering wheel controls work intermittently, you may need to replace the slip ring.
What you need
-
-
-
Disconnect all cables from the base.
-
Unmount the base from your setup and remove any accessories so you're left with just the base.
 Ask FixBot
-
-
-
Use a 2.5 mm hex driver to remove the two 23 mm‑long screws securing the QR (Quick Release) adapter.
-
-
-
Carefully pull the adapter out of the shaft as far as possible.
-
Use your fingers to separate the spring from the adapter.
-
-
-
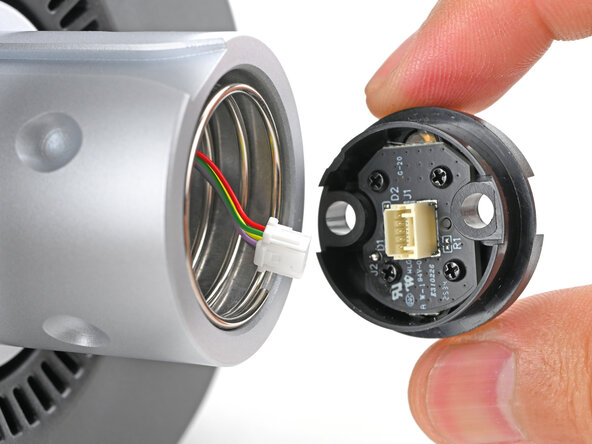
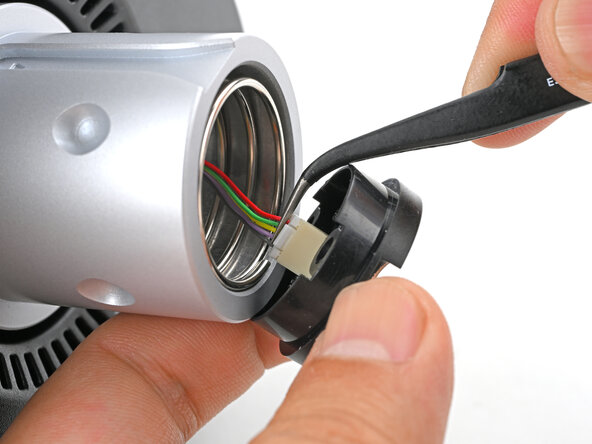
Use tweezers to squeeze the base of the slip ring connector and gently pull it out of its socket.
-
-
-
Remove the QR adapter and store it for reassembly.
-
Remove the spring and store it for reassembly.
-
-
-
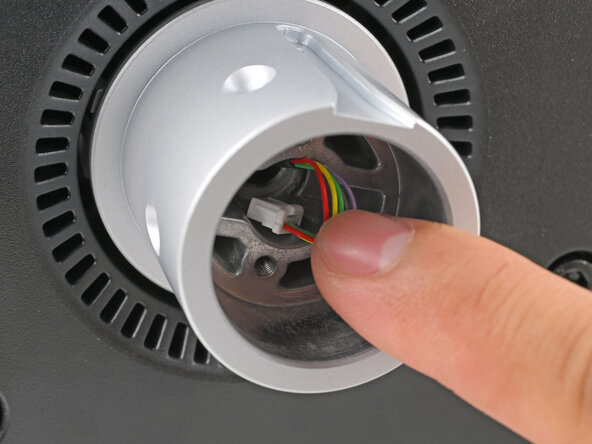
Tuck the slip ring connector into the shaft to keep it out of the way.
-
-
-
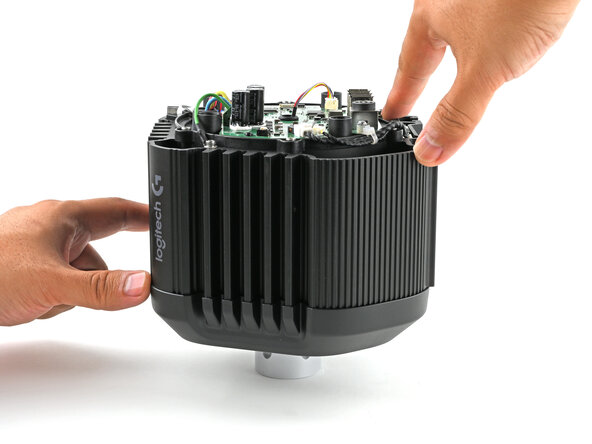
Use a 5 mm hex driver to remove the four 28 mm‑long bolts securing the back cover.
-
-
-
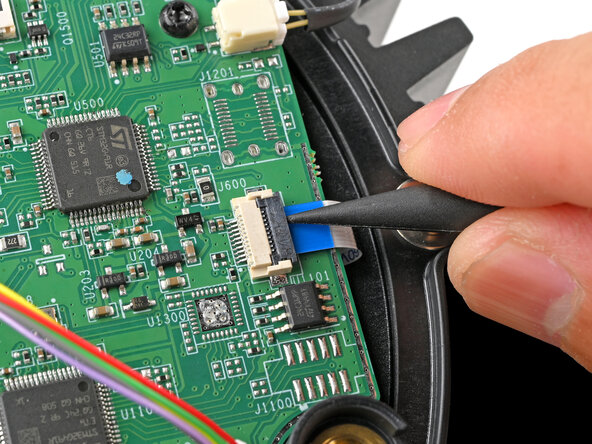
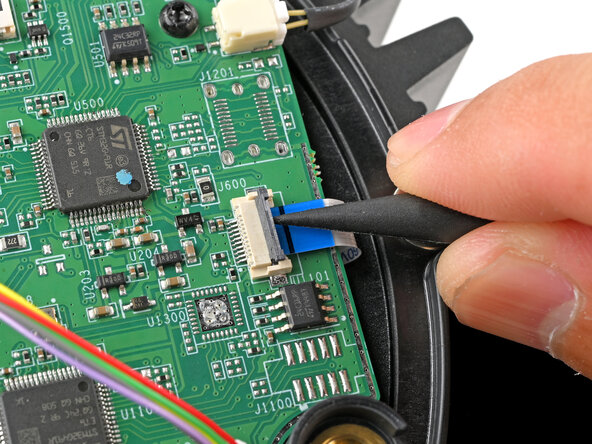
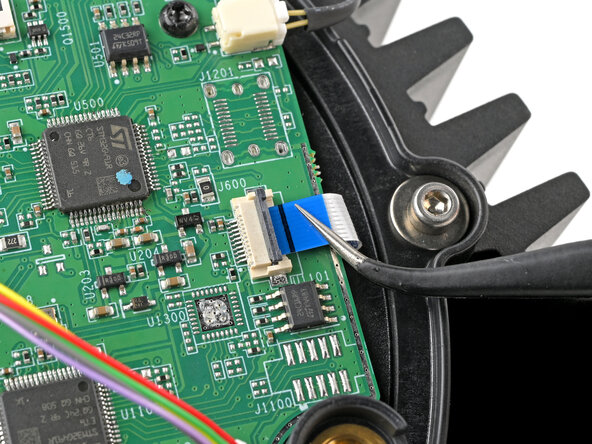
Use the tip of a spudger or your fingernail to flip up the small, hinged locking flap on the encoder ZIF connector.
-
-
-
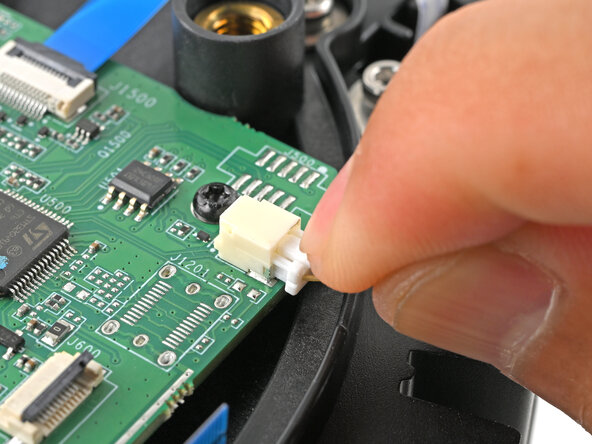
Use your finger to press the tab at the base of the case temperature connector and gently slide it out of its socket.
-
-
-
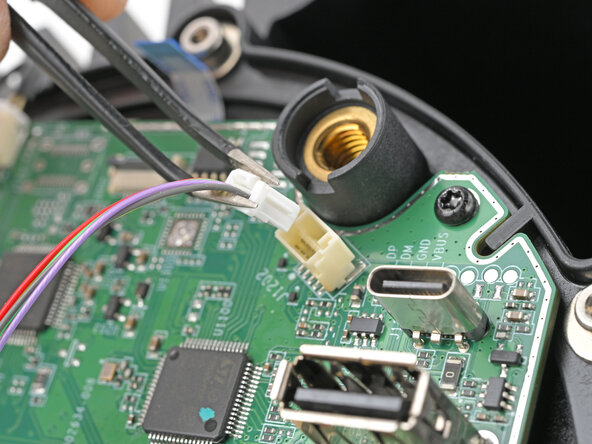
Use tweezers to squeeze the tab at the base of the slip ring connector and gently pull it out of its socket.
-
-
-
With one hand, hold the ballast connector socket with your fingers to keep it from breaking off.
-
With your other hand, squeeze the top of the ballast connector to unlock it and slide it out of its socket.
-
-
-
Use tweezers to squeeze the tab at the base of the ballast temperature connector and slide it out of its socket.
-
-
-
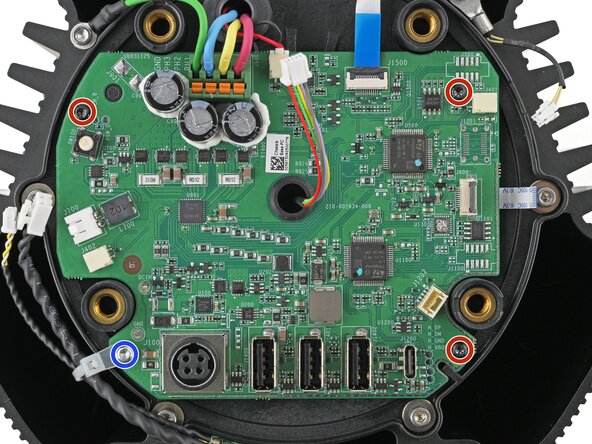
Use a Torx T8 driver to remove the four screws securing the circuit board:
-
Three 7.6 mm‑long screws
-
One 12 mm‑long silver screw
-
-
-
-
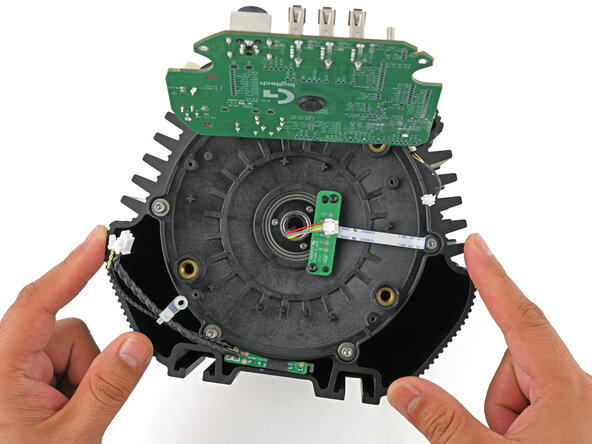
Slowly lift the bottom edge to flip the board up, threading the slip ring cable through its cutout, until the board sits perpendicular to the base.
-
-
-
Rotate the base to align the slip ring adapter so that its flange can slide past the sensor board.
-
-
-
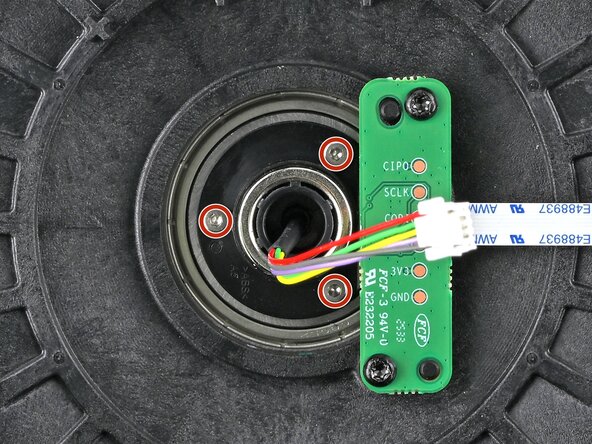
Use a 1.5 mm hex driver to remove the three 7 mm‑long screws securing the slip ring adapter.
-
-
-
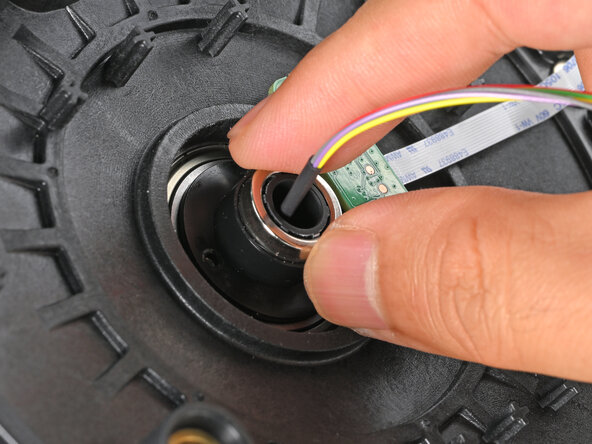
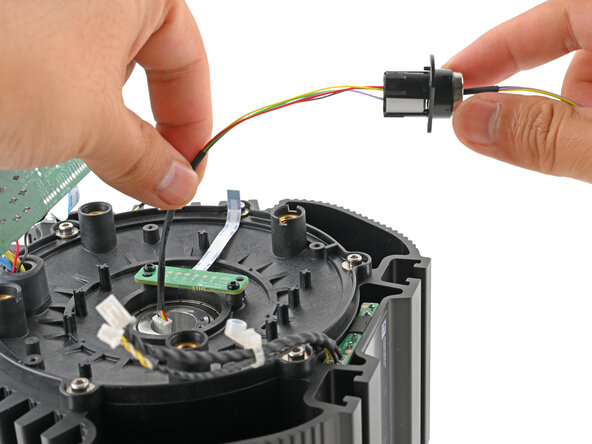
Pull the slip ring adapter out of the shaft and remove it.
-
-
-
If the slip ring adhesive is white and thin, proceed to the next step to remove it.
-
If the slip ring adhesive is black and feels like foam, skip down one step.
-
-
-
Use tweezers to pull the white adhesive strip out between the slip ring adapter and the slip ring.
-
Skip the next step.
-
-
-
Use an opening pick to gently slice between the adapter arms to separate the black adhesive strip from them.
-
-
-
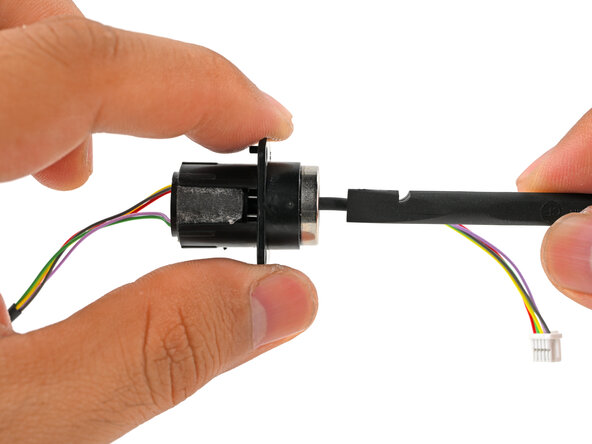
Use the flat end of a spudger to push the top of the slip ring (the end with the shorter cable) until it slides out of the adapter.
-
-
-
Use the point of a spudger to scrape away any remaining adhesive from the inside of the adapter.
-
-
-
-
-
Congratulations on completing disassembly! The remaining steps will show how to reassemble your device.
-
-
-
Peel the opaque yellow liner from the slip ring adhesive strip.
-
-
-
Press the exposed adhesive onto the side of the replacement slip ring and wrap it around the body.
-
-
-
Use your fingers to squeeze the adhesive for ten seconds to help adhere it to the slip ring.
-
Peel away the outer liner to expose the adhesive.
-
-
-
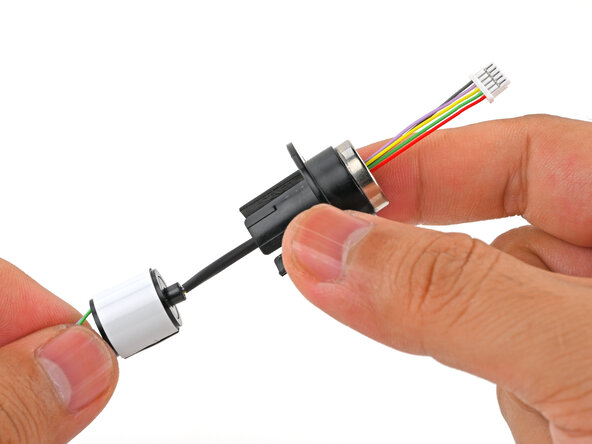
Thread the slip ring's short cable through the back of the slip ring adapter (the end with the arms).
-
Push the slip ring into the adapter until it's fully seated with no room to move.
-
-
-
Use your fingers to squeeze the adapter arms against the slip ring for 10 seconds to adhere it in place.
-
-
-
Insert the slip ring's long cable into the back of the shaft and guide it through to the front.
-
-
-
Align the slip ring adapter to the base using the alignment pin and slide the adapter into the shaft.
-
Make sure the pin isn't aligning with a screw hole, or the adapter won't sit flush.
-
-
-
Use a 1.5 mm hex driver to install the three 7 mm‑long slip ring adapter screws.
-
-
-
Slowly lower the circuit board in place, threading the slip ring cable through its cutout.
-
-
-
Use a Torx T8 driver to install the four circuit board screws:
-
Three 7.6 mm‑long screws
-
One 12 mm‑long silver screw
-
-
-
Use your fingers to slide the ballast temperature connector fully into its socket to connect it.
-
Repeat for the ballast connector above it.
-
-
-
While holding the cable in place, use your finger to flip down the locking flap to secure the encoder cable.
-
-
-
Use tweezers to hold the slip ring connector near the base and connect it to the QR adapter socket.
-
-































Take your e-waste to an R2 or e-Stewards certified recycler.
Repair didn’t go as planned? Try some basic troubleshooting, or ask our Answers community for help.

