Introduction
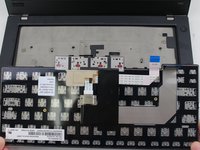
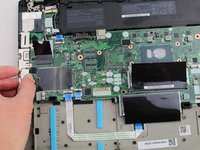
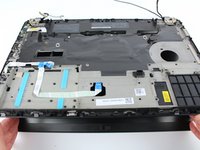
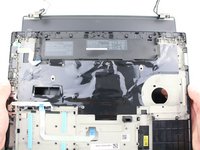
Use this guide to replace the display assembly of your Lenovo ThinkPad T480. The display assembly is the screen paired with the frame of the laptop.
If the frame of your Lenovo ThinkPad T480 is damaged or bent and you need to replace the LCD screen , you may need to replace the whole display assembly because the LCD screen may not seat correctly due to the bent frame. Damage like this could occur because of a drop or fall.
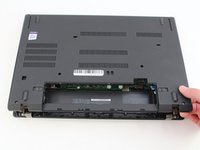
Prior to beginning this repair, be sure to disable the internal battery, turn off the laptop, and unplug it from the charging cable.
What you need
-
-
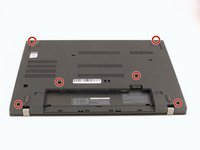
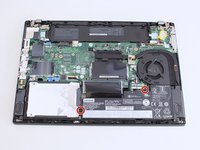
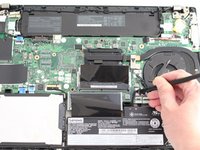
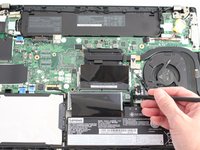
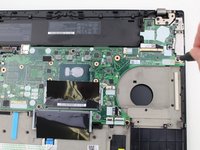
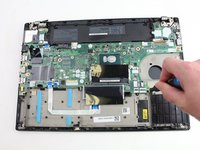
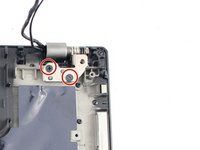
Use the Phillips #1 screwdriver to loosen the two screws parallel to the battery compartment.
-
-
-
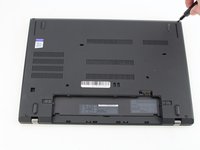
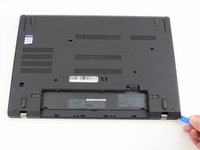
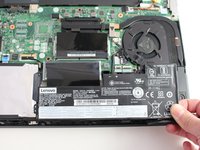
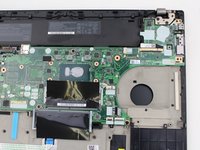
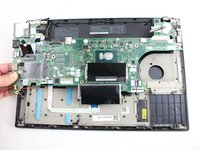
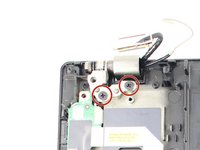
Use a Phillips #1 screwdriver to remove the two 4.6 mm screws that secure the internal battery to the frame.
-
-
-
-
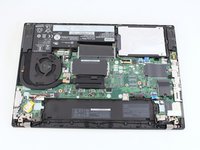
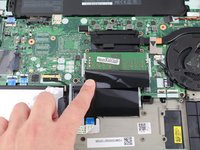
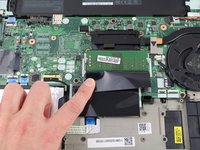
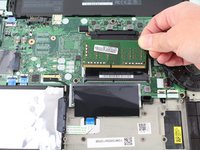
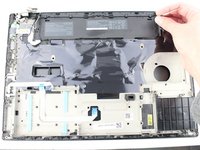
Pull the black plastic sheet back to reveal the RAM stick.
-
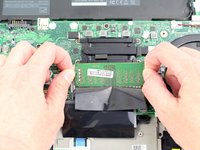
Using your fingers, pull the metal arms (located on both sides of the RAM stick) slightly away from it .
-
-
-
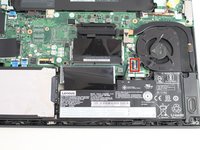
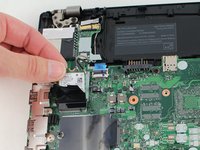
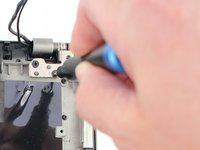
Using the Phillips #1 screwdriver, remove the single 3.6 mm screw at the top of the Wi-Fi card attaching it to the motherboard.
-
-
-
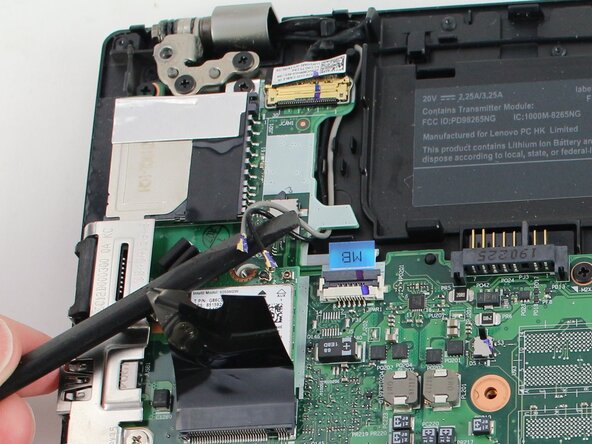
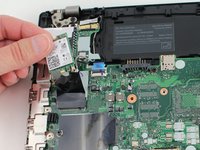
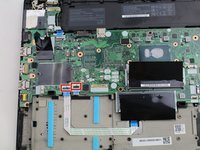
Using an IC extractor or black nylon spudger, unplug the connector from the socket on the motherboard.
-
-
-
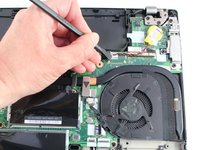
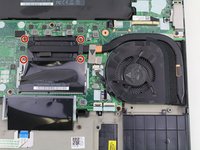
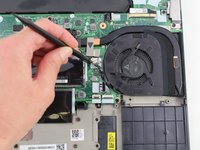
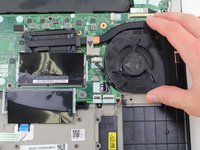
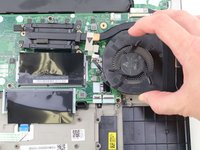
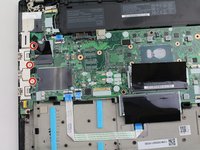
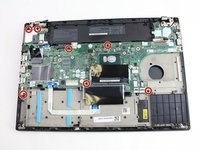
Using the Phillips #1 screwdriver, loosen the four captive screws in the arm of the heatsink.
-
-
-
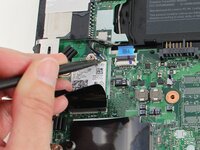
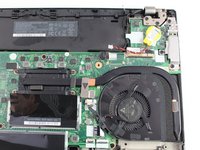
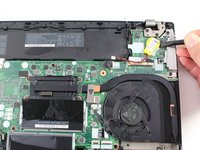
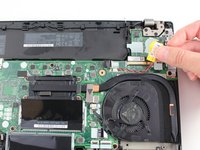
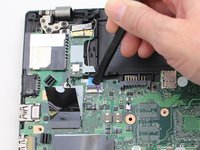
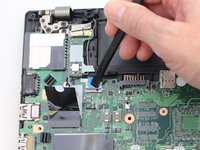
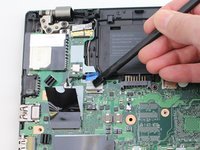
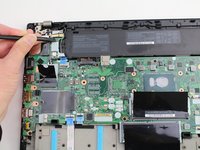
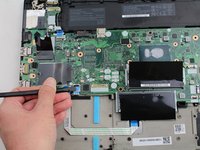
Using the black nylon spudger, lift the connector lock up.
-
Disconnect the storage cable from the system board.
-
-
-
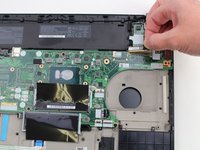
Using the Phillips #1 screwdriver, remove three 4.6 mm screws from the I/O bracket.
-
-
-
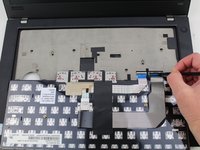
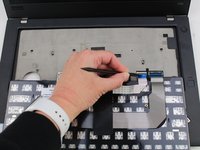
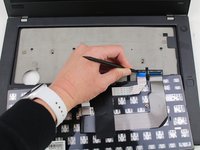
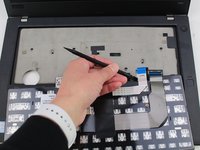
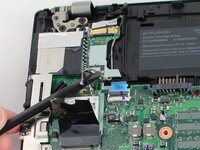
Use the black nylon spudger to lift up the small locking flap on the power button cable's ZIF connector.
-
Slide the power button cable out of the ZIF connector.
-


To reassemble your device, follow the above steps in reverse order.
Take your e-waste to an R2 or e-Stewards certified recycler.
Repair didn’t go as planned? Try some basic troubleshooting, or ask our Answers community for help.

