Introduction
Use this guide to remove or replace the motherboard cover assembly in the LG G3 (D855).
What you need
-
-
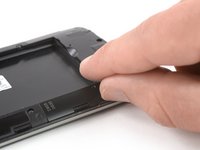
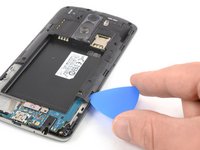
Insert a thumbnail, or a prying tool like a spudger, into the notch at the bottom left of the back cover.
-
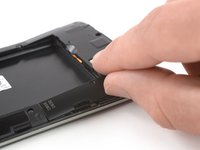
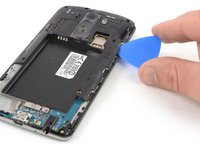
Pry the back cover up to separate its plastic clips.
-
-
-
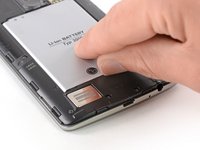
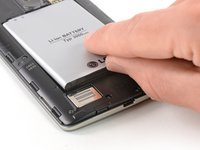
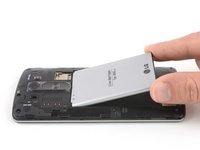
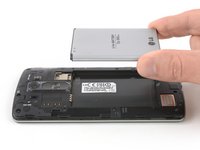
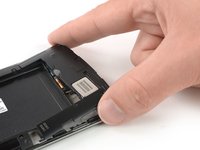
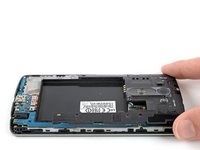
Use a fingernail or a prying tool at the marked notch to lever the battery out of its recess.
-


Conclusion
If possible, turn on your device and test your repair before installing new adhesive and resealing.
Take your e-waste to an R2 or e-Stewards certified recycler.
Repair didn’t go as planned? Try some basic troubleshooting, or ask our Answers Community for help.

