Introduction
Use this guide to replace or remove a broken or worn out loudspeaker in the LG G3 (D855).
The loudspeaker in the LG G3 is attached to the bottom half of the plastic panel above the daughterboard. To replace the loudspeaker, it’s necessary to replace the panel as well.
What you need
-
-
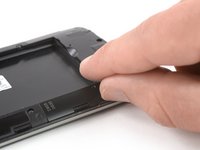
Insert a thumbnail, or a prying tool like a spudger, into the notch at the bottom left of the back cover.
-
Pry the back cover up to separate its plastic clips.
 Ask FixBot
-
-
-
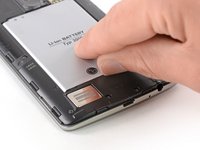
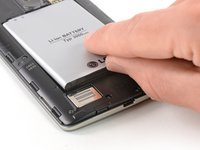
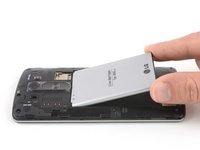
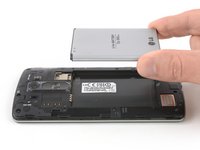
Use a fingernail or a prying tool at the marked notch to lever the battery out of its recess.
-
-
-
-
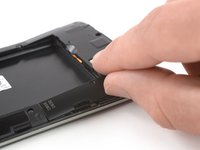
Insert a thumbnail, or a prying tool like a spudger, into the notch at the bottom left of the back cover you used earlier to remove the back cover.
-
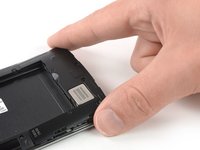
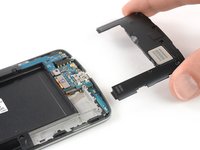
Pry up the plastic panel, including the loudspeaker, until you can get a good grip.
-
-
-
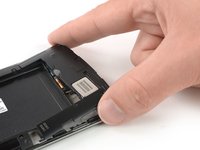
Carefully remove the plastic panel including the loudspeaker by gently pulling it away from the phone assembly.
-


If possible, turn on your device and test your repair before installing new adhesive and resealing.
Take your e-waste to an R2 or e-Stewards certified recycler.
Repair didn’t go as planned? Try some basic troubleshooting, or ask our Answers Community for help.
Cancel: I did not complete this guide.
8 other people completed this guide.
