
Keychron K3 Ultra-slim Wireless Mechanical Keyboard Disassembly

What you need

  1. Keychron K3 Ultra-slim Wireless Mechanical Keyboard Disassembly, Poweroff: step 1, image 1 of 2 Keychron K3 Ultra-slim Wireless Mechanical Keyboard Disassembly, Poweroff: step 1, image 2 of 2
    • Unplug the keyboard and toggle the leftmost switch to the 'Off" Position

    • For reference, the switches are located on the top of the keyboard.

  2. Keychron K3 Ultra-slim Wireless Mechanical Keyboard Disassembly, Removal of Keycaps: step 2, image 1 of 3 Keychron K3 Ultra-slim Wireless Mechanical Keyboard Disassembly, Removal of Keycaps: step 2, image 2 of 3 Keychron K3 Ultra-slim Wireless Mechanical Keyboard Disassembly, Removal of Keycaps: step 2, image 3 of 3
    • Using a keycap puller, carefully remove the keys from the keyboard

    • NEVER attempt to remove the keyboard keys on any keyboard without a keycap puller or tool specialized to remove keyboard keys, not using the correct tool may damage the keys

  3. Keychron K3 Ultra-slim Wireless Mechanical Keyboard Disassembly, Confirm switches are hot-swappable: step 3, image 1 of 2 Keychron K3 Ultra-slim Wireless Mechanical Keyboard Disassembly, Confirm switches are hot-swappable: step 3, image 2 of 2
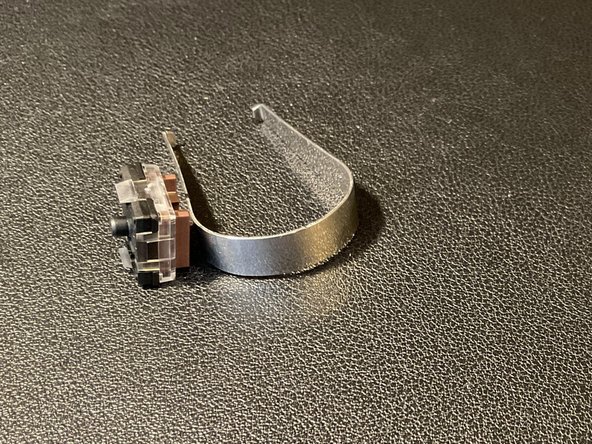
    • Check that your switches are hot-swappable. If they are not, trying to remove them will damage your keyboard.

    • The mechanical switches are NOT hot-swappable, and the colored stem is smaller and more oblong.

    • The optical switches are hot-swappable, and they have a larger colored stem which is mostly square.

  4. Keychron K3 Ultra-slim Wireless Mechanical Keyboard Disassembly, Removal of Switches: step 4, image 1 of 3 Keychron K3 Ultra-slim Wireless Mechanical Keyboard Disassembly, Removal of Switches: step 4, image 2 of 3 Keychron K3 Ultra-slim Wireless Mechanical Keyboard Disassembly, Removal of Switches: step 4, image 3 of 3
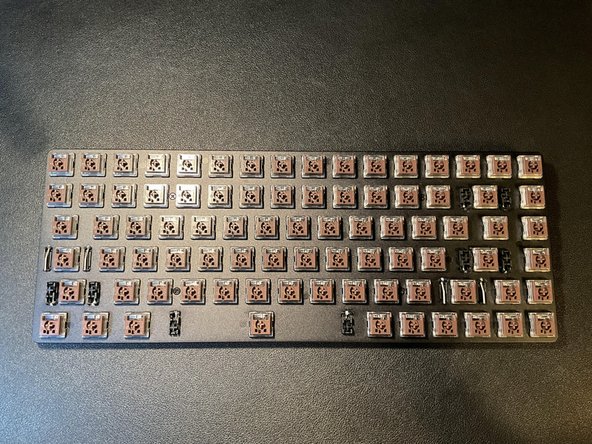
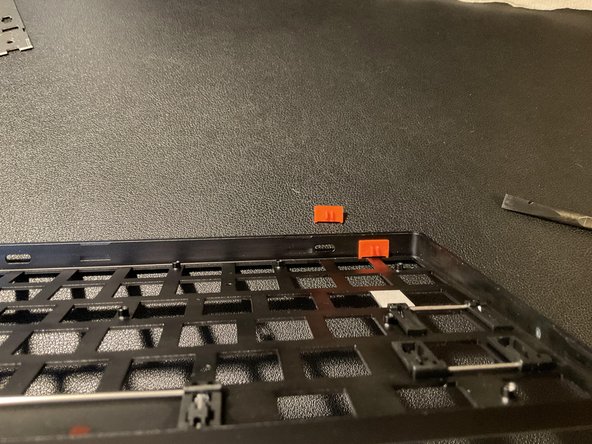
    • Use a switch puller to remove the switches. If you have the included switch puller from Keychrone, it can be tough removing these switches.

    • Each switch has small tabs on the corners to grab and remove them. (Included switch puller might require extra strength to remove)

  5. Keychron K3 Ultra-slim Wireless Mechanical Keyboard Disassembly, Removal of screws holding chassis together: step 5, image 1 of 3 Keychron K3 Ultra-slim Wireless Mechanical Keyboard Disassembly, Removal of screws holding chassis together: step 5, image 2 of 3 Keychron K3 Ultra-slim Wireless Mechanical Keyboard Disassembly, Removal of screws holding chassis together: step 5, image 3 of 3
    • Use a # 1 philips drill bit to remove the 4 screws on the keyboard

  6. Keychron K3 Ultra-slim Wireless Mechanical Keyboard Disassembly, Removing Aluminum top chassis from base: step 6, image 1 of 3 Keychron K3 Ultra-slim Wireless Mechanical Keyboard Disassembly, Removing Aluminum top chassis from base: step 6, image 2 of 3 Keychron K3 Ultra-slim Wireless Mechanical Keyboard Disassembly, Removing Aluminum top chassis from base: step 6, image 3 of 3
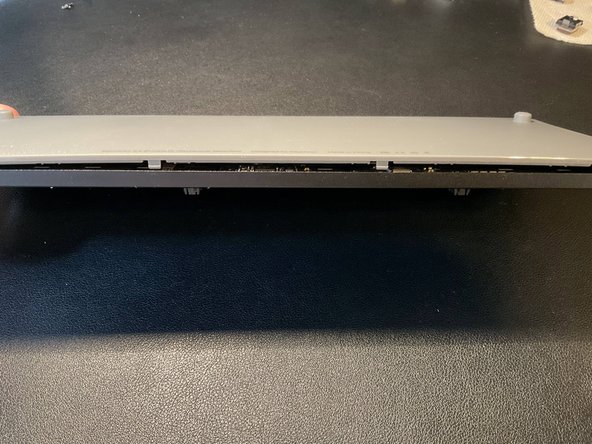
    • Use a spudger or another wedge tool to pry open the plastic base from the aluminum chassis.

    • Use caution when removing the base from the chassis as there are tabs that hold them together!

    • CAUTION: The battery is located on the plastic bottom. The battery is connected to the PCB located near the orange switches and USB

  7. Keychron K3 Ultra-slim Wireless Mechanical Keyboard Disassembly, Disconnection Battery: step 7, image 1 of 2 Keychron K3 Ultra-slim Wireless Mechanical Keyboard Disassembly, Disconnection Battery: step 7, image 2 of 2
    • Use tweezers to disconnect the battery from the PCB.

    • Use caution when removing the PCB! Pull away from the connector. Do not attempt to jiggle the cable as this may loosen/damage the connector

  8. Keychron K3 Ultra-slim Wireless Mechanical Keyboard Disassembly, Removal of PCB from Aluminum frame: step 8, image 1 of 2 Keychron K3 Ultra-slim Wireless Mechanical Keyboard Disassembly, Removal of PCB from Aluminum frame: step 8, image 2 of 2
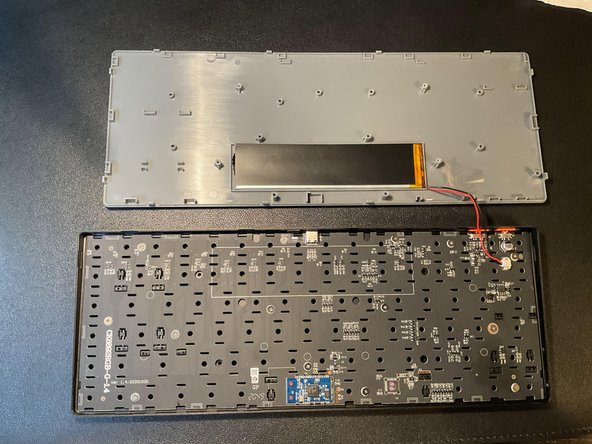
    • Remove the 14 screws with a # 1 Philips screw driver bit

    • To remove the PCB from the aluminum frame, use a spudger to wedge it out.

  9. Keychron K3 Ultra-slim Wireless Mechanical Keyboard Disassembly, Dissasemble complete: step 9, image 1 of 2 Keychron K3 Ultra-slim Wireless Mechanical Keyboard Disassembly, Dissasemble complete: step 9, image 2 of 2
    • The PCB is now removed and able to work on.

    • When you reassemble the keyboard, make sure to put the orange toggles with the two nubs pointing towards the switch side of the aluminum frame.

Mike Villasenor

Member since: 05/04/20

235 Reputation

1 Guide authored

View Statistics:

Past 24 Hours: 14

Past 7 Days: 49

Past 30 Days: 193

All Time: 6,849