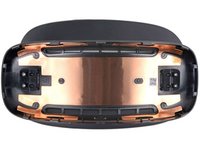
HTC Vive XR Elite Rear Padding Replacement

What you need

  1. HTC Vive XR Elite Rear Padding Replacement, Prepare your Vive XR Elite for disassembly: step 1, image 1 of 1
    • Before starting this repair, discharge the batteries in your headset below 25%. A charged battery may leak dangerous chemicals or catch fire if damaged.

    • Playing Half Life: Alyx will do the trick!

    • The Vive XR Elite has a proximity sensor that puts the headset in standby mode to save battery when it isn't in use. To drain the battery faster you'll need to use the headset.

  2. HTC Vive XR Elite Rear Padding Replacement, Insert an opening pick: step 2, image 1 of 2 HTC Vive XR Elite Rear Padding Replacement, Insert an opening pick: step 2, image 2 of 2
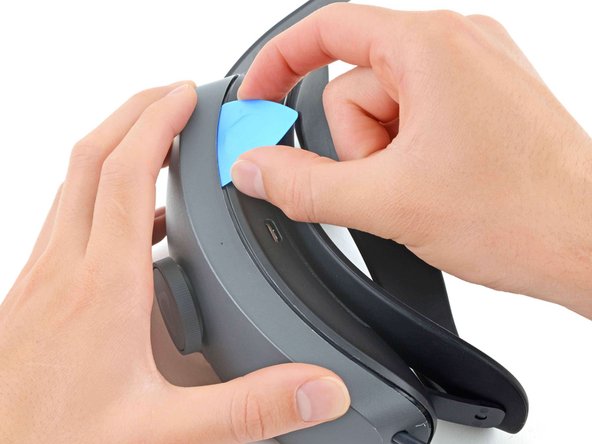
    • Insert a long edge of an opening pick in the gap between the two halves of the battery cradle, near the USB-C cable.

  3. HTC Vive XR Elite Rear Padding Replacement, Release the top clips: step 3, image 1 of 3 HTC Vive XR Elite Rear Padding Replacement, Release the top clips: step 3, image 2 of 3 HTC Vive XR Elite Rear Padding Replacement, Release the top clips: step 3, image 3 of 3
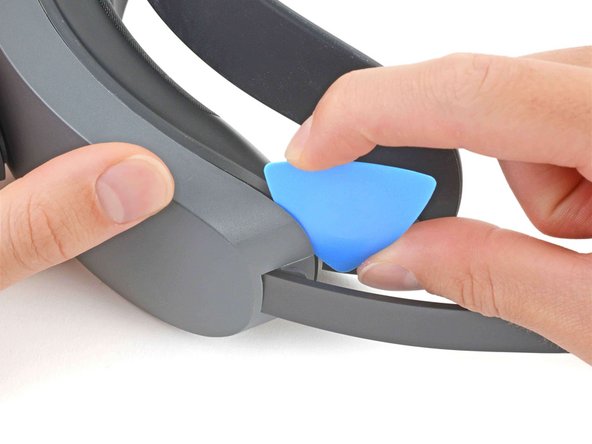
    • Slide the opening pick along the top edge of battery cradle to release its plastic clips.

  4. HTC Vive XR Elite Rear Padding Replacement: step 4, image 1 of 2 HTC Vive XR Elite Rear Padding Replacement: step 4, image 2 of 2
    • Flip the battery cradle over.

    • Insert the long edge of an opening pick in the gap between the two halves of the battery cradle.

  5. HTC Vive XR Elite Rear Padding Replacement, Release the bottom clips: step 5, image 1 of 3 HTC Vive XR Elite Rear Padding Replacement, Release the bottom clips: step 5, image 2 of 3 HTC Vive XR Elite Rear Padding Replacement, Release the bottom clips: step 5, image 3 of 3
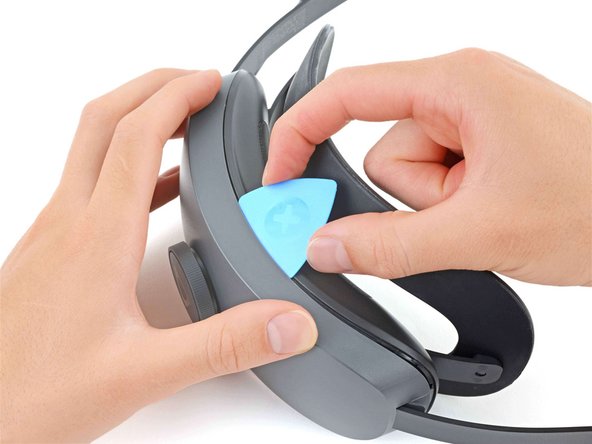
    • Slide the opening pick along the bottom edge of battery cradle to release its plastic clips.

  6. HTC Vive XR Elite Rear Padding Replacement, Separate the battery cradle halves: step 6, image 1 of 2 HTC Vive XR Elite Rear Padding Replacement, Separate the battery cradle halves: step 6, image 2 of 2
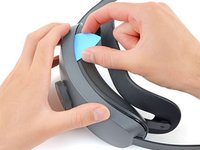
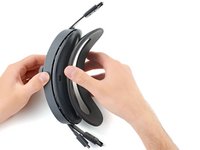
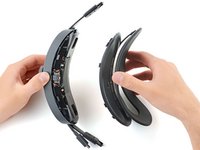
    • Pull apart the two halves of the battery cradle to completely separate them.

  7. HTC Vive XR Elite Rear Padding Replacement, Unfasten the rear padding: step 7, image 1 of 2 HTC Vive XR Elite Rear Padding Replacement, Unfasten the rear padding: step 7, image 2 of 2
    Tool used on this step:
    FixMat
    $36.95
    Buy
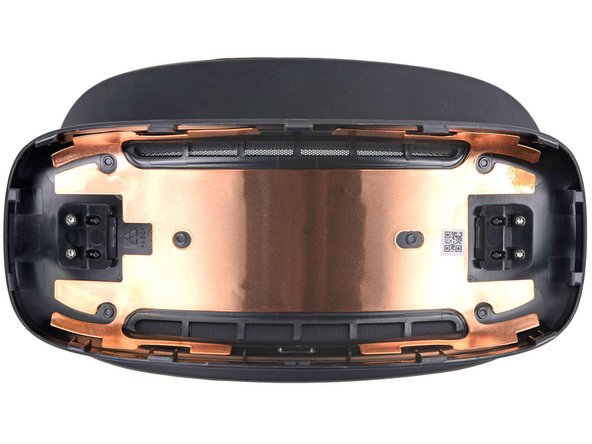
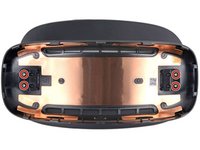
    • Use a T5 Torx screwdriver to remove the four 4.9 mm-long screws securing the rear padding.

    • Throughout this repair, keep track of each screw and make sure it goes back exactly where it came from.

  8. HTC Vive XR Elite Rear Padding Replacement, Unclip the rear padding: step 8, image 1 of 3 HTC Vive XR Elite Rear Padding Replacement, Unclip the rear padding: step 8, image 2 of 3 HTC Vive XR Elite Rear Padding Replacement, Unclip the rear padding: step 8, image 3 of 3
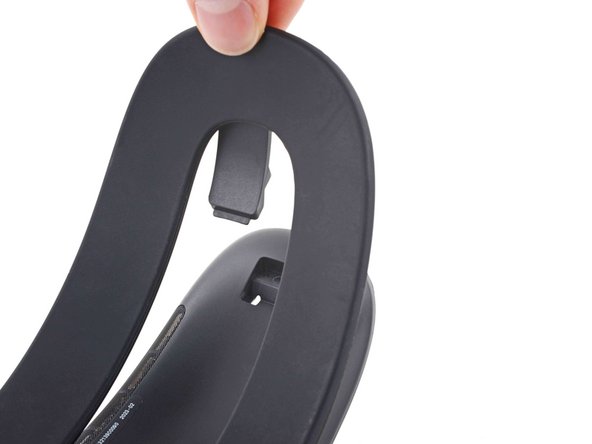
    • Pivot one of the rear padding clips toward the center of the frame.

    • Lift the rear padding up to unclip it.

  9. HTC Vive XR Elite Rear Padding Replacement, Remove the rear padding: step 9, image 1 of 3 HTC Vive XR Elite Rear Padding Replacement, Remove the rear padding: step 9, image 2 of 3 HTC Vive XR Elite Rear Padding Replacement, Remove the rear padding: step 9, image 3 of 3
    • The rear padding is not symmetrical. Note its orientation before continuing.

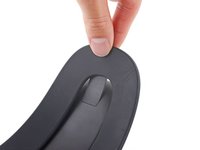
    • Unclip the remaining rear padding clip.

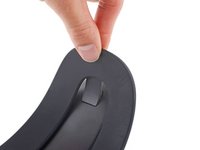
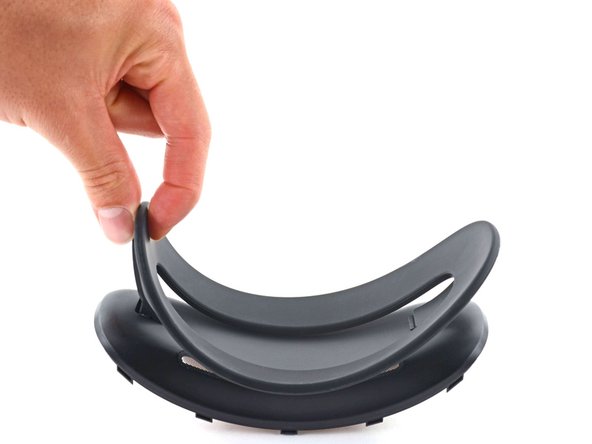
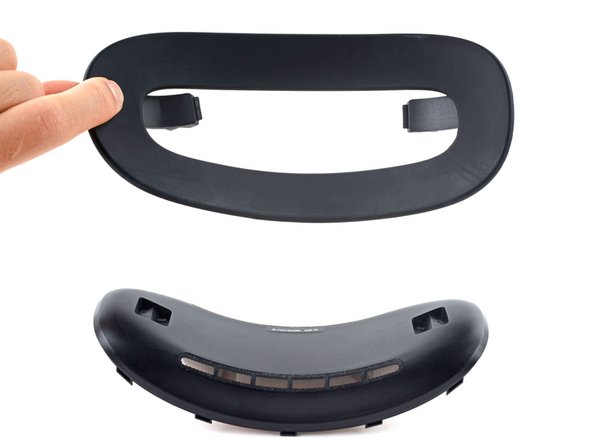
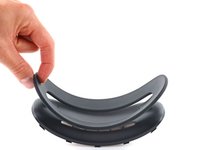
    • Remove the rear padding.

Conclusion

Compare your new replacement part to the original part—you may need to transfer remaining components or remove adhesive backings from the new part before installing.

To reassemble your device, follow these instructions in reverse order.

Take your e-waste to an R2 or e-Stewards certified recycler.

Repair didn’t go as planned? Try some basic troubleshooting, or ask our Answers Community for help.

Chayton Ritter

Member since: 08/21/20

18,516 Reputation

102 Guides authored

Team

Guide Team Member of Guide Team

Staff

6 Members

7,835 Guides authored

0 Comments

Add Comment

View Statistics:

Past 24 Hours: 0

Past 7 Days: 0

Past 30 Days: 1

All Time: 44